REVIEW · ISE JAPAN
Hands-on Pearl Harvesting Workshop!
Book on GetYourGuide →Operated by Kikuchi Pearl · Bookable on GetYourGuide
A live pearl is a tiny miracle in your hands. In this Kikuchi Pearl workshop in Honshu’s Ise-Shima area, you pick an Akoya oyster and extract the pearl yourself. The twist is that you also get to design the accessory on the spot, choosing from lots of metal fittings.
I like that the experience is hands-on from minute one, starting in the aquarium with live Akoya oysters. I also like the customization side: you can turn your pearl into items like cell phone straps, pendants, and earrings without needing any jewelry skills. One thing to consider is that the workshop can feel very fast, and the explanation may be limited if you’re not comfortable with Japanese.
In This Review
- Key points at a glance
- Pearl Harvesting in Ise-Shima: What You Actually Do
- Arriving at Kikuchi Pearl: Easy Station Access and a 1-Hour Time Block
- Aquarium Choice: Picking Your Live Akoya Oyster
- Gloves, Tools, and the Extraction Steps (Yes, It Smells)
- Picking Metal Fittings: The Part That Turns a Pearl Into Your Accessory
- Price and Value: What the Fee Covers (and What Can Change)
- How the Store Time Works: While You Wait, You Browse
- Language and Pacing: Japanese-Led Workshop Flow
- Quality Reality Check: Your Pearl May Look Different Than You Expect
- Best Use of Your Time: Who Should Book This Workshop
- Practical Tips Before You Go
- Should You Book Kikuchi Pearl’s Hands-On Pearl Harvesting Workshop?
- FAQ
- How long is the pearl harvesting workshop?
- Where do I meet the workshop?
- How much does it cost?
- What’s included in the fee?
- What accessories can my pearl be made into?
- Do I get to choose the jewelry hardware?
- Is any additional payment required?
- Are there age restrictions?
- Is the workshop wheelchair accessible?
Key points at a glance
- Choose from live Akoya oysters in the Kikuchi Pearl aquarium
- Gloves + tools make the extraction hands-on (and help with the fishy smell)
- You pick the metal fittings for the accessory hardware
- Included processing depends on your item (cell phone strap vs pendant)
- Staff handles the final setup, so you’re not doing the full jewelry-making
Pearl Harvesting in Ise-Shima: What You Actually Do
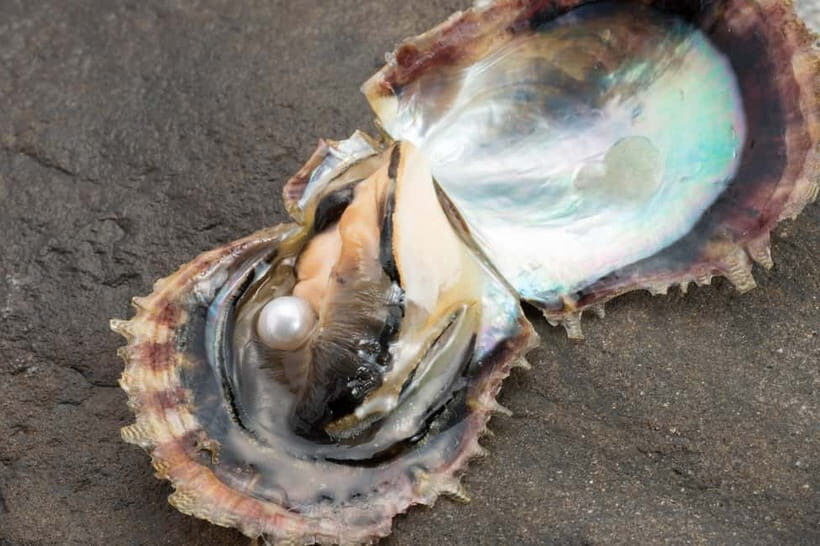
This is a DIY-style pearl experience that’s short, practical, and surprisingly tactile. You start by selecting a live Akoya oyster from the aquarium at the shop. Then you move through extraction steps yourself, with gloves and a tool set designed for opening the shell safely and removing the pearl.
What makes it feel different from a regular pearl showroom is that you’re not just buying a finished necklace. You’re making the first cut, literally. And after that, you get to choose the hardware that will hold your pearl—so the final look is your decision, not just the shop’s.
You can also read our reviews of more tours and experiences in Ise Japan.

Arriving at Kikuchi Pearl: Easy Station Access and a 1-Hour Time Block
The meeting point is close to the rail line. From Ise-Shi Station, take the JR Sangu Line bound for Toba and get off at Isuzugaoka Station. It’s about a 5-minute walk from there.
Plan on about 1 hour total. That matters because this is not a long cultural deep-dive. It’s built to move—select, extract, pick fittings, and get on with your day. If you’re the kind of traveler who loves slow, storytelling-heavy workshops, you might find the pacing a little brisk.
Aquarium Choice: Picking Your Live Akoya Oyster
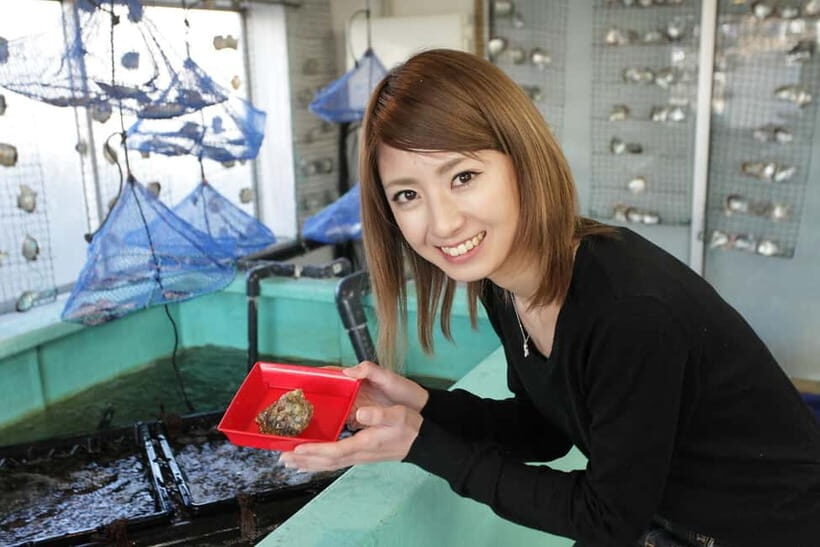
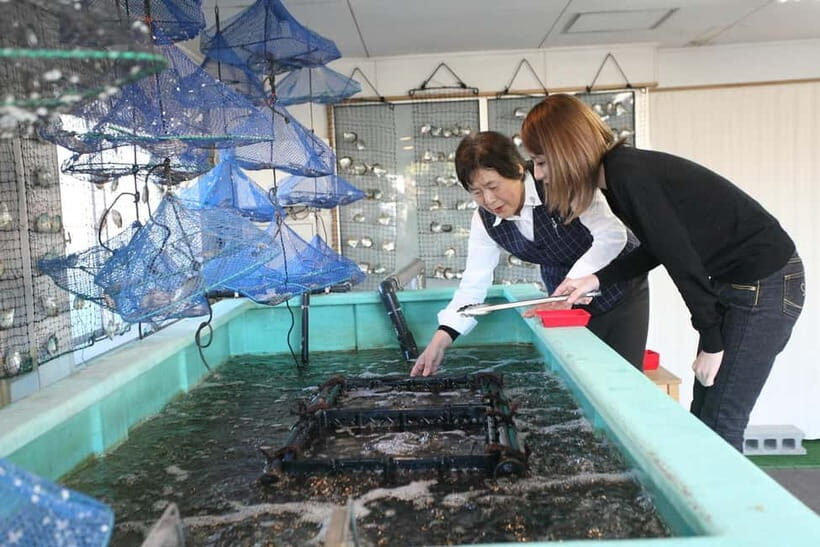
The workshop begins with the part most people remember: choosing an oyster. You select a live Akoya pearl oyster from the shop’s aquarium (you’re not given a single pre-selected shell). It’s one of the most engaging moments because you can actually see what you’re about to open.
You’ll use tongs to pick up your shell. This is partly practical—keeping handling clean—and partly psychological. Opening a shell you chose yourself hits differently than opening something handed to you at a counter.
Gloves, Tools, and the Extraction Steps (Yes, It Smells)
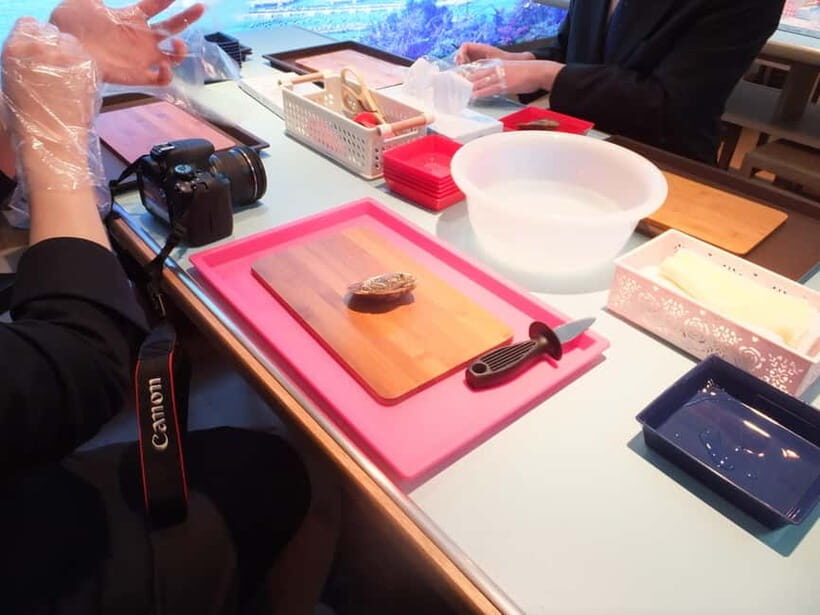
Once you have your oyster, the process is straightforward: you put on a glove on your non-dominant hand, then use a special tool to extract the pearl and remove the slime. The shop notes that the oysters have a fishy smell, which is why glove handling is required.
After you extract the pearl, you lightly wash it with water. That short wash step is more important than it sounds. It helps you get a clear look at what you actually harvested—shape, sheen, and color hints—before you lock in your accessory hardware.
A quick expectation check: this is hands-on, but staff still runs the show enough to keep things moving. You’re doing the extraction steps, while the overall workflow stays organized and supervised.
Picking Metal Fittings: The Part That Turns a Pearl Into Your Accessory
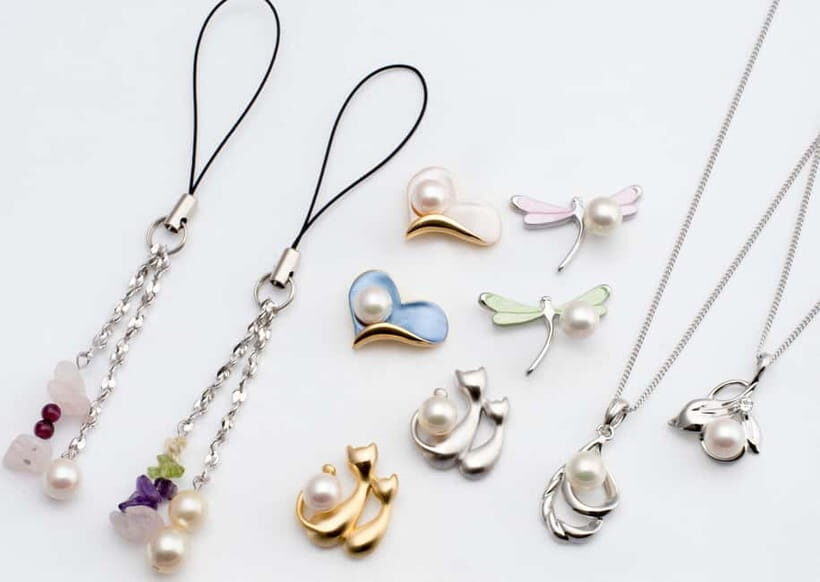
Here’s the best reason to care about details: your pearl gets to become your design.
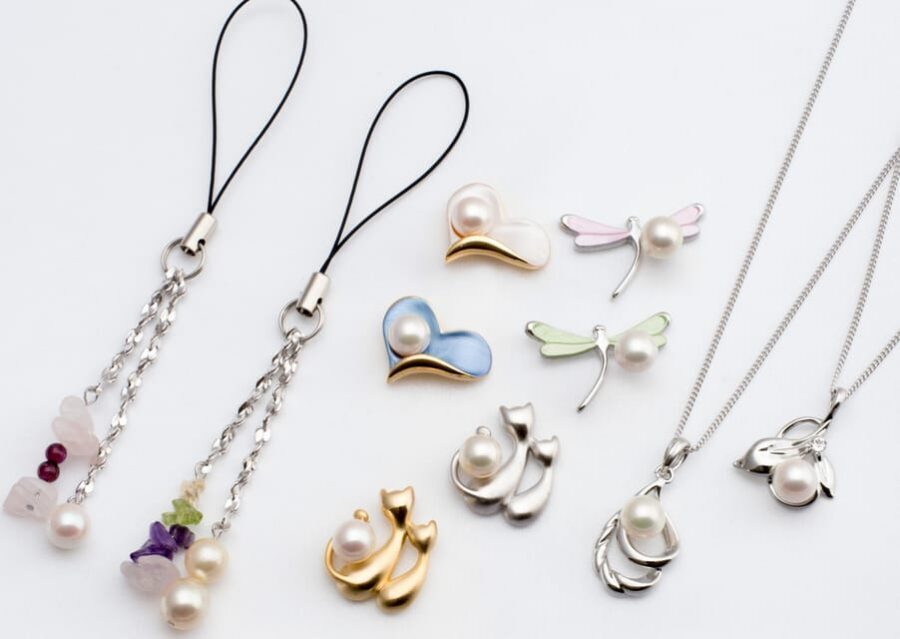
After harvesting, you select the metal fittings for your accessory. The workshop offers many designs of hardware, and you choose what style you want to pair with your pearl. You can typically set your pearl into:
- Cell phone straps
- Pendants
- Clip-on or regular earrings
Other items (like pins/brooches, bracelets, tie stoppers, tie pins) may be available, but they can cost extra on-site. The key point is that the base fee covers one oyster plus a specific fitting set for your chosen accessory type. Anything above that changes the on-site price.
What I like about this structure is that it keeps things simple. You don’t have to understand jewelry engineering. You choose a look, and staff handles the finishing work.
Price and Value: What the Fee Covers (and What Can Change)
The workshop price is shown as about $17 per person, and the fee includes processing based on the accessory you choose.
There are two clear included options:
- Cell phone strap processing: 1 Akoya oyster (JPY 1,100) + metal fittings (JPY 1,650)
- Pendant processing: 1 Akoya oyster (JPY 1,100) + metal fittings (JPY 2,200)
So you’re not paying only for “opening an oyster.” You’re paying for the pearl oyster itself plus the hardware setup tied to your chosen item. You can think of it like this: the workshop converts a harvested oyster into an accessory package, with staff handling most of the assembly and finishing.
Where costs can shift: you might select a fitting on-site that’s pricier than the included set. The difference is paid during the session. And importantly, there are no refunds if you choose an included style that ends up costing less than the set price. In other words, treat the on-site fitting choices like committing to a bundle: pick what you genuinely want.
How the Store Time Works: While You Wait, You Browse
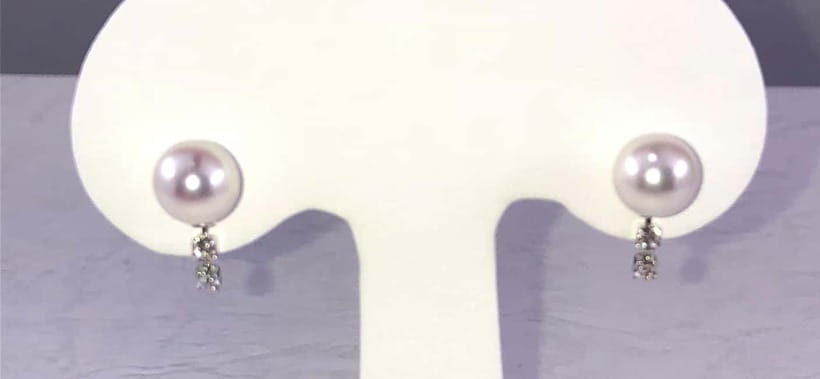
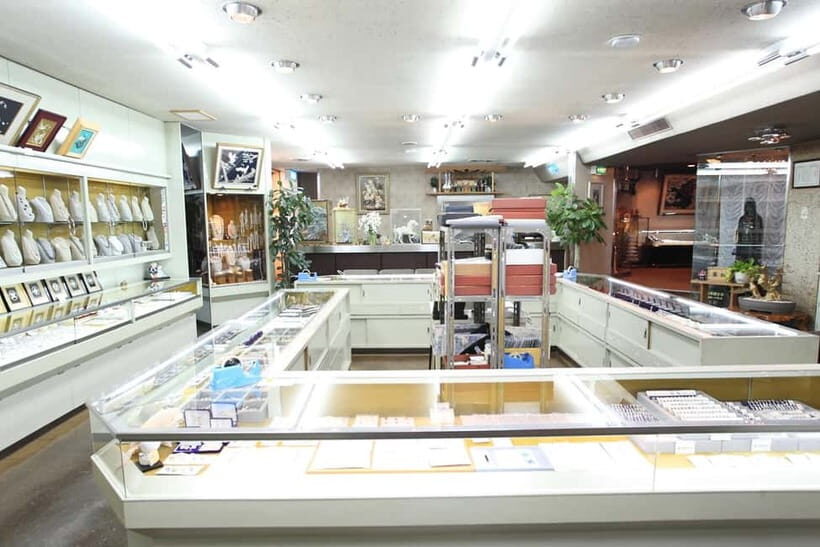
This is a “do it, then finish it” kind of workshop. While staff completes processing, you can tour the shop and look at pearl accessories. That browsing time is useful because it helps you understand the design range and the kind of hardware that pairs well with your specific pearl.
You’ll also see lots of finished pieces, so if you’re trying to picture how your pearl might look in a strap vs. a pendant, the showroom helps you make a better choice.
Language and Pacing: Japanese-Led Workshop Flow
The activity is in Japanese, and the instruction level you’ll get can vary. The workshop itself is very structured—choose an oyster, wear gloves, extract the pearl, wash it, then pick fittings. That structure can work even if your Japanese is limited, because the physical steps are clear.
Still, explanation depth might not match what you’d hope for if you want a long story about pearl cultivation, oyster biology, or what happens inside the shell. Some people may feel the activity is more like a quick hands-on procedure than a full educational lesson.
If you want more context, go in with a mindset of participation rather than lecture. You’ll likely enjoy it most as a short craft and souvenir-making experience.
Quality Reality Check: Your Pearl May Look Different Than You Expect
A pearl isn’t always predictable. Even when the shell is your own, results can surprise you in size and color.
One of the more positive surprises people report is a pearl with a slightly pink shade. That’s the fun side of choosing live oysters: the harvested pearl can show character you didn’t pick by sight alone.
On the other hand, some visitors have raised concerns about mismatches between what they thought they harvested and what ended up in the finished outcome, plus the fact that the “inside story” of the oyster isn’t always explained in detail. If you’re the type who needs everything to feel perfectly transparent, you’ll want to ask clear questions in simple terms before finishing steps.
Best Use of Your Time: Who Should Book This Workshop
This activity is described as enjoyable for a wide age range—people from children to the elderly can take part—though it’s not suitable for children under 5.
I think this fits best if you:
- Want a short, hands-on souvenir with real participation
- Enjoy craft activities where you choose the style afterward
- Like the idea of harvesting a pearl from a living oyster, not just buying jewelry
It might be less satisfying if you:
- Want a long educational session with extensive explanation
- Expect staff to provide detailed English guidance
- Prefer to skip jewelry choices and just walk away with a loose pearl (the included fee is tied to accessory processing, so you’ll likely still need to choose fittings)
Practical Tips Before You Go
A few small choices can make the experience smoother:
- Wear closed-toe shoes. You’ll handle the oyster and tool work at close range.
- Don’t be shy about using gloves. The smell is part of the process, and glove handling is required.
- Decide early what you want: a cell phone strap is a different vibe than a pendant. The included fee structure depends on that choice.
- Budget for on-site fitting upgrades. You’ll likely see more hardware options than the included set.
- Ask a simple question if you care about the finished result. For example, ask what the pearl will be set into once you pick your fittings.
If your plan includes getting back after the workshop, do not assume the shop will automatically arrange transport. One positive detail: some people report staff helped with taxis back to the train station, but it’s safest to plan your return route so you’re not stuck.
Should You Book Kikuchi Pearl’s Hands-On Pearl Harvesting Workshop?
Book it if you want an engaging, hands-on Akoya pearl experience in the Ise-Shima region, with the satisfying bonus of choosing metal fittings for your own accessory. For many people, the highlight is the hands-on oyster selection and opening, plus the fun of discovering what the pearl looks like once it’s out.
Skip or approach with caution if you’re mainly seeking deep education, step-by-step English guidance, or a no-fuss “just give me the pearl” outcome. The workshop is short, and pacing and explanation depth may not match your expectations.
If your idea of a great trip moment is holding something real, doing the work yourself, and leaving with a wearable piece you customized, this one is worth the hour.
FAQ
How long is the pearl harvesting workshop?
The workshop runs for about 1 hour.
Where do I meet the workshop?
You can reach it by going from Ise-Shi Station on the JR Sangu Line toward Toba, getting off at Isuzugaoka Station, then walking about 5 minutes.
How much does it cost?
The experience is listed at $17 per person.
What’s included in the fee?
The fee includes processing tied to your chosen accessory. Cell phone strap processing includes 1 Akoya oyster plus metal fittings, and pendant processing includes 1 Akoya oyster plus metal fittings. Processing fees are included.
What accessories can my pearl be made into?
You can choose cell phone straps, pendants, and clip-on or regular earrings. Other items may be available but can require extra payment on-site.
Do I get to choose the jewelry hardware?
Yes. You select the metal fittings for the accessory from many designs available in the shop.
Is any additional payment required?
It can be. If you choose metal fittings that cost more than the included set, you’ll pay the price difference on-site.
Are there age restrictions?
Children under 5 are not suitable for this activity.
Is the workshop wheelchair accessible?
Yes, it’s listed as wheelchair accessible.