REVIEW · NARITA
From Narita Airport: Private Layover or Transit Guided Tour
Book on GetYourGuide →Operated by Orange Inc. · Bookable on GetYourGuide
Four hours, and Narita feels like Japan. This private layover visit pairs Naritasan Shinshoji Temple with the old-street vibe of Naritasan Omotesando, plus a Japanese lunch paced for real travel time. I like how the private guide makes the whole route feel personal, not checklist-y. I also like that you’re not just seeing sights you’re catching cultural moments like the Goma Prayer fire ceremony.
The main drawback is simple: it’s a walking tour, and you’ll be on your feet. Add summer heat or a sudden rain, and you’ll want solid shoes and a little patience while the guide adjusts the route.
If you have a long layover (or you land early and fly out late), this is a smart way to use time without bouncing to Tokyo. You’ll get a small, authentic slice of Japan around Narita, with local help from Orange Inc. and guides such as Fusako and Chiho.
In This Review
- Key things that make this Narita layover tour worth your time
- A Short Layover That Doesn’t Feel Like a Wait
- Meeting Your Guide at Narita: What to Look For
- The 15-Minute Train Ride That Gets You Out of Airport Mode
- Naritasan Omotesando: The Old-Street Stroll You’ll Actually Remember
- Naritasan Shinshoji Temple and the Goma Prayer Fire Ceremony
- Lunch Around Narita: A Real Taste of the Seasons
- Two Hours of Free Time: Use It, Don’t Wander
- Price and Logistics: When This Private Tour Feels Like Value
- What Helps Most on This Tour: Shoes, Heat, and Cash
- Who This Narita Layover Tour Suits Best
- Should You Book It? My Practical Call
- FAQ
- Where is the pickup point at Narita Airport?
- Where is the pickup point at Narita Station?
- How long is the tour, and what’s included in that time?
- Is lunch included in the price?
- Do I need to pay for the train fare separately?
- Do I need cash for shops and transport?
- Is the tour wheelchair accessible, and does it run in bad weather?
- What is the cancellation policy and payment option?
Key things that make this Narita layover tour worth your time
- Naritasan Shinshoji Temple plus the Goma Prayer: a short visit that still feels like you saw something real, not staged
- Omotesando Street walk with local context: you learn while you stroll, so shops and sights make sense
- Private, customizable pacing: your guide can slow down, answer questions, and adjust for your interests
- Food that matches the seasons: lunch can include eel, sushi, tempura, soba/udon, and more (meal choices vary by restaurant)
- Airport-to-old-town logistics handled for you: pickup locations, train direction, and meeting points are built in
- Rain or shine, with practical precautions: expect heat and weather awareness from your guide
A Short Layover That Doesn’t Feel Like a Wait
Narita can be a tricky airport day. You’re tired, you’re time-limited, and you still want Japan to start the moment you land. This tour gives you a tight plan that stays near Narita, so you’re not gambling on transit timing.
What I like most is the shape of the experience. You start with a short train transfer, then step into an old-world pocket of Narita around Omotesando. After that, you hit a major temple site—then you still have real breathing room afterward with free time and lunch. It’s a good formula for jet lag days because you get variety without a marathon.
You can also read our reviews of more guided tours in Narita



Meeting Your Guide at Narita: What to Look For
Pickup is included, and the meeting points are clear. At the airport, you meet near the Tourist Information Center in the Visitor Service Center area on the Arrival Level of the Central terminal building, Terminal 1. At Narita Station, you meet near the Tourist Information Center right outside the east exit of JR Narita Station.
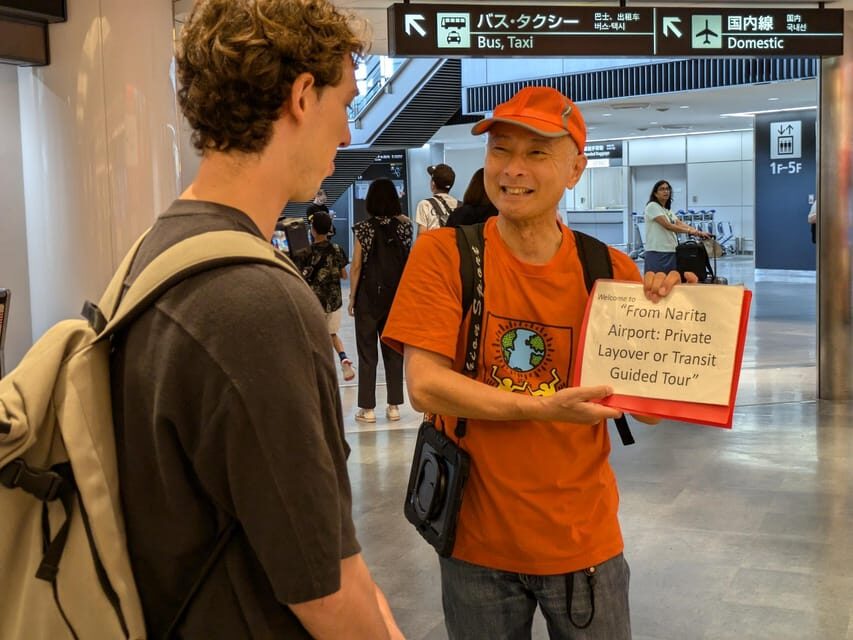
Your guide wears something orange, so it’s not guesswork. Communication can be strong too. One traveler shared that Orange Inc. support rep Kai reached out on WhatsApp and even sent meeting-point photos. If you like quick confirmation before you step out of arrivals, this kind of support helps.
The 15-Minute Train Ride That Gets You Out of Airport Mode
After pickup, you take a train toward Narita Station area—about 15 minutes. You’re not stuck waiting, and the guide helps you with what you need for the ride, including practical navigation.
Why this matters: the biggest stress on layover days isn’t sightseeing. It’s timing. A short, scheduled transfer keeps the day on track, and it reduces the chance you’ll miss part of the temple visit while you’re figuring out transit.
Do note that the train fare is not included. You should have cash for it—about 500 yen is mentioned as a rough figure. Plan for that so you don’t get stuck at the ticket gate.
Naritasan Omotesando: The Old-Street Stroll You’ll Actually Remember
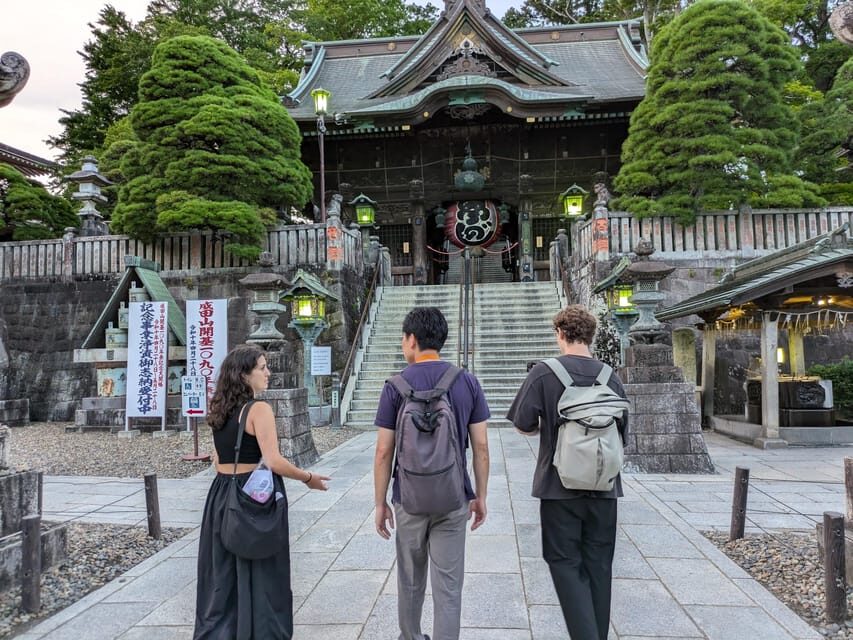
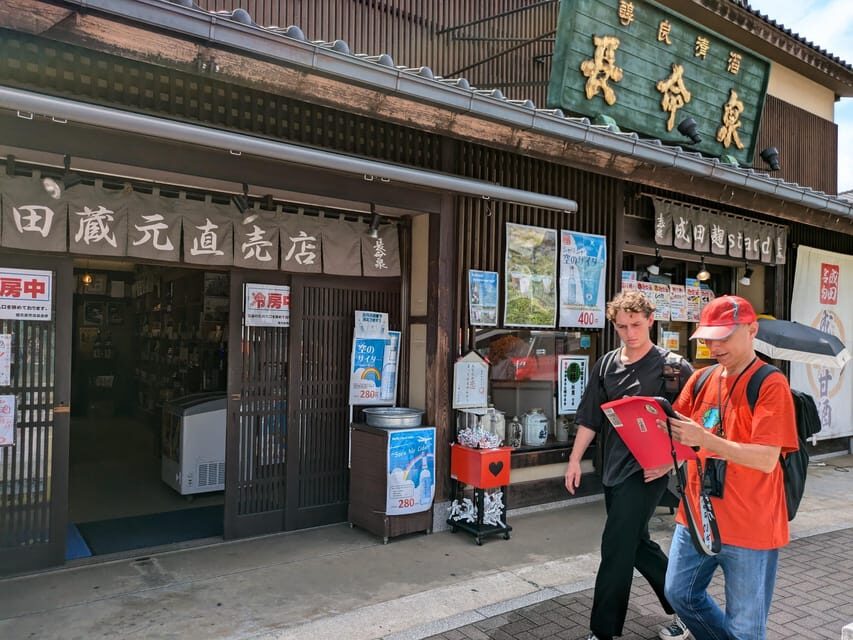
The tour’s first guided block happens on Naritasan Omotesando, with about an hour to walk and explore. This is the classic street approach: shops, small food stops, and that sense that you’re watching local daily life rather than a theme park version of Japan.
What makes the Omotesando walk valuable is what your guide adds around it. People have shared experiences like learning about Kabuki Theatre while walking, spotting customary products, and getting recommendations for snacks and sweets. In one case, a guide steered a guest toward seasonal treats and even helped with small activities like paper crane origami.
Practical tip: if you’re shopping, bring cash. Some stores don’t accept credit cards. If you want souvenirs, snacks, or small gifts, the tour suggests preparing around 10,000 yen to make the day easier. And keep your pace comfortable. This walk is best when you’re not rushing.
Naritasan Shinshoji Temple and the Goma Prayer Fire Ceremony
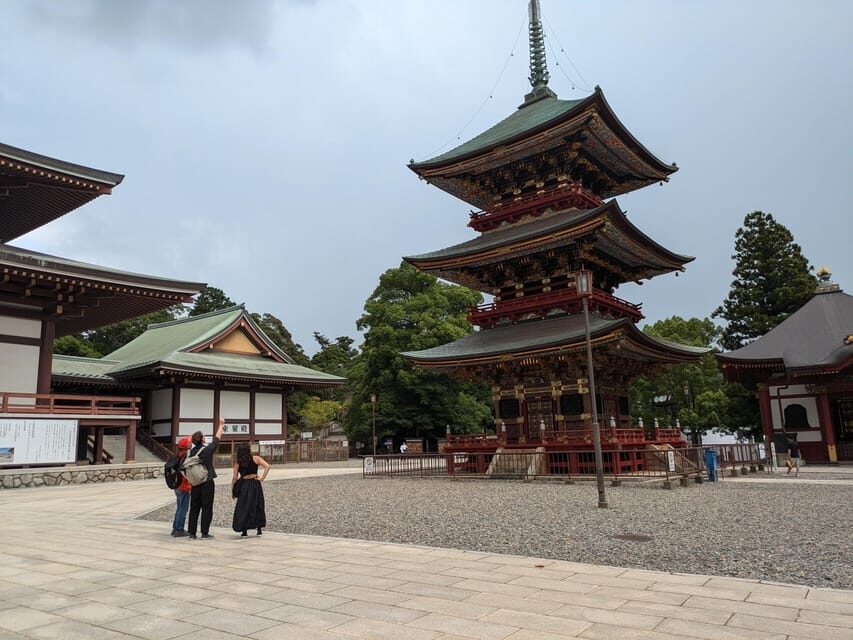
Next comes the heart of the cultural visit: Naritasan Shinshoji Temple, guided for about 30 minutes. This is where the day turns from street-level Japan to something more spiritual and historical.
The big highlight is the Goma Prayer ceremony. The Goma ceremony involves prayer connected to fire, and you’ll have the chance to observe it as part of the temple experience. For many people, this is the moment that turns a layover into a story they tell later.
What to expect during this short stop:
- You’ll get context about Buddhism and the temple site
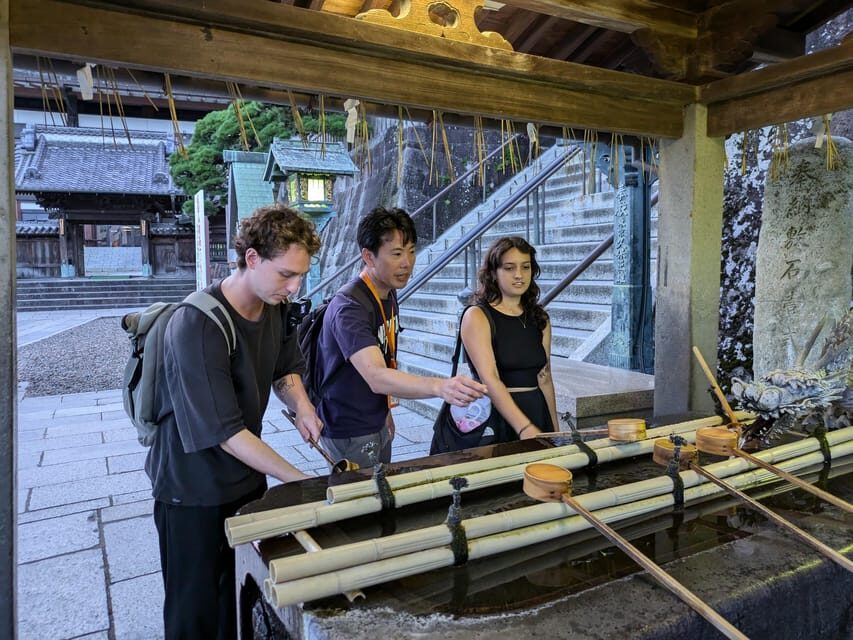
- You’ll have time to walk around the temple area and gardens (depending on what the guide adjusts on the day)
- You can experience part of the ceremony during your visit
One more thing: ceremonies can be sensitive to timing and conditions. The schedule here is tight—so dress and arrive ready. And if the day is very hot, be flexible. The route may change on days that are too hot, so your guide may adjust where you spend time.
You can also read our reviews of more private tours in Narita




Lunch Around Narita: A Real Taste of the Seasons
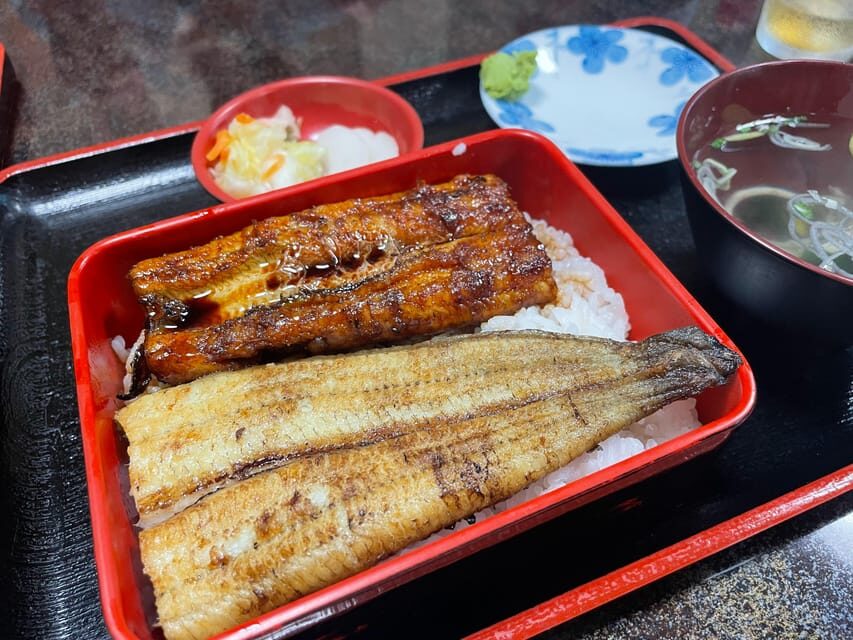
Lunch is about an hour at a local restaurant, and it’s not included in the tour price. Still, the tour structure is helpful: you’re not searching when you’re hungry and jet-lagged.
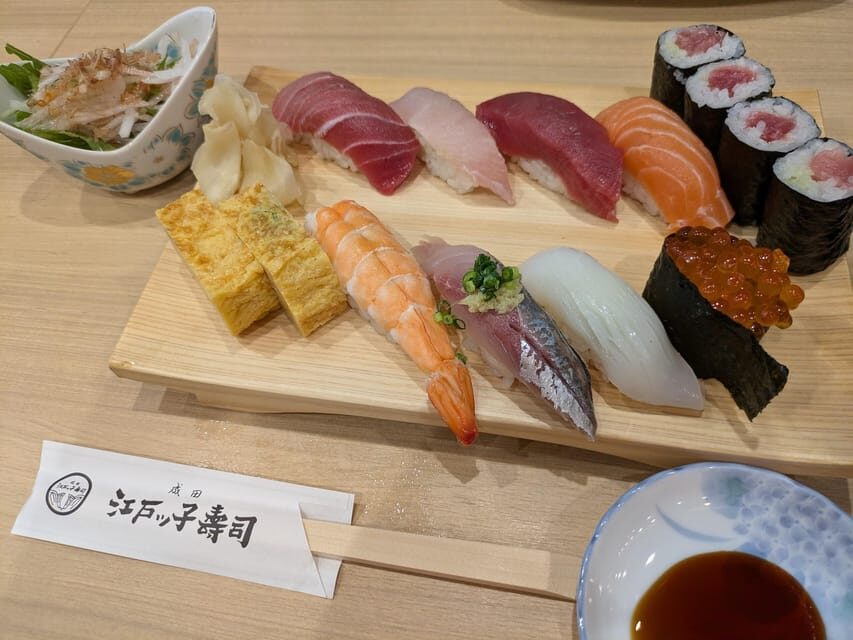
Your menu options can include eel (a Narita specialty in the Omotesando area), sushi, tempura, soba, or udon. The idea is that you get a Japanese meal experience that reflects the seasons. Some lunches also turn into a bigger cultural moment. For example, one traveler described a lunch at a tea house and another mentioned activities like haiku writing during the meal time.
Budget note: a regular Japanese dish is often around 2,000 yen, and slightly higher-end options may land around 3,000 to 4,000 yen. If you want to eat comfortably without counting every yen, plan lunch money in advance and keep a little extra for snacks afterward.
Two Hours of Free Time: Use It, Don’t Wander
After the temple and before the final train back, you get about two hours of free time in Narita. This is a gift if you’re curious, but it can also be wasted time if you don’t plan.
Here’s how I’d use it:
- Do a focused second look at the areas your guide highlighted on Omotesando
- Buy snacks or small souvenirs while shops are still open
- If you want, return to the temple area briefly—only if your guide says it fits the timing
Your guide may also point out places that are reasonably priced. That matters because the day is short and you don’t want to waste your free window comparing too many options.
And since it’s a walking tour, watch your energy. This kind of free time works best when you keep the plan small and local.
Price and Logistics: When This Private Tour Feels Like Value
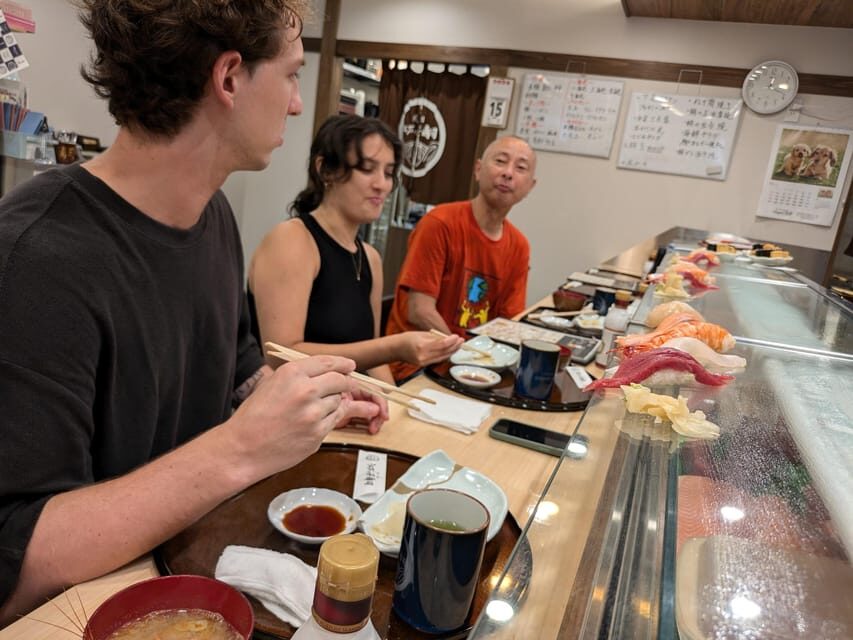
The price is $277 per group up to 4 people for a 4-hour experience. That’s not cheap if you’re traveling solo. But value changes fast when you split it.
Here’s the value logic I’d use:
- You’re paying for a private guide, not just a ticket price
- You get airport pickup, a guided walking experience, and support around train access
- You also gain time savings because your day is structured so you don’t waste hours figuring things out
Costs not included:
- Lunch fee
- Train fare (around 500 yen mentioned)
- Baggage storage fees (you’re expected to leave large luggage at the airport since it’s a walking tour)
So the tour price is mainly “time + local expertise.” If you’re the type who benefits from having someone sort out practical details for you, it will feel worth it. If you want to wander on your own and you’re comfortable navigating trains with minimal help, you might prefer a simpler approach.
What Helps Most on This Tour: Shoes, Heat, and Cash
You’ll get the most out of the day if you show up prepared.
Bring:
- Comfortable shoes (you’ll be walking)
- A hat and heat protection (heat stroke precautions are recommended)
- Cash (some stores may not accept credit cards)
Also keep in mind:
- All visitors pass through airport-style security
- The tour runs rain or shine
- The guide can change the route on very hot days
If you’ve ever had a layover where you just drifted, thinking you’ll figure it out later, this tour is the opposite. You’re given a plan, and you still have room to breathe.
Who This Narita Layover Tour Suits Best
This is a great fit if you:
- Have a long layover and don’t want to sit in the terminal
- Prefer walking through a real neighborhood rather than jumping farther away
- Like cultural context from a guide, including ceremony observation
- Travel as a couple or small group, so the per-person cost drops
It’s also a smart pick if you want something more grounded than a quick photo stop. The temple plus Omotesando combination is a clean way to understand Narita beyond the airport.
If you’re extremely mobility-limited, note that it’s wheelchair accessible, but it’s still a walking experience. You’ll want to discuss your needs with the provider before you go so the pacing matches what you can handle.
Should You Book It? My Practical Call
Book this tour if your layover is long enough that you’ll regret staying put. The big win is that you get a guided slice of Narita culture—Omotesando street life, Naritasan Shinshoji Temple, and Goma Prayer—without the chaos of planning a full day trip.
Skip it if:
- You hate walking and don’t want to manage weather or heat
- You’re traveling solo with very strict budget limits
- Your layover is so short that the structured schedule could feel like a squeeze
For many people, the sweet spot is exactly what the tour is built for: time between flights that you want to turn into a meaningful Japan moment. And with private guides like Fusako and Chiho, plus strong communication support from Orange Inc., the day is designed to feel cared for, not thrown together.
FAQ
Where is the pickup point at Narita Airport?
You meet your guide near the Tourist Information Center in the Visitor Service Center area on the Arrival Level of the Central terminal building, Narita Airport Terminal 1.
Where is the pickup point at Narita Station?
You meet your guide near the Tourist Information Center right outside the east exit of JR Narita Station.
How long is the tour, and what’s included in that time?
The tour lasts about 4 hours. It includes pickup, a train ride, a guided walk on Naritasan Omotesando (about 1 hour), a guided visit at Naritasan Shinshoji Temple (about 30 minutes), about 2 hours of free time, and about 1 hour for lunch.
Is lunch included in the price?
No. Lunch is not included. The tour suggests budgeting roughly 2,000 yen for a regular dish or 3,000 to 4,000 yen for slightly higher-end options.
Do I need to pay for the train fare separately?
Yes. The train fare is not included, and you should prepare cash (around 500 yen is mentioned as a rough figure).
Do I need cash for shops and transport?
Yes. The tour recommends bringing cash because some stores do not accept credit cards, and it also notes there may be fares that require cash. Having about 10,000 yen is suggested to make shopping easier.
Is the tour wheelchair accessible, and does it run in bad weather?
The tour is listed as wheelchair accessible, and it runs rain or shine.
What is the cancellation policy and payment option?
You can cancel up to 24 hours in advance for a full refund. It also offers reserve now and pay later, so you can book without paying right away.