REVIEW · OSAKA
Osaka Photography Masterclass – Private Photography Lesson
Book on Viator →Operated by Aperture Tours · Bookable on Viator
Neon Osaka teaches your camera fast. In this private Osaka photography masterclass, pro shooter Irven helps you plan shots from camera settings to composition, so you stop guessing and start controlling light. The only snag: a tripod isn’t provided, so night long-exposure fans may want their own gear.
You’ll move through Shinsekai and Dotonbori with coaching for both day street scenes and night neon reflections. It’s private, so the pace is yours, not the crowd’s.
In This Review
- Key things you’ll notice right away
- A private 3-hour lesson that changes how you shoot Osaka
- Day route: Shinsekai, Tsutenkaku, and the street-angle practice
- Night route in Dotonbori: long exposures, motion, and reflections
- Irven’s coaching: camera settings, composition, and seeing light
- What to bring: cameras, phones, and the tripod question
- Meeting point and pacing around Osaka’s photo streets
- Price and value for $170: when this is worth it
- Should you book the Osaka Photography Masterclass?
- FAQ
- How long is the Osaka Photography Masterclass?
- Where does the photo tour take place?
- Is it a private tour?
- What’s included, and do I need to bring my own gear?
- Will I receive a mobile ticket?
- What is the cancellation window?
Key things you’ll notice right away
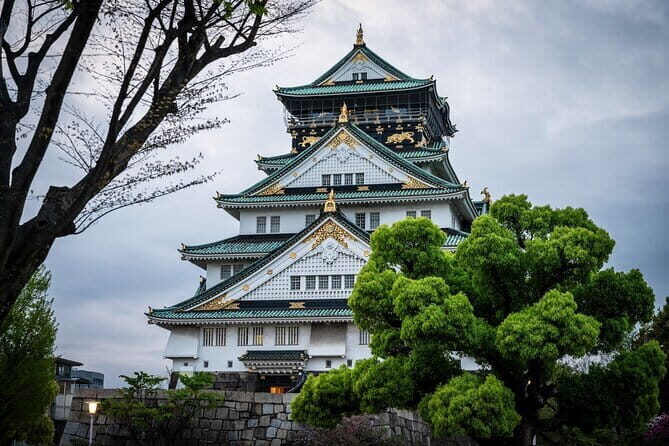
- A real photographer mindset, not just a walk: Irven focuses on what to look for before you even press the shutter.
- Day and night are treated differently: you practice angles and daylight street scenes, then switch to motion and reflections at night.
- Clear instruction on camera settings: you’ll get practical guidance you can reuse the next day.
- Convenient meeting location and a tight 3-hour format: you cover a lot without feeling rushed.
- Smart coaching works with phones too: one review highlighted shooting on an iPhone and still benefiting from the teaching.
- Private means your questions get real answers: the session is tailored to your level and pace.
A private 3-hour lesson that changes how you shoot Osaka
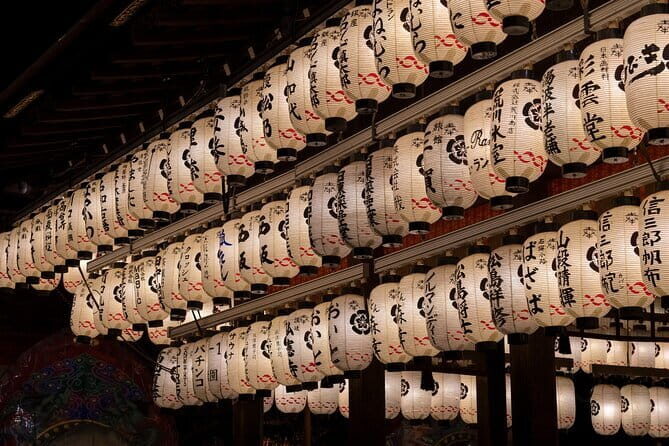
This experience is built for one thing: getting you better photos by learning what to do in the moment. You’re with a local guide and a professional photographer, and the session is private, so you’re not trying to read a group’s body language while your camera waits.
At about 3 hours, the timing is long enough to practice, not just pose. You’re also not stuck in one “pretty view” the whole time. Instead, you’ll be guided through specific parts of Osaka where the lighting and street energy do the hard work for you.
The biggest value is that you’re learning a repeatable method. You should leave knowing how to choose a direction, frame a subject, and adjust camera settings to match what’s happening around you. And because this is private, your coach can slow down when you’re troubleshooting or speed up when you’re ready.
One more practical win: your guide can help you find the right angles and timing. In Osaka, crowds move fast and lights switch on and off. Having someone who understands the rhythm saves time and helps your photos look intentional, not accidental.
You can also read our reviews of more private tours in Osaka
Day route: Shinsekai, Tsutenkaku, and the street-angle practice
On the day version, your route starts in Shinsekai, a neighborhood known for its retro mood and street-level character. This is the kind of place where small details matter: signage placement, the way people fill the sidewalks, and how the buildings frame a shot.
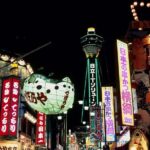
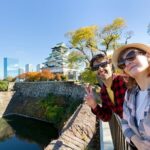
From there, you’ll head toward Tsutenkaku Tower, the big landmark that gives you a clear subject to build compositions around. A common mistake when shooting iconic structures is treating the tower as the whole photo. You’ll get guidance on how to include context—street texture, lines, and surrounding elements—so the landmark becomes part of a story instead of a souvenir postcard.
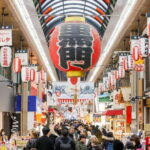
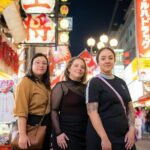
Then the session shifts to Dotonbori, where Osaka’s visual style turns up the volume. Even during daylight, the area has strong graphic shapes and bright storefronts. Daylight also helps you learn composition without the pressure of neon brightness or long exposures.
What I like about this day structure is that it teaches you the fundamentals in the right order. You start with street scenery where framing is the challenge, you use Tsutenkaku for scale and shape, then you finish where color and signage can tempt you into overexposure. The coaching helps you stay in control while still capturing the fun, loud feeling of the city.
A small consideration: if you’re new to your camera, you’ll do best if you already know where your main settings live (even if you don’t fully understand them yet). If you need to constantly hunt menus, you’ll lose practice time.
Night route in Dotonbori: long exposures, motion, and reflections
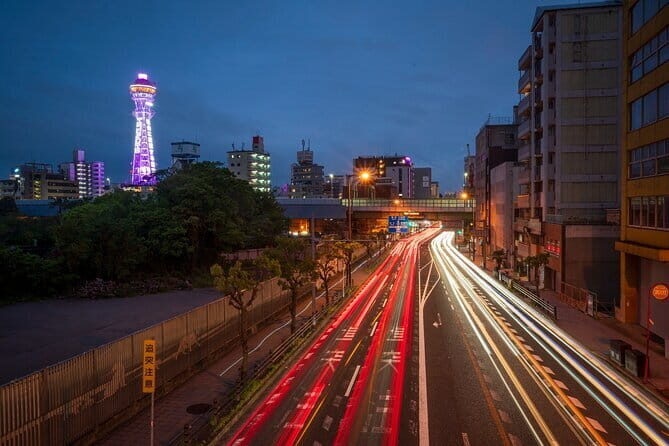
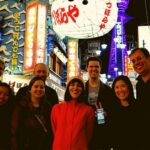
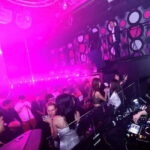
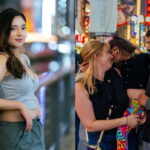
The night version focuses on Dotonbori, which is exactly where you want to be when you’re learning night photography. The area’s neon signs, canal views, and street motion create the perfect mix of light sources and movement.
This is where you’ll get practical instruction for long exposure and capturing motion. That sounds technical, but the goal is simple: make moving things look meaningful instead of just blurry mess. You’ll learn what settings to adjust to hold highlights under control and how to manage the contrast between dark streets and bright signage.
The coaching also helps you “read” reflections. Water and polished surfaces can turn a normal shot into something more dynamic, but they also trick your exposure. One exposure that’s great for the sign can turn the reflection too bright, and the reverse can crush the highlights. Your guide can steer you toward settings that keep the scene balanced.
Night photography in Dotonbori is also about anticipation. People flow by, boats move, signs flicker, and lighting changes as you reposition. A good coach helps you wait for the right moment instead of constantly chasing it. The teaching is meant to get you thinking in sequences: frame, adjust, wait, shoot, and repeat.
If your plan is to shoot fireworks-level neon photos, remember this: a tripod isn’t included. If you want clean long exposures, bringing one (or any stable support) will make a big difference. If you don’t have one, you can still learn a lot about composition and settings, but your results may be more limited at the longest shutter speeds.
Irven’s coaching: camera settings, composition, and seeing light
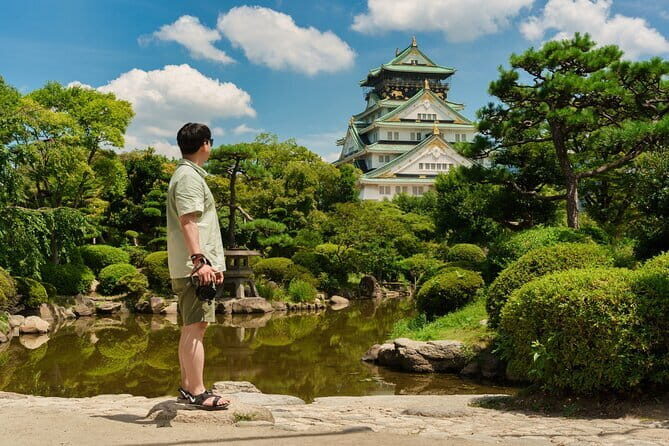
What separates this masterclass from a casual street walk is the focus on photography craft. The experience is designed for personalized education, including camera settings and composition. That means you’re not just told what to photograph. You’re taught why a shot works and what to tweak when it doesn’t.
Irven’s style is described as unhurried and explanatory. You should expect him to take time at each stop and explain what’s happening in front of your lens—how the light behaves, where the best angles usually are, and how to frame what you’re seeing rather than copying a single viewpoint.
This matters because street photography is not only about being quick. It’s about being deliberate. You’ll likely work on things like choosing your focal point, using leading lines from streets and signage, and deciding how much of the scene you want in focus.
Another useful part: your coach can tailor the session to your level and pace. If you already understand the basics, you can focus on refinement. If you’re brand new, you can concentrate on the few setting adjustments that matter most for the lighting you’re facing.
One practical bonus from real feedback: the teaching doesn’t require you to own the newest camera. A review specifically noted that someone shot the whole session on an iPhone, and the techniques still translated. In other words, the method is the point—how you compose and how you think about exposure—regardless of the device.
What to bring: cameras, phones, and the tripod question
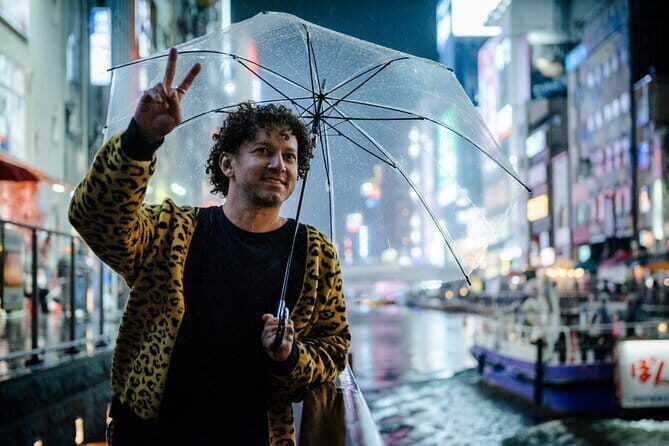
The experience doesn’t include a camera. It also doesn’t include a tripod, and that affects how you plan for night shooting. If you want crisp long exposures of neon reflections or smoother motion trails, plan to bring your own support. Even a small tripod or a stable alternative can help you hold the camera steady long enough to get cleaner results.
If you’re using a smartphone, you still benefit from learning composition and exposure logic. The city’s light sources are intense at night, so you’ll want to practice how your device handles brightness and contrast. Your guide can help you apply the same thinking—where to aim your exposure and how to frame the scene—without needing a special camera body.
If you’re using an interchangeable-lens camera, you’ll get the most out of the session if you’re ready to make quick changes. Bring a lens range you’re comfortable with, and know where your main settings are located. You don’t need to memorize everything, but you do want to avoid wasting time during the moments when the best shots happen.
One more thing to consider: the tour is private and follows a tight schedule. That makes preparation worth it. Wear comfortable shoes for walking between areas. Charge your device fully. And if you’re switching between day and night concepts, set aside time before you start to clear your camera settings so you don’t fight your gear.
You can also read our reviews of more photography tours in Osaka
Meeting point and pacing around Osaka’s photo streets
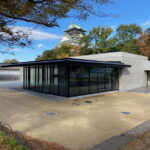
Your session starts at 3-21 Ōsakajō, Chuo Ward, Osaka, 540-0002, Japan, and ends back at the same meeting point. The location is stated as near public transportation, which matters because Osaka’s train and subway connections are efficient but easy to overcomplicate when you’re already navigating with camera gear.
Because this is a private tour, pacing is part of the value. Your guide can slow down when you’re learning or when a scene is changing quickly. You can also focus on your own photo priorities—street people, signage, architecture, tower shots, or neon reflections—without having to “keep up” with a big group.
Booking tends to happen ahead of time (it’s commonly reserved weeks in advance). If you know your Osaka dates, I’d secure it early so you can pick the day or night option that matches your goals.
And if you’re wondering about findability: the meeting point is meant to be straightforward. Still, I’d arrive a few minutes early. Photo sessions run better when you’re calm and set rather than rushing with the camera at full panic level.
Price and value for $170: when this is worth it
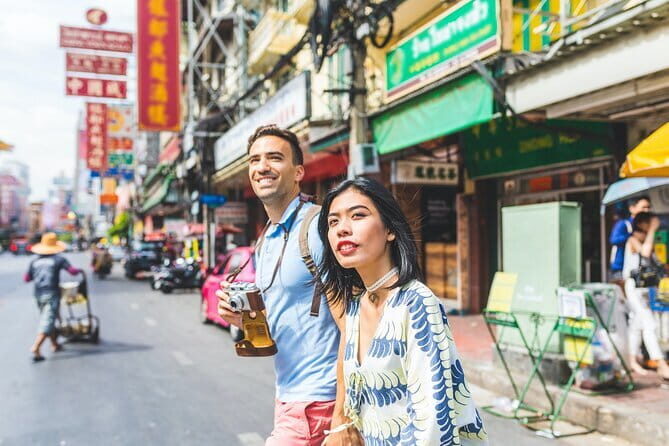
At $170 per person for about 3 hours, you’re paying for something you can’t easily replicate with a self-guided walk: real-time coaching plus local knowledge about where the best angles and lighting show up.
This price can feel steep if you only want a casual photo tour. But if you want to actually improve, it starts to look reasonable fast. You’re getting both a local guide and a professional photographer, and the teaching is personalized to your skill level and the specific conditions you face in each area.
You also get a practical flexibility: the tour can be offered in day and night formats. If you’re serious about learning night photography in neon environments, booking the night version can be a smarter use of money than trying to brute-force it alone. Long exposure, motion, and reflections require repetition and feedback, not just trial-and-error.
There are also group discounts, which can make the cost drop if you’re traveling with friends or family who share your photography interest. And because it’s private, you’re not dividing attention across a large set of people.
If you already know your camera deeply and just want “cool places,” you might feel like you could do it yourself. But if your goal is to learn what settings to change, why your frames aren’t working, and how to plan shots without getting lost, this is the kind of guided session that pays you back.
Should you book the Osaka Photography Masterclass?
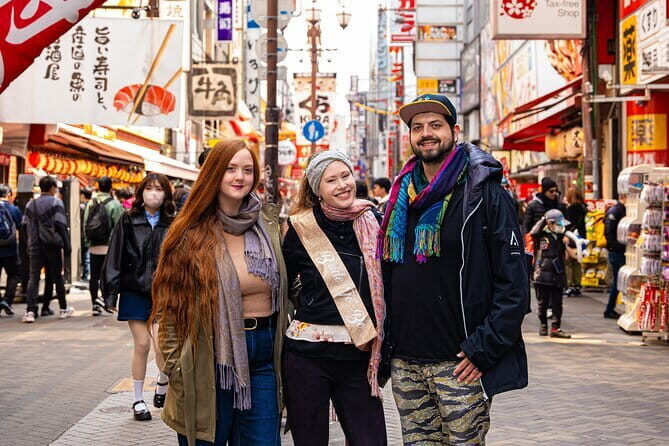
I think you should book this if you want photos that look planned, not lucky, and you’re open to learning while you walk. It’s especially worth it if you struggle with camera settings in real lighting, or if night photography in places like Dotonbori feels intimidating.
You’ll also enjoy it if you want your guide to slow down and explain what’s happening at each stop, not just point and move on. The coaching style described around Irven is patient and instructional, and that’s a big deal when you’re trying to improve fast in one short session.
Skip it if you only want a photo sightseeing pass and you don’t care about settings, composition, or learning. Since you’ll get more value by actively practicing, you’ll feel the cost more if you treat it like a casual walk.
If you’re deciding between day and night, pick based on your goal. Go day for street angles and fundamentals, and choose night if you want long exposure and motion under neon.
FAQ
How long is the Osaka Photography Masterclass?
The session is about 3 hours.
Where does the photo tour take place?
The day version goes from Shinsekai to Tsutenkaku Tower and then to Dotonbori. The night version focuses on Dotonbori for night photography practice.
Is it a private tour?
Yes. It’s private, so only your group participates.
What’s included, and do I need to bring my own gear?
Included is a local guide, a professional photographer guide, and the private tour. A camera and a tripod are not included.
Will I receive a mobile ticket?
Yes. It’s listed as a mobile ticket.
What is the cancellation window?
You can cancel for a full refund up to 24 hours before the experience starts. Changes within 24 hours of start time aren’t accepted.