REVIEW · OSAKA
Guided Photography Tour in Osaka: Capturing Memories
Book on Viator →Operated by Travel Japan Together · Bookable on Viator
Neon streets, better photos. This small-group Osaka photography walk pairs landmark stops like the Glico Sign with a guided photo session, with morning or evening options to match your schedule.
I like two big things right away: you get professionally edited digital photos after the shoot, and you also receive posing coaching so you don’t have to stand there guessing angles. The guide name you’ll hear—Mina—comes across as friendly and personable, and that matters when you’re trying to feel comfortable in front of a camera.
One consideration: at least one review flagged a problem with receiving the edited photos afterward (or getting a response after reaching out). Since the details of delivery timing aren’t spelled out in the info I’m using here, I’d treat it as a “confirm the process” moment so you’re not left wondering.
In This Review
- Key highlights you’ll feel on the street
- What this Osaka guided photography tour is really about
- Starting at the Glico Sign: your Dotonbori photo foundation
- Hozen-ji Temple: lantern mood in a place most people skip
- Back to Dotonbori: the river walk for natural-looking photos
- Mitsudera Kaikan: Osaka nightlife energy without the big tourist glare
- America Mura: youth fashion and music energy
- What you’ll get at the end: edited digital photos (and why that matters)
- Morning vs evening: picking the Osaka mood you want
- Price check: is $85.39 good value for Osaka photos?
- Who this tour suits best (and who might not)
- Quick practical tips before you go
- Should you book this Osaka guided photography tour?
- FAQ
- How long is the guided photography tour in Osaka?
- Where do I meet for the tour?
- Can I choose a morning or evening tour?
- What do I receive from the photo session?
- How many people are in the group?
- Are there admission fees for the stops?
- What is the cancellation policy?
Key highlights you’ll feel on the street
- Small group (max 6) means less waiting and more attention when you’re getting your shots
- Photo coaching + posing tips so you’re not stuck doing awkward selfie faces
- Two timing options (morning or evening) helps you plan for different Osaka light and crowd levels
- Landmarks plus lesser-passed spots like Hozen-ji and a local bar-feeling building area
- Professionally edited digital photos designed for you to keep and share
What this Osaka guided photography tour is really about

This isn’t just sightseeing with a camera app running in the background. It’s a guided photo walk where the city is the subject—then you’re the moving part in the frame. You pick morning or evening, and that choice affects everything: the feel of Dotonbori’s neon, the density of foot traffic, and how much “night Osaka” vibe you can capture without rushing.
The practical win is that you’re not spending your trip hunting for photo spots alone. You get a set route, short stops at each location, and a pro’s guidance on how to look natural—especially in places where you’d normally blend into the crowd and miss the best angles.
The other nice thing: you’re leaving with edited digital photos. In other words, you’re not relying on shaky phone luck and hoping your camera app magically fixes the lighting.
You can also read our reviews of more guided tours in Osaka

Starting at the Glico Sign: your Dotonbori photo foundation
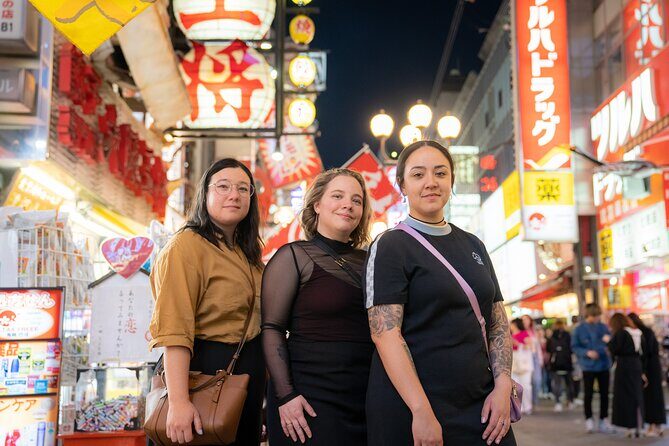
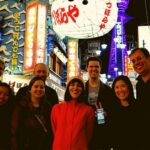
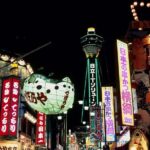
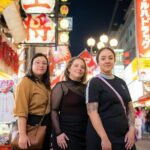
The tour begins at the Dotonbori Humanity Song Monument, then it moves to the Dotombori Glico Sign area. This is one of Osaka’s most recognizable landmarks, and that’s the point: you get an instant “I’m really here” anchor for your photo set.
You’ll spend about 15 minutes here, focusing on vibrant neon-style shots and the energy around the restaurants and signs. The area is built for photos—bright shapes, strong colors, lots of human activity—but it can also be overwhelming if you’re trying to direct yourself.
What you’ll likely appreciate is the structure. Instead of wandering until you get lucky, you’ll get coached on what to do at a specific location. That’s where “posing tips” turns from a vague promise into something you can use immediately: you’re not just standing and hoping.
A drawback to expect: it’s a famous spot. Even when you’re moving fast with a guide, you may run into crowds. If you’re sensitive to noise and people, choose your timing carefully (morning can feel calmer; evening leans into the neon atmosphere).
Hozen-ji Temple: lantern mood in a place most people skip
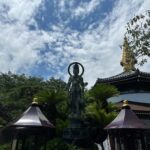
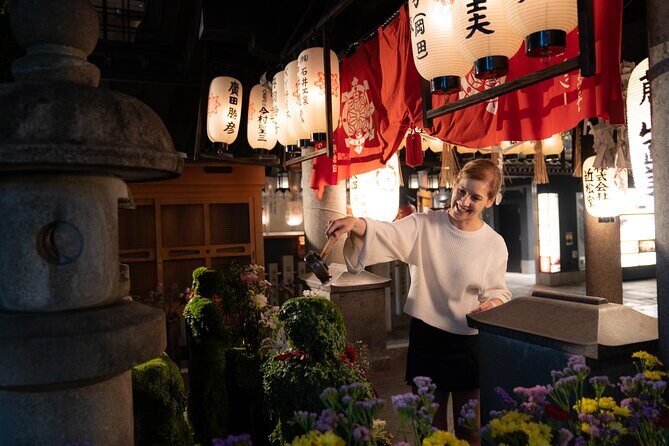
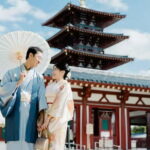
Next up is Hozen-ji Temple, very close to the Glico Sign—but it’s the kind of nearby stop many visitors miss. That contrast is why this stop is so valuable. You go from high-signal neon to a quieter, more atmospheric temple setting.
You’ll get about 15 minutes here, with photos that take advantage of the lanterns and the temple vibe. The lighting is different too: fewer harsh neon colors, more warm light, and a more “story” feel to your frames.
This is also a good mental shift in the tour. After photographing signs and street scenes, you’ll be asked to slow down—different posture, different direction, different sense of space. That’s where a pro’s coaching helps you look intentional rather than just present.
Practical note: temple areas can involve uneven ground and steps. Comfortable shoes matter, and you’ll want to keep your phone/camera ready so you don’t miss the right moment when the lantern light looks its best.
Back to Dotonbori: the river walk for natural-looking photos
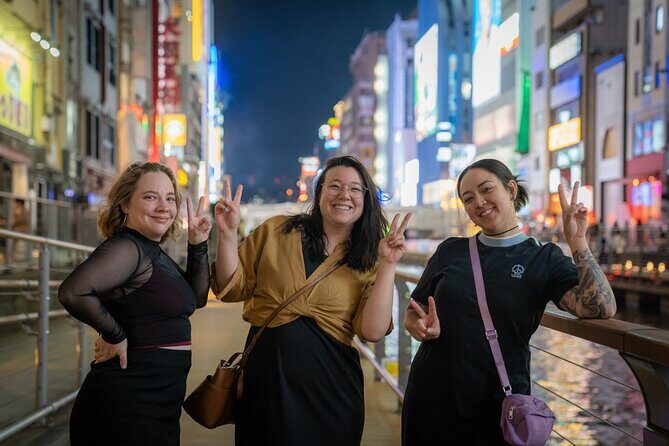
Then you return to Dotombori and walk along the river for about 20 minutes. This section is less about one single “icon” and more about variety—different viewpoints, different angles, and more natural movement shots.
This is where you can start to get frames that look like a memory, not like a staged photoshoot. The description points to “natural photos” of you walking along with the view—exactly what you want if you’re tired of stiff poses.
I like this part because it’s also a great way to see Osaka’s river-edge character. You’ll notice how Dotonbori changes as you shift your position: signs stretch or compress, the lighting changes along the walkway, and the background texture becomes more layered.
Possible drawback: because this is a walk, you can’t linger forever at one exact angle. If you’re hoping for long, relaxed wandering, this stop may feel like “quick samples.” The upside is you’ll still get a coherent set of shots by the time the tour ends.
Mitsudera Kaikan: Osaka nightlife energy without the big tourist glare
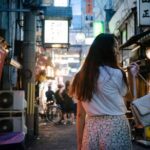
Stop 4 is Mitsudera Kaikan, described as a more local-feeling area with hidden buildings where bars gather. It’s not widely known even for locals (and that’s a rare win in a city famous for highly visible hotspots).
You’ll have about 10 minutes here, so you’re not going to fully explore every corner. Instead, you’ll capture the atmosphere—doorways, signage vibes, and the feeling of stepping into a different side of Osaka.
This stop is especially useful if you’re doing Osaka for the first time. A lot of photo sets end up looking like the same few streets. Mitsudera Kaikan helps diversify your album with a “local nighttime” tone that still fits the Dotonbori theme.
One consideration: since it’s a bar-focused area, the visual mood can depend on the time of day. Morning/evening choice matters again here. In evening, it likely reads more atmospheric; in morning, it may feel more like architecture and street texture than nightlife.
You can also read our reviews of more photography tours in Osaka



America Mura: youth fashion and music energy
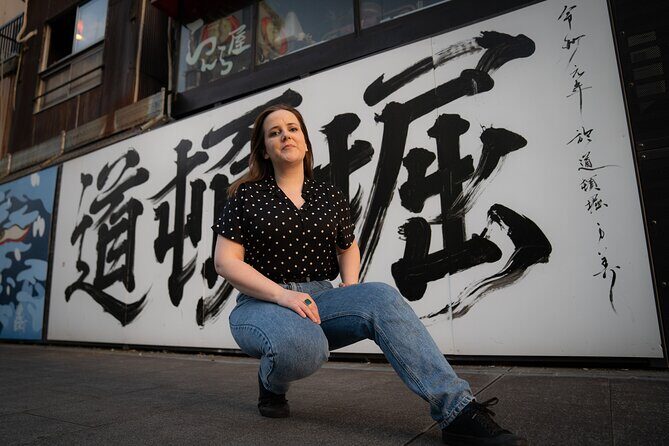
The final stop is America Mura (about 10 minutes). This is where fashion and music culture meet Osaka street style, with lots of younger local energy and chain restaurants in the mix.
This part of the tour is a nice contrast to the temple lanterns. You’re going back to attitude: street scenes, stylish backgrounds, and the feeling of a neighborhood where people dress and move differently than in the more formal tourist areas.
Even with short time here, the value is in the coaching. A pro photographer can show you how to position yourself so your shot looks like you belong in the scene, not like you’re posing beside it.
The info also suggests you’ll get local-Osaka-related photo guidance here—so it’s not just “stand here and smile.” Think of it as learning how to work with the neighborhood’s visual rhythm: storefronts, foot traffic flow, and the look of the street.
What you’ll get at the end: edited digital photos (and why that matters)
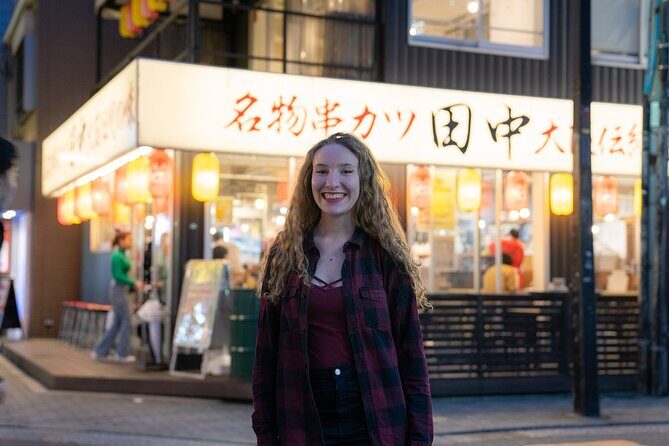
The tour’s promise is professionally edited digital photos. That’s the part that turns a “fun hour and a half” into something you can actually keep.
Why I think this is worth paying for: Dotonbori photos can be tricky. Neon signage can blow out phone cameras, shadows can get harsh, and night walking can mean blurry results. Editing is where your images get cleaned up into something shareable—especially for a set that includes both bright signs and warmer lantern light.
One more thing: posing tips. Even if you’re not comfortable in front of a camera, a guide’s direction helps you look more natural fast. It also makes the tour efficient. Instead of spending half your time experimenting, you get feedback and adjustments in real time.
That said, the one review issue about missing follow-up photos is a reminder to pay attention to the delivery process. If you book, I’d recommend you confirm what happens after the tour and when you should expect the edited images, so you’re not left chasing later.
Morning vs evening: picking the Osaka mood you want
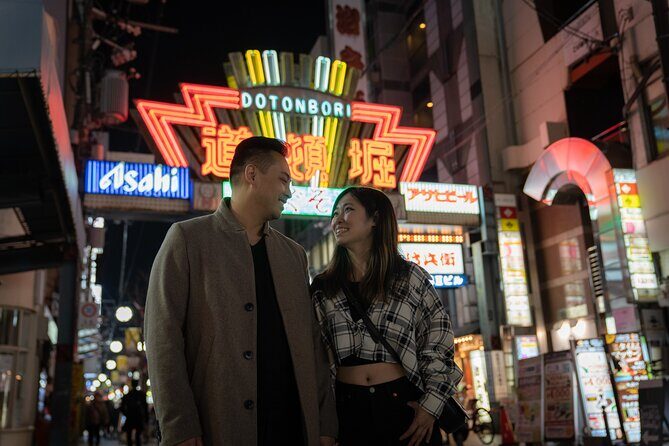
Choosing morning or evening isn’t a small detail—it changes what your photo set feels like.
Morning tours can help if you:
- want easier walking and fewer people around the landmark areas
- prefer a “daylight Osaka” color palette
- like the idea of photos that feel less neon-heavy
Evening tours can help if you want:
- stronger Dotonbori sign glow and night-city energy
- the lantern-and-street contrast in a more cinematic way
- a stronger atmosphere match for bar-side areas like Mitsudera Kaikan
Because the route is the same, your best strategy is to choose the time based on the mood you want in the album: daylight memory or night Osaka energy.
Price check: is $85.39 good value for Osaka photos?
At $85.39 per person for about 1 hour 30 minutes, this is not a budget “wandering photo walk.” You’re paying for three things that usually cost extra when you do them separately:
- a guided route through high-impact spots (including the more local-feeling areas)
- a professional photographer’s posing direction and on-the-spot coaching
- professionally edited digital photos you can keep
Value-wise, the small group size (max 6) matters. You’re not competing with a large group for the photographer’s attention, and shorter stops mean you need the guidance to make each location count.
If you’re the kind of traveler who loves photos and hates relying on your own framing skills, this can be a strong deal. If you just want a place to stand and take your own pictures without coaching, you’ll probably get less out of it.
Who this tour suits best (and who might not)
This guided photography tour is a great fit if you:
- travel solo and want professional-looking results without awkwardness
- want an efficient route that mixes icons with less-expected corners
- care about getting edited photos rather than raw snapshots
It may be less ideal if you:
- want to spend lots of time exploring each neighborhood on your own
- dislike crowds around major landmarks and are sensitive to busy streets
- prefer total control over every shot, with no direction from a photographer
Quick practical tips before you go
These are small things that make a big difference for a photo walk like this:
- Wear comfortable shoes. You’ll be walking between stops even with short time at each.
- Bring your phone or small camera ready, but rely on the guide’s timing. The goal is the final photos.
- If you’re choosing evening, expect the lighting contrast to be strong—follow direction and you’ll get better results.
- Have a simple plan for your day. This tour is short, so it pairs well with a separate longer meal stop before or after.
Should you book this Osaka guided photography tour?
I’d book it if you want a structured, photo-focused Osaka experience with real coaching and edited digital results. The mix of Dotonbori icons, the calmer Hozen-ji lantern mood, and the more local-feeling stops like Mitsudera Kaikan and America Mura gives you variety that a typical “walk and shoot” plan often misses.
I’d hesitate only if you’re very risk-averse about post-tour delivery. One review reported missing follow-up photos and difficulty contacting the provider, so make sure you understand what the delivery process looks like after the shoot.
If you choose the right time of day (morning for calmer streets, evening for neon and atmosphere), this tour can turn your Osaka memories into something you’ll actually want to show.
FAQ
How long is the guided photography tour in Osaka?
The tour runs about 1 hour 30 minutes.
Where do I meet for the tour?
You meet at the Dotonbori Humanity Song Monument, 1 Chome-10 Dotonbori, Chuo Ward, Osaka 542-0071, Japan. The tour ends back at the meeting point.
Can I choose a morning or evening tour?
Yes. The tour offers morning or evening options so you can fit it into your schedule.
What do I receive from the photo session?
You receive professionally-edited digital photos.
How many people are in the group?
This activity has a maximum of 6 travelers.
Are there admission fees for the stops?
The tour’s stops are listed as free admission (with free admission ticket notes for each location).
What is the cancellation policy?
You can cancel for a full refund up to 24 hours in advance of the experience start time, and the cancellation is free. If you cancel less than 24 hours before the start time, the amount paid is not refunded.