REVIEW · HIROSHIMA
Hiroshima & Miyajima: UNESCO A-Bomb Dome & Itsukushima with Local
Book on Viator →Operated by Local Gem Tour Hiroshima · Bookable on Viator
Two shrines and one hard truth. This Hiroshima and Miyajima day balances the calm of Itsukushima with the weight of the Atomic Bomb Dome, guided by a local who connects facts to family memory. I like the private pace that avoids the crush of big groups, and I love the hotel pickup that helps you start smoothly. The only real catch: it’s a walking-focused day, and the Peace sites are heavy—bring comfy shoes and a little patience.
I also appreciate that the guide can shape the day around you, including which direction you visit first to catch the floating torii at the tide. Guides such as Yuka, Massa, and Ally come through with strong English and a friendly, question-friendly style—useful when you want context, not just a checklist of stops.
In This Review
- Key points to know before you go
- How a private Hiroshima and Miyajima day balances calm and memory
- Choosing your route order: Miyajima first or Peace Park first
- Miyajima Island: Itsukushima Shrine and the floating torii gate
- What to watch for
- Beyond the torii: Daishoin Temple and Senjokaku for quieter meaning
- Omotesando shopping street: practical snacks and local souvenirs
- Moving from Miyajima back to Hiroshima Peace Memorial area
- Atomic Bomb Dome: what you’re seeing and how to look at it
- How long you’ll be there
- Hypocenter monument and the Peace Memorial Park pathway
- Hiroshima Peace Memorial Museum: radiation exposure and real documents
- Sadako at the Children’s Peace Monument: origami cranes and remembrance
- Price and value: what’s included, what’s extra, and why it still can be worth it
- Budget reality check
- Getting the most out of the walking style
- Who this Hiroshima & Miyajima tour fits best
- Should you book this Hiroshima & Miyajima private tour?
- FAQ
- How long is the Hiroshima & Miyajima tour?
- Is pickup from my Hiroshima hotel included?
- Which entrance fees are included in the price?
- Do I need to pay for transportation separately?
- Is lunch included?
- Can the schedule change to help me see the floating torii gate?
- Is this tour private?
- Are service animals allowed?
- What’s the cancellation and weather policy?
Key points to know before you go
- Private pacing, not a race: you can move at a speed that feels human.
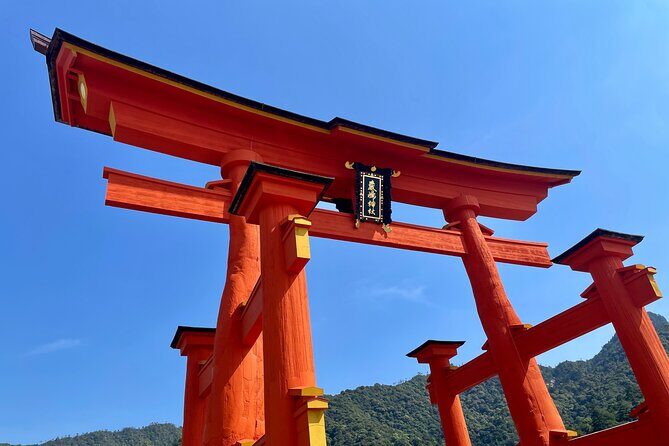
- Floating torii timing matters: the visit can be arranged to match your best chance at the tide.
- Hotel pickup makes day one easier: less stress right when you arrive in Hiroshima.
- Peace Memorial Museum is included: entry is part of the price, not an add-on.
- You’ll use public transport: costs are separate, but it keeps things straightforward and local.
- Guides focus on lived memory: you’ll hear personal-style storytelling alongside key facts.
How a private Hiroshima and Miyajima day balances calm and memory
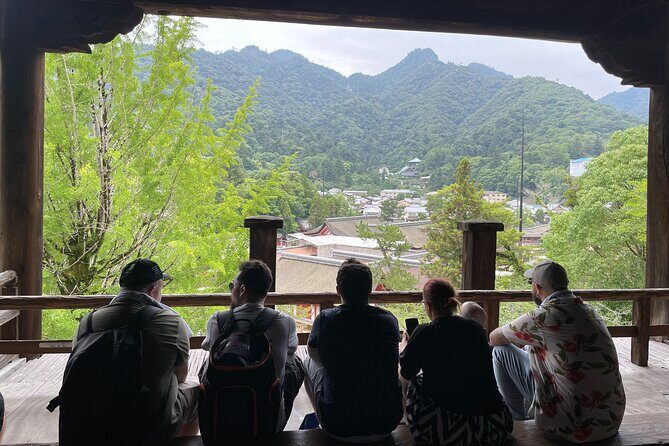
Hiroshima isn’t an easy day to package into “just sightseeing.” This tour works because it pairs two very different moods: the spiritual pull of Miyajima and the moral weight of Hiroshima’s Peace sites. I like that the tour doesn’t treat them like separate photo stops. It treats the day like one story with different chapters.
The private format is what makes it feel different. Instead of being herded, you get to ask questions, pause when you want, and keep going when you’re ready. And when the day turns solemn—Atomic Bomb Dome area and the Peace Memorial Museum—you’re guided with care, not speed.
You can also read our reviews of more tours and experiences in Hiroshima.

Choosing your route order: Miyajima first or Peace Park first
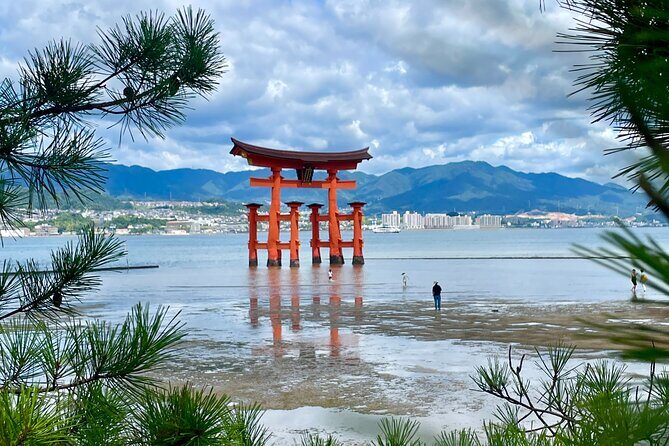
One clever detail is that the order can shift between Miyajima and the Peace area, depending on the day and your chances to see the floating torii gate. The floating torii at Itsukushima Shrine changes with the tide, so the guide’s flexibility can actually improve what you experience.
If you care about the torii looking like it’s literally floating, take this part seriously. Build your expectations around tide timing, not only your itinerary clock. Even on the right day, the sea level affects the exact look.
Miyajima Island: Itsukushima Shrine and the floating torii gate
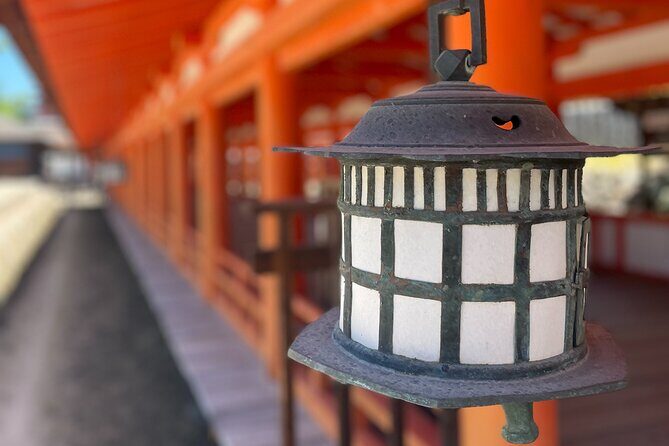
Miyajima is the kind of place where the atmosphere does half the work. You’ll spend real time around the shrine grounds, not just a quick walk-through. Itsukushima is famous for worship traditions that go back centuries, and you’ll feel that sacred tone immediately.
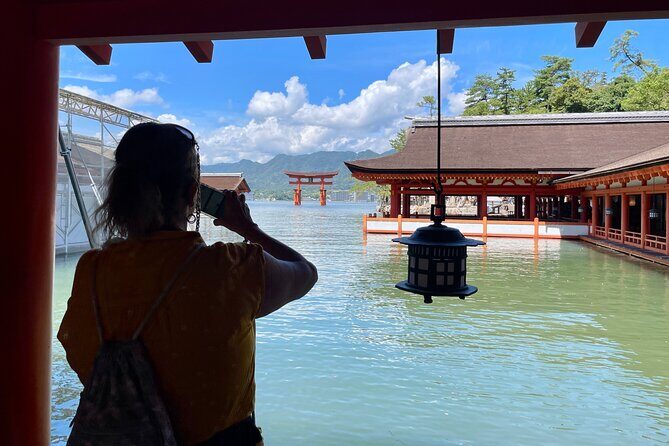
The highlight is the torii gate view. The tour specifically points out that the torii floats depending on the tide. If you’re visiting around high tide, the iconic look is more likely, so this is worth coordinating with your guide.
You’ll also get time at Itsukushima Shrine itself, which is included in the entry. That’s important because it lets you slow down inside the sacred space without negotiating ticket steps mid-day.
What to watch for
- Sea-level timing is real. Your best bet is planning around high tide when possible, since the torii look changes.
- This part of the day can be crowded depending on timing, so having a guide who knows when to linger helps.
Beyond the torii: Daishoin Temple and Senjokaku for quieter meaning

Miyajima isn’t only shrine scenery. You also get temples that add texture to the island’s identity.
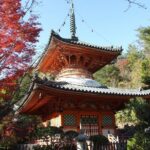
Daishoin Temple is the oldest on Miyajima and it’s known for more than just a pretty setting—it’s tied to over 1,200 years of history. I like this stop because it stretches the day beyond the most famous postcard view. It’s a reminder that Miyajima’s spiritual life isn’t one single landmark; it’s a whole system of places and practices.
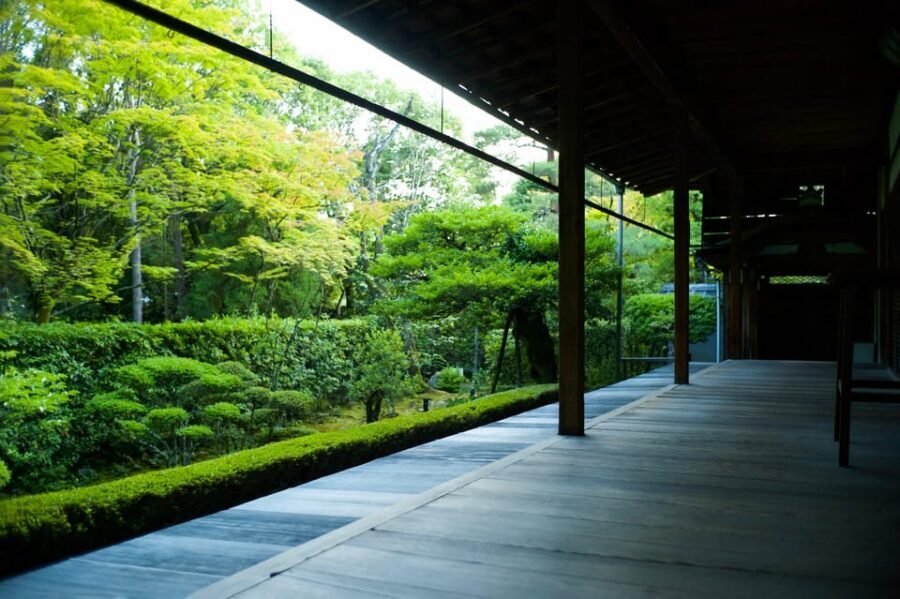
Then comes Senjokaku, part of the Itsukushima shrine area and a UNESCO site. It’s also described as quiet and peaceful, with large halls and wall-less spaces that shape how you experience the area. There’s also a historical note that it was built in the 16th century, tied to a shogun order associated with Hideyoshi. Even if you don’t get lost in the details, the space feels different from the torii area.

Omotesando shopping street: practical snacks and local souvenirs
Miyajima Omotesando is where you’ll reset your brain for a moment. It’s a shopping street packed with local specialties and souvenirs, which makes it a natural place to grab something small before heading back into heavier history.
You might see and try items like oysters, conger eel rice, and momiji manju. These aren’t just random tourist snacks. They’re part of how the island feeds its own daily rhythm, and it’s an easy way to take a break without spending a full lunch stop.
I’d treat this as your flex time. Use it to refill water, check your energy level, and pick up a few gifts while the day still feels light.
Moving from Miyajima back to Hiroshima Peace Memorial area
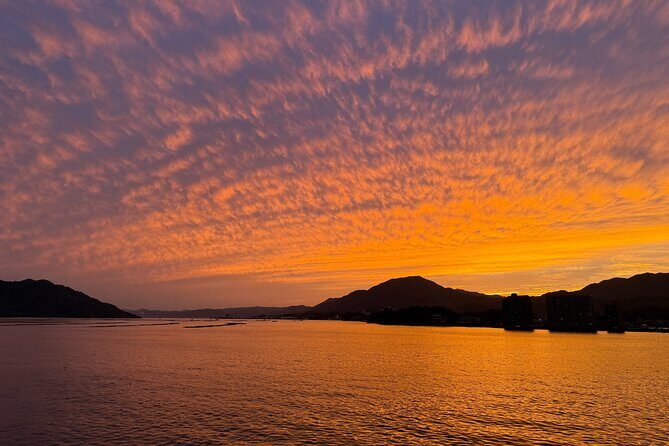
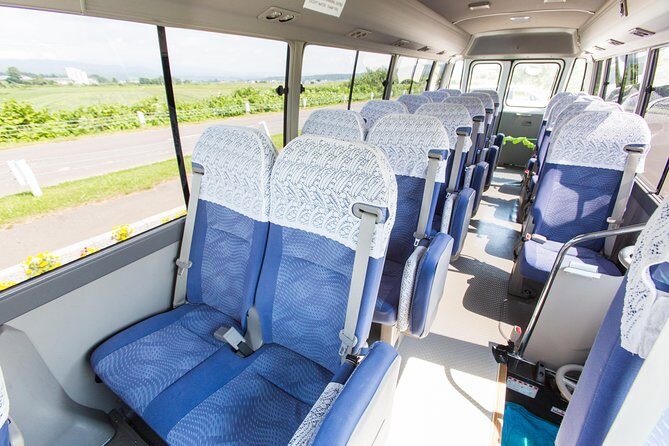
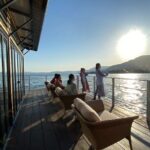
After Miyajima, you’ll head toward central Hiroshima. The tour uses public transportation as the default, and the transfer is described as about 1 hour. You can use a ferry or JR/train route depending on the day’s flow.
There’s also an option for a more direct boat route (about 45 minutes). If your schedule is tight or your legs are tired, that shortcut may be worth considering, but it’s optional and not included in the base price.
Practical tip: give yourself a little buffer here. Transitions take time, and you’ll be walking more than you might expect for a “7-hour” day.
Atomic Bomb Dome: what you’re seeing and how to look at it
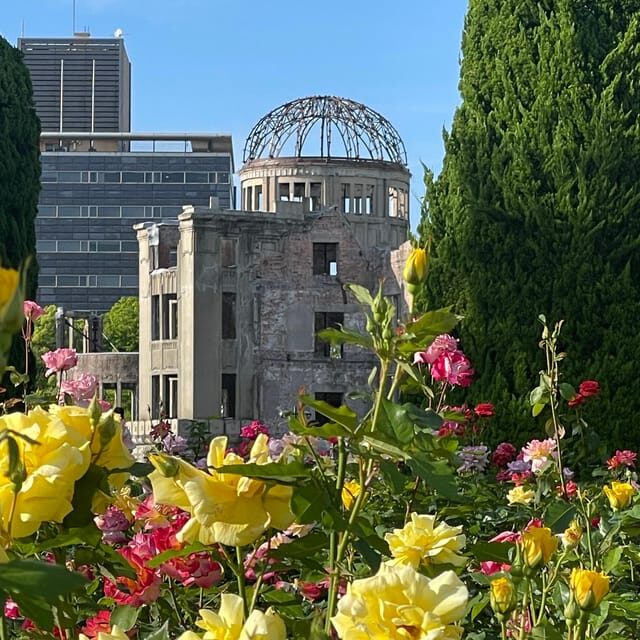
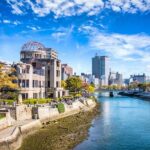
The Atomic Bomb Dome is UNESCO-listed and it’s a structure that conveys devastation from the bombing. Seeing it in person is one of those moments that’s hard to describe without sounding cliché. But I’ll say this: the power comes from how physical it is. It’s a real building, not an image.
You’ll spend time at the Atomic Bomb Dome area, and it’s followed by the Hypocenter monument. That sequencing matters because it moves you from the symbolic landmark to the explosion point’s context.
How long you’ll be there
The time is short enough to keep you from freezing up, but long enough to take in the scene and read the explanations that the guide points out.
Hypocenter monument and the Peace Memorial Park pathway
Right after the Dome comes the Hypocenter monument, positioned at the point tied to the bomb explosion being about 600 meters above a hospital. It’s a stark shift from “what happened here” to “where it happened,” and the guide helps connect the physical geography to the event.
Then you’ll move through Peace Memorial Park. This is where you’ll see several monuments tied to the facts of the bombing and Hiroshima’s recovery. I like how the tour doesn’t treat the park as a single stop. It’s a series of viewpoints that slowly builds understanding.
If you’re the type who likes to read and ask questions, you’ll appreciate the guide structure here. If you prefer to keep it moving, you still get coverage without feeling lost.
Hiroshima Peace Memorial Museum: radiation exposure and real documents
The Peace Memorial Museum is included, including the entry fee. That matters because museum time is the part of the day you can’t really rush without losing meaning.
The museum is described as showing photos and documents, with a glimpse into the reality of radiation exposure. I recommend coming prepared for what that implies. Even with a guide’s context, this is information that can stick with you long after you leave the building.
If you want a better experience, don’t treat it like a scan-and-go museum. Take a few minutes per section, then ask your guide one specific question. That turns the museum from information overload into understanding.
Sadako at the Children’s Peace Monument: origami cranes and remembrance
The tour also includes the Children’s Peace Monument. It’s tied to the well-known tragic story of Sadako and you’ll see lots of origami cranes there.
This is a different kind of processing than the museum. Where the museum gives you documents and explanations, this stop gives you symbolism and scale—how grief and memory show up in objects and gestures.
It’s usually easier to absorb in smaller steps, so if you want the day to feel manageable, this is a good place to slow down.
Price and value: what’s included, what’s extra, and why it still can be worth it
The price is $181.19 per person for a tour lasting about 7 hours. On paper, that can feel like a lot—until you break down what’s actually covered.
Included:
- Entry fees for Itsukushima Shrine and Hiroshima Peace Memorial Museum
- Live local tour guide
- Photo data
- Advance customization consultation
- Pickup service on foot
Not included:
- Public transportation (listed at ¥1,340 per person)
- Optional private transport like fast/direct boats or taxis
- Lunch (not included)
- Tips
Here’s the key value point: museum and shrine entry aren’t always free on other tours, and Hiroshima’s Peace Museum in particular can be a big ticket item once you add everything. This one folds those entries in, so you’re not paying twice to access the core sites.
Also, you’re paying for the guide’s ability to move you through a hard day with clarity. The guide storytelling focus—family memory, loss, resilience, recovery, hope—isn’t just emotional fluff. It helps you understand what you’re looking at instead of memorizing dates.
Budget reality check
Even if the base price feels solid, plan for transport costs separately. The tour notes that costs are excluded because it’s cheaper and follows Japanese regulations. If you’re using a JR Pass, the tour data suggests reduced costs (noted as ¥0 to ¥270 depending on your situation). If you’re not, ¥1,340 per person is a straightforward baseline to expect.
Getting the most out of the walking style
This is a walking tour, and it’s explicitly not recommended if you can’t walk long distances. Pickup is described as on foot, and the day mixes walking with public transit segments.
So pack for that reality:
- comfortable shoes
- water
- a plan for taking breaks without feeling guilty
Also note the weather factor. The tour requires good weather, and if poor conditions force a change, you’ll be offered another date or a full refund.
Who this Hiroshima & Miyajima tour fits best
This is a strong match if you want:
- a private experience instead of a big-group scramble
- a guide who answers questions and adapts pacing
- both the spiritual side of Miyajima and the historical side of Hiroshima
- a day that feels more like understanding than checking boxes
It’s also a good fit if you’re traveling with someone who wants different things. The tour can be customized to your interests and needs, which is a major advantage in a day that includes both light scenery and heavy content.
If you’re low on walking tolerance, have limited mobility, or you know you won’t do well with long periods of standing and walking, I’d look for a different format with fewer steps.
Should you book this Hiroshima & Miyajima private tour?
I’d book it if you want a guided day that respects both the beauty of Itsukushima and the gravity of Hiroshima’s Peace sites—and you want control over pace. The included shrine and museum entries help the price make sense, and the private setup is what turns the day from sights into understanding.
Skip it (or switch to a lighter alternative) if walking long stretches is a problem for you. Also, plan your mindset for the Peace Memorial Museum and related stops. This isn’t a cheerful stroll through landmarks. It’s a meaningful day, and it’s best when you give it the attention it asks for.
FAQ
How long is the Hiroshima & Miyajima tour?
The tour is about 7 hours.
Is pickup from my Hiroshima hotel included?
Yes. Pickup is offered, including pickup service on foot, and the day departs from your Hiroshima hotel or a Hiroshima train station.
Which entrance fees are included in the price?
Entrance fees included are for Hiroshima Peace Memorial Museum and Itsukushima Shrine.
Do I need to pay for transportation separately?
Yes. Public transportation costs are excluded. The listed public transportation cost is ¥1,340 per person, and there are optional transportation choices like fast/direct boats or taxis with additional costs.
Is lunch included?
No. Lunch is not included.
Can the schedule change to help me see the floating torii gate?
Yes. The order between Miyajima and the Peace Park area can be changed, and the tour notes that the floating torii gate depends on the tide—so it’s best to plan around high tide when possible.
Is this tour private?
Yes. This is a private tour/activity, and only your group participates.
Are service animals allowed?
Yes. Service animals are allowed.
What’s the cancellation and weather policy?
Cancellation is free for a full refund if you cancel up to 24 hours in advance. The experience requires good weather; if it’s canceled due to poor weather, you’ll be offered a different date or a full refund.