REVIEW · KYOTO
Kyoto: Forge Your Own Ninja Weapon with Japanese Tin Casting
Book on GetYourGuide →Operated by Kendo Experience · Bookable on GetYourGuide
Your souvenir starts as molten tin. In Kyoto, you’ll cast, shape, and finish a real ninja weapon—shuriken, kunai, or an oni mask—with craftspeople guiding each step. I like that this is hands-on tin casting, not a paint-and-pose craft, and you end up taking home a finished metal piece in a dedicated box. One consideration: it’s a hot-metal workshop with specific rules, so you’ll want to arrive ready to follow instructions and bring drinks because there’s no water provided.
This class is also practical for sightseeing days. It’s just a 3-minute walk from Demachiyanagi Station, and instructors (including Daiki, based on participant accounts) explain in English or Japanese while you work. If you want something you can’t buy off a shelf, this is a strong pick.
In This Review
- Key things to know before you go
- Tin Casting Ninja Weapons in Kyoto: what you’re really making
- Choosing shuriken, kunai, or the oni mask (and what upgrades change)
- Inside the workshop: how the casting and finishing actually works
- 1) Design choice and tool guidance
- 2) Make the mold with casting sand
- 3) Melt the tin and pour it into the mold
- 4) Cool the metal quickly in water
- 5) Shape and polish with files, grinders, and hammering
- 6) Rust protection and final oil finish
- 7) Oni mask extras (if you choose that route)
- Time, size, and your take-home ninja weapon (including the box)
- Location and timing: making this fit a Kyoto day
- Price and value: is $103 worth it?
- Who should book this ninja tin casting workshop (and who shouldn’t)
- Workshop rules that matter for your planning
- Photos, souvenirs, and the moment it becomes real
- Should you book Kyoto: Forge Your Own Ninja Kunai with Japanese Tin Casting?
- FAQ
- What ninja weapons or designs can I make?
- How long does each option take?
- Where is the studio in Kyoto?
- Do instructors speak English?
- What’s included in the price?
- What should I bring?
- Is this experience suitable for children?
- What rules should I know before going?
- What size weapon will I be able to make?
Key things to know before you go
- Choose your piece first: shuriken, kunai, or an oni mask, with upgrades for extra detail
- You do the process, not just watch: mold, pour molten tin, cool, shape, polish, and finish
- The finish is built to last: rust-preventive solution plus protective oil, then stored in a dedicated box
- Expect a real workshop workflow: filing/grinding and hammering for the final form
- Plan around the timing: about 2 hours for shuriken/kunai, about 2.5 hours for the oni mask
- Bring what you need: drinks are recommended since water isn’t provided
Tin Casting Ninja Weapons in Kyoto: what you’re really making
This isn’t a ninja-themed photo stop. It’s a metal workshop where your final souvenir is an actual small weapon-style object, typically 8–10 cm long. You’ll start from a concept (shuriken, kunai, or an oni-inspired mask) and end with a crafted object you can keep in your room or gift to a friend who loves Japan.
The reason I like this format for visitors is simple: you control the outcome. Even though the craftsmen handle the key safety parts and overall supervision, you still get to shape and finish your own piece with the tools in hand. That turns the result into something more personal than a factory-made magnet.
Also, the materials matter. Tin melts at 230°C, which is why this workshop can be hands-on while still staying within a controlled process. You’re learning something real about Japanese metal finishing, even if you’re a total beginner.
You can also read our reviews of more tours and experiences in Kyoto.


Choosing shuriken, kunai, or the oni mask (and what upgrades change)
You’ll pick what you want to make at the start:
- Shuriken (the classic ninja star)
- Kunai (a ninja knife shape)
- Oni mask (a more character-driven design)
The base piece already gives you a lot. But the oni mask option adds extra steps and time because it’s meant to be more detailed and more “showpiece.” If you’re the type who likes drama in souvenirs, the oni mask path tends to satisfy.
For the oni mask, you may get the option to add accents like gold leaf and attach a cord so the mask can be worn or displayed. That turns a metal craft into something with personality. If you’re going for bragging rights, the extra finishing work is where you’ll feel it.
If you’re traveling with family and want the simplest route, shuriken or kunai is usually the smoother choice because the workshop time is about 2 hours. The oni mask is about 2.5 hours, so it fits best if you don’t have another tight reservation right after.
Inside the workshop: how the casting and finishing actually works
Here’s the practical flow, step by step, and what it means for you as a participant:
1) Design choice and tool guidance
You begin by selecting your weapon or mask. Staff then help you with what comes next, including how the mold will determine the final shape. This matters because casting surprises a lot of first-timers: small changes in the mold can show up in the metal.
2) Make the mold with casting sand
You’ll form the mold using special casting sand. This is one of the most interesting parts because it’s where you translate your chosen design into a physical template. It also helps you understand why metalwork is a process, not a single moment.




3) Melt the tin and pour it into the mold
Tin goes from solid to molten, and you pour it under supervision. The key point for your expectations: you’re not working in a lab alone. The setup is structured so beginners can participate safely while still getting real hands-on time.
4) Cool the metal quickly in water
Your cast piece cools in water so it solidifies fast. This is where your rough shape becomes something real you can hold. It’s also why the finished result feels more substantial than typical crafts.
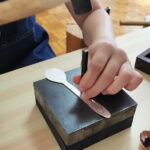
5) Shape and polish with files, grinders, and hammering
After casting, you move into the “make it look right” phase. The included steps specify hammering for shaping and then smoothing with files. This part is where your effort shows. Sharp edges become cleaner lines, and details start to look deliberate.
6) Rust protection and final oil finish
To finish like a proper metal souvenir, you’ll soak the piece in a rust-preventive solution and coat it with protective oil. This is a big deal if you’re buying something to keep. Metal crafts can look great on day one and then tarnish fast, but this workshop explicitly addresses durability.
7) Oni mask extras (if you choose that route)
If you make the oni mask, you may add gold leaf for an accent and attach a cord for wearable or display-ready use. That’s the step that tends to create the wow factor when you show your finished piece.
Time, size, and your take-home ninja weapon (including the box)
The workshop is built around a clear timeline:
- Shuriken / Kunai: about 2 hours
- Oni Mask: about 2.5 hours
Completion times can vary, so I’d plan a little breathing room.
You can make a weapon 8–10 cm in size. That’s ideal for travel because it’s large enough to feel satisfying and “real,” but small enough to pack without worrying about airline oversize rules or awkward storage.
And you’re not leaving empty-handed. Your finished piece comes with a dedicated box. I’m glad they include this because tin crafts look best when you keep the finish protected, and you’re less likely to come home with accidental smudges or dents.
One more practical point: the workshop includes an apron rental and equipment rental, plus materials for one weapon. So you’re not expected to show up with craft tools.
Location and timing: making this fit a Kyoto day
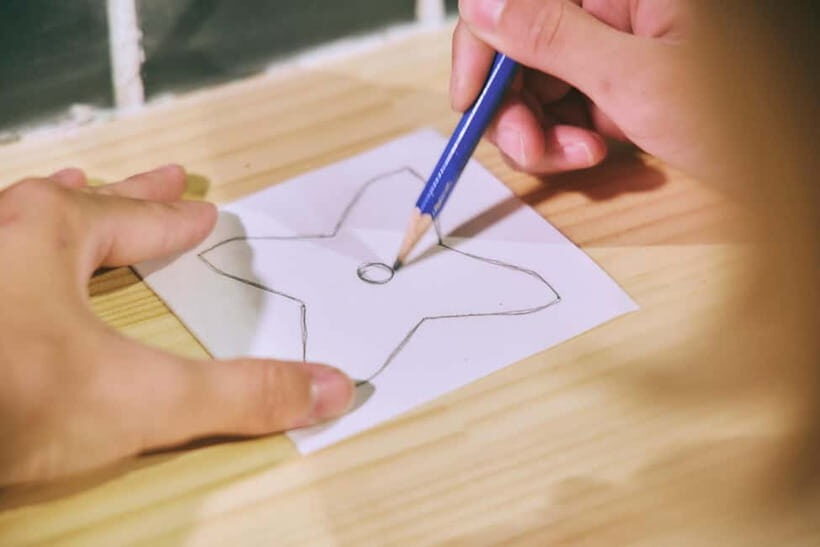
The studio is 3 minutes on foot from Demachiyanagi Station. That’s the kind of location that saves you time and stress. Kyoto can eat your schedule with travel time, so walking distance matters.
In a practical sense, this experience works well in two scenarios:
- You’re staying near north Kyoto routes and want a creative indoor activity between temples.
- You want a planned anchor in your day so you’re not improvising around restaurant lines.
Because the workshop uses hot processes, you’ll want to arrive with enough time to settle in. Even if you’re early, staff can usually guide you into the flow without rushing you.
If you’re pairing this with nearby sightseeing, keep your next commitment flexible. The oni mask option adds about 30 minutes, and details during shaping and finishing can change the pace.
Price and value: is $103 worth it?
At $103 per person for about 2–2.5 hours, the value comes from three things you can’t replicate with cheaper crafts:
- You cast and finish real metal (tin), not a decorative substitute
- You do the shaping work: hammering, filing, and polishing are part of the experience
- The souvenir is meant to last: rust protection and oil finish, stored in a dedicated box
Most “souvenir workshop” deals are either hands-on for a short part of the process or heavy on decorative elements where the main value is the final look. Here, the value is the actual workflow: mold → molten tin → cool → shape → protect. That’s why people feel like they made something with real craft behind it.
Another quiet value point: instructions are available in English and Japanese, so you’re not locked out if you don’t speak Japanese. That matters when you’re working step by step with tools.
If you’re buying one Kyoto activity that’s both memorable and portable, this is the kind of cost that makes sense.
Who should book this ninja tin casting workshop (and who shouldn’t)
This class is designed to be beginner-friendly. The process uses tin, which is easier to work with than many metals, and staff support makes it workable even if it’s your first craft like this.
It’s also a good fit for families, with clear age rules:
- Participants under 15 must be accompanied by a guardian
- Not suitable for children under 5 years
- Not suitable for babies under 1 year
- Not suitable for people over 95 years
If you’re traveling as a couple or solo, it’s also a strong “shared story” activity. You both come out with tangible objects and a memory of making them.
If you want an activity that’s quiet and laid-back with no rules, this may not match your style. There are clear restrictions on-site, and you’ll be expected to follow them.
Workshop rules that matter for your planning
To keep the process safe and on schedule, the workshop has restrictions that affect what you should bring and how you behave:
- No food and no alcohol and drugs
- No smoking indoors (and no smoking)
- No making fire
- No party groups
Also, while you’ll be working with your hands, there’s a practical note: the activity states there’s no water, so plan ahead. The guidance says to bring drinks, which I strongly recommend even if you don’t think you’ll be thirsty. You’re in a workshop environment with tools and heat-related steps.
Photos, souvenirs, and the moment it becomes real
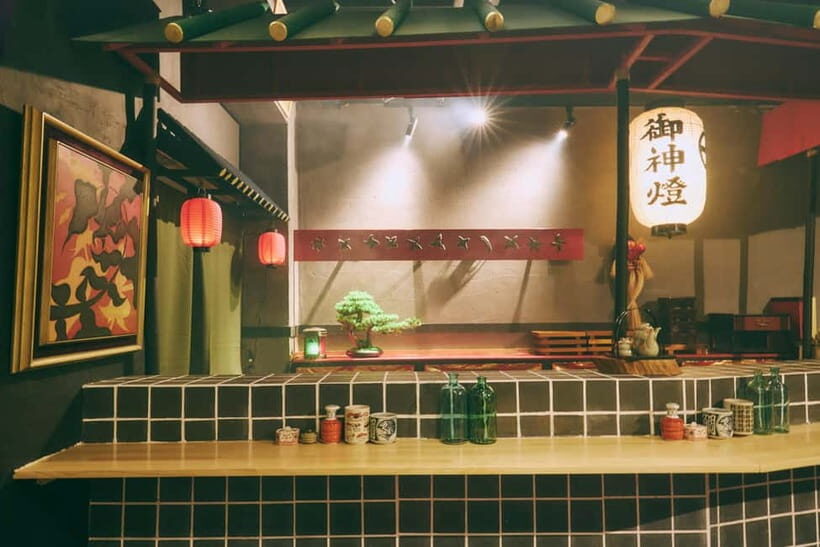
This is one of those experiences that gives you “before and after” photos you’ll actually like later. Early on, it’s sand molds and design choices. Then your piece comes out of the casting stage, and it starts looking like a weapon instead of a craft project.
The final polish and oil finish also photograph well because you’ll see the surface go from rough to refined. And because you receive a dedicated box, you can pack it carefully and keep the finish looking sharp.
For the best photo payoff, don’t just shoot the final object. Take a few pictures of:
- your selected design (shuriken/kunai/oni mask)
- the mold-making step
- the shaping and finishing stage
It’s the casting-to-finish arc that makes the souvenir meaningful, and those are the moments you’ll forget less than you expect.
Should you book Kyoto: Forge Your Own Ninja Kunai with Japanese Tin Casting?
Book it if you want a real, hands-on Japanese craft with a finished metal souvenir. If you’re the type who gets bored with generic shopping, this gives you a story you can hold: you cast, you shape, you protect, and you pack it in a box.
Skip it if your day is so packed you can’t afford about 2–2.5 hours, or if you don’t want to follow on-site rules around food, smoking, or making fire. And if you hate hot-metal environments in general, you’ll want to think twice.
My quick decision tip: if you’re already visiting Kyoto and debating between one workshop and another “souvenir experience,” this one has the strongest value for people who want authenticity in the process, not just the theme. The $103 price tag makes sense when you remember you’re paying for metalwork time, guidance in English or Japanese, and a souvenir designed to last.
FAQ
What ninja weapons or designs can I make?
You can choose from shuriken, kunai, or an oni mask. The oni mask includes optional upgrades for extra detail.
How long does each option take?
Shuriken or kunai take about 2 hours. The oni mask takes about 2.5 hours. Times can vary, so plan some flexibility.
Where is the studio in Kyoto?
The workshop location is about a 3-minute walk from Demachiyanagi Station in Kyoto.
Do instructors speak English?
Yes. The experience offers instruction in English and Japanese.
What’s included in the price?
It includes designing your weapon, making the mold, melting and casting tin, shaping by hammering, smoothing with a file, rust-preventive soaking, coating with oil, apron rental, equipment rental, and materials for one weapon. Your finished piece comes with a dedicated box.
What should I bring?
Bring drinks. The activity notes that there is no water, so you’ll want to plan ahead.
Is this experience suitable for children?
It’s suitable for children with staff assistance. However, children under 15 must be accompanied by a guardian, and it’s not suitable for children under 5 years or babies under 1 year.
What rules should I know before going?
Food, alcohol, drugs, and smoking are not allowed. Smoking indoors is also not allowed. The workshop also prohibits making fire and party groups.
What size weapon will I be able to make?
Your finished piece will be within 8–10 cm in size.