REVIEW · OSAKA
Osaka Night Photography Workshop
Book on GetYourGuide →Operated by Shoot Travel Japan · Bookable on GetYourGuide
Night photography starts with better habits. This 3-hour Osaka workshop blends hands-on coaching with real shooting time through classic night-photo neighborhoods, led by Irven Lewis. I like that you’re not just wandering with a camera—you’re learning why certain settings work for darkness and moving lights.
My other favorite part is the focus on technique you can actually use right away: tripod control, exposure triangle basics, and composition for light trails and illuminated scenes. The one drawback to plan for is effort: expect plenty of walking, so you’ll want comfortable shoes and an extra camera battery if you’re shooting a lot.
In This Review
- Key things to know before you shoot in Osaka at night
- What This 3-Hour Workshop Actually Helps You Do at Night
- Dotonbori Night Signs: Learning Composition Where the Lights Compete
- Nipponbashi to Shinsekai: Timing and Light-Trail Thinking in Real Streets
- Tennōji at the End of the Walk: Putting It All Together
- Manual Settings and the Exposure Triangle, Without the Guesswork
- Tripod Control for Sharp Night Photos (Long Exposures Included)
- Flexible Routing That Can Point You Beyond Just One Street Corner
- Gear Options, Private Group Dynamics, and What’s Included
- Price and Value: Is $200 for 3 Hours a Smart Night-Shoot Investment?
- Should You Book This Osaka Night Photography Workshop?
- FAQ
- How long is the Osaka Night Photography Workshop?
- What camera gear does the workshop support?
- Is this tour good for beginners?
- Do you teach manual camera settings?
- Will we learn to use a tripod?
- What locations are included during the tour?
- Is there an optional session for light trails?
- Is food included?
- What language is the tour guide?
Key things to know before you shoot in Osaka at night
- Irven Lewis adapts the session to your level, including pacing and where you’ll focus your attention.
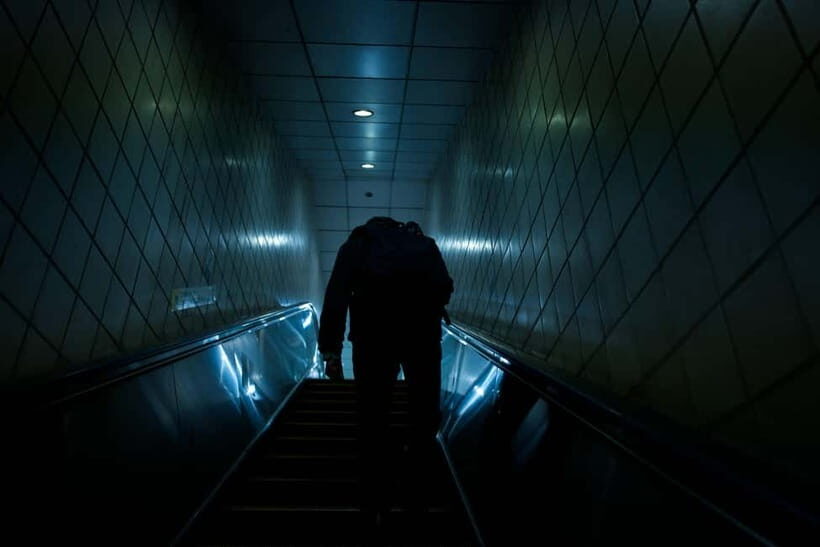
- You practice manual settings while you’re out there, so the exposure triangle stops being theory.
- Tripod skills are part of the plan, with guidance on how to get sharp night images.
- You chase specific effects like light trails and illuminated street scenes, not random snapshots.
- A private group feels more efficient, with space for questions and feedback during the shoot.
- Bring endurance for night walking, because you cover multiple neighborhoods in just 3 hours.
What This 3-Hour Workshop Actually Helps You Do at Night
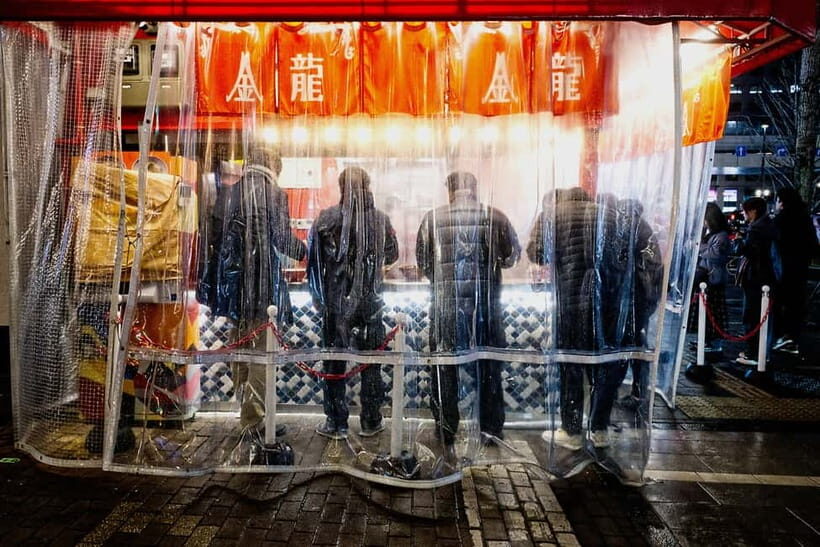
This isn’t a lecture that ends with a few photos. It’s a working session where you improve your camera habits in real Osaka conditions—dark streets, moving people, and bright signs that can trick your exposure.
You’ll learn the core photo tools in a very practical order: how to think about light first, then how to set aperture, ISO, and shutter speed to match what you’re seeing. The goal is simple: you should leave knowing what to change when the scene gets brighter, darker, or more chaotic.
And because it’s a private group with English guidance, you can ask the questions that usually get buried on regular group tours. If you’re brand-new, you’ll get camera basics step-by-step. If you already know your way around a camera, you’ll still benefit from having someone point your attention toward subjects and timing that you might miss.
Oh, and there’s no food included. You’ll likely be glad for that if you’re trying to keep the night moving and shooting.
You can also read our reviews of more evening experiences in Osaka

Dotonbori Night Signs: Learning Composition Where the Lights Compete
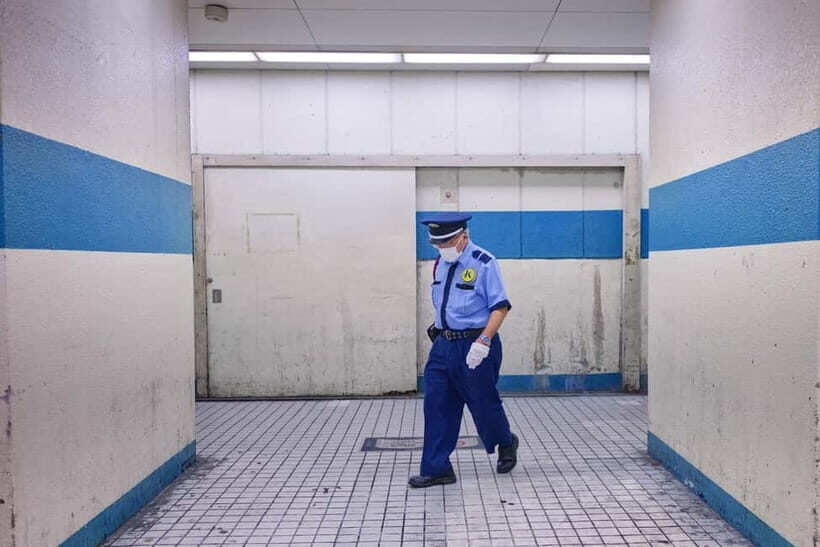
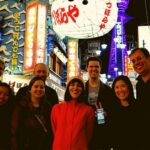
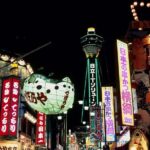
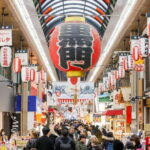
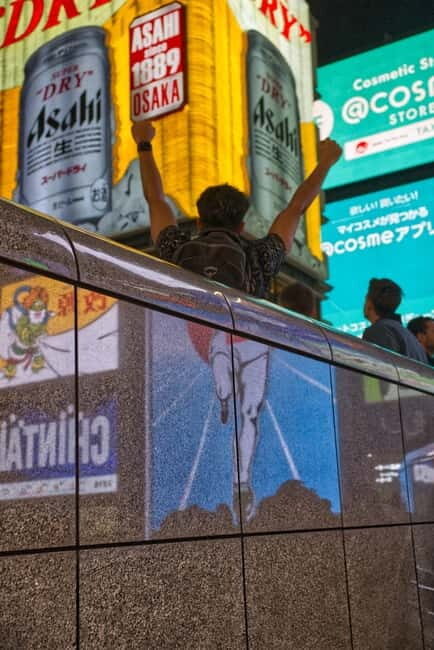
Dotonbori is a sensible place to start because it’s a crash course in night exposure problems. The brightness changes fast: glowing storefronts, reflections on wet-looking surfaces, and moving crowds. That’s exactly why it’s useful for training your eye.
In this first stretch, you’ll work on framing and composition—how to place your subject inside the mess instead of getting swallowed by it. The coaching is meant to connect your camera settings to your creative intent. Want sharper detail? You’ll learn what shutter speed direction to take. Want smoother light streaks from traffic or signage? You’ll adjust for that effect instead of hoping the camera guesses right.
You’ll also get guidance that helps absolute beginners get off auto mode without fear. The guide’s whole approach is step-by-step, so you understand what each change does. That’s a big deal in Osaka, where neon can fool you into underexposed faces or blown-out signs.
Nipponbashi to Shinsekai: Timing and Light-Trail Thinking in Real Streets
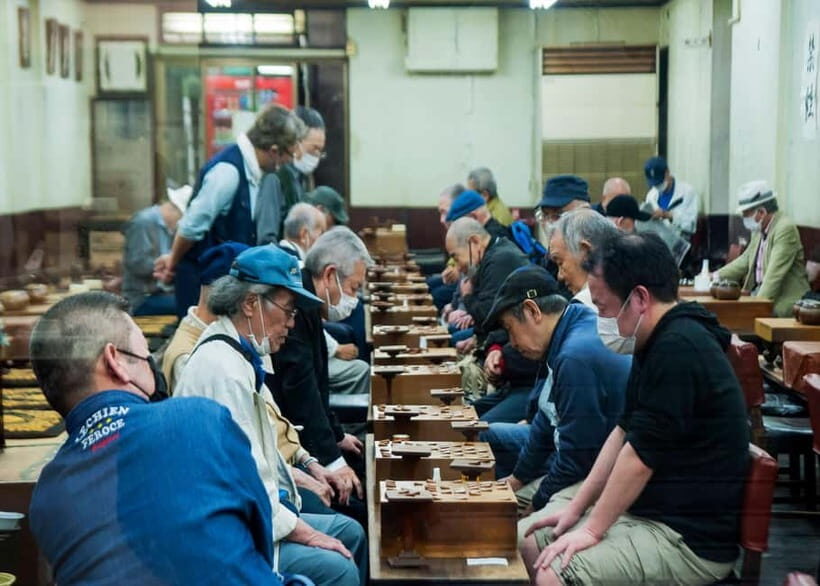
After Dotonbori, you move through Nipponbashi and then toward Shinsekai. This part of the workshop is where the “night photography” payoff starts to feel real. The neighborhoods change character as you go, and that matters because you’re learning how to shift your settings based on the scene—not just memorizing one formula.
You’ll focus on composition and framing again, but with more emphasis on timing. Night photos often come down to moments: a person stepping into frame, a sign flickering in just the right way, or a short gap between crowds so your exposure isn’t ruined by blur.
Light trails are a key skill here. The workshop includes guidance on experimenting with long exposure effects, and you’ll learn to think about timing—how long to expose and when to shoot so you get meaningful streaks instead of messy smears. If you choose the optional evening session, expect extra attention to light trails and illuminated scenes, which is where you can really practice control.
If you’re a novice at street photography, this is also the part where good coaching helps most. You don’t just need to know settings—you need to know what subjects make strong night images.
Tennōji at the End of the Walk: Putting It All Together
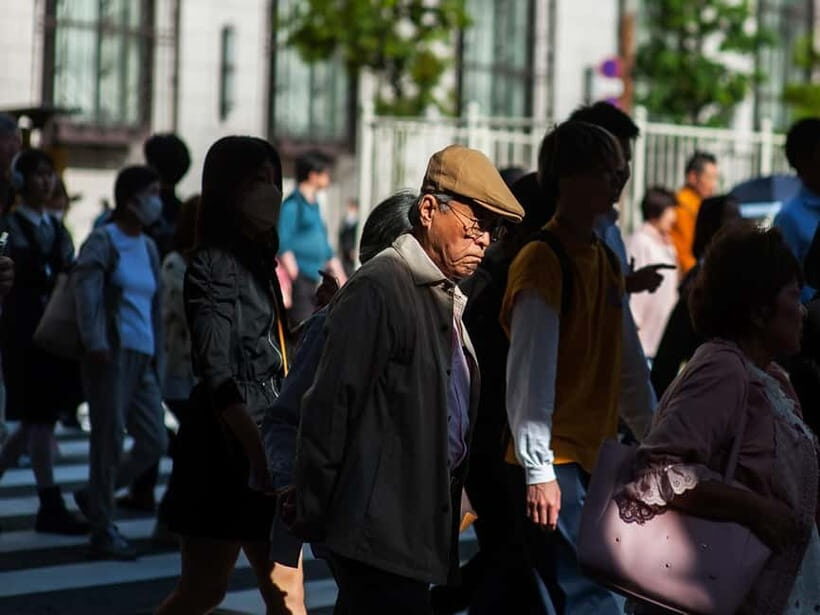
The plan continues by heading to Tennōji by train after Shinsekai. This is a practical setup: you get a wider sweep of Osaka’s night-photo moods without getting stuck in one tiny area.
Tennōji is where you can bring everything together. You’ll likely spend time applying what you just learned about exposure triangle choices, framing, and light-trail timing. This is also a good moment to test your refinements: try one approach for a few shots, then adjust settings and see the difference on the spot.
One thing I’d take seriously: bring stamina and battery life. In one recent booking, the shooter covered so much that their camera battery basically ran out before they did. You don’t need to be that aggressive, but the lesson stands—night photography drains power faster, especially if you’re checking your shots and shooting burst sequences.
If you want the smoothest results, save your best practice for when you’ve got enough charge to experiment.
Manual Settings and the Exposure Triangle, Without the Guesswork
The workshop’s backbone is the exposure triangle: aperture, ISO, and shutter speed. You’ll work through how each setting changes your photo, not in isolation, but as part of a decision-making process.
Here’s what you should expect to learn and use:
- Aperture choices affect depth of field and how much of your scene stays sharp.
- ISO controls your brightness and your noise level—important when signs are lighting your subject.
- Shutter speed controls motion blur, which can be creative (light trails) or unwanted (blurry faces).
The guide teaches manual settings control and encourages you to use the tripod properly too. That combination matters because night scenes are unforgiving: if your shutter speed is too slow without stabilization, blur can smear everything. If your shutter speed is too fast, you may miss the atmosphere you came for.
The practical win is that you start leaving with habits. Instead of shooting and hoping, you’ll start adjusting with purpose: when brightness changes, when the subject moves, and when you’re chasing a specific visual effect.
You can also read our reviews of more photography tours in Osaka
Tripod Control for Sharp Night Photos (Long Exposures Included)
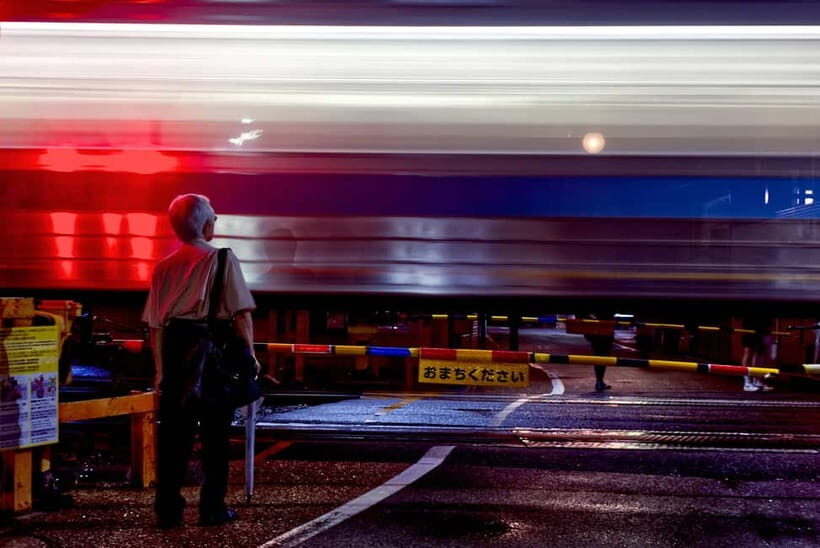
If you’ve ever tried long exposures at night and gotten results that look soft or smeared, you’re not alone. The workshop specifically covers how to work with a tripod and take control of your camera’s manual settings to get sharp images.
Tripod use sounds simple until you’re dealing with street movement, reflections, wind, and cramped angles. With coaching, you learn how to set up so the camera stays stable long enough for your exposure choices to pay off.
You’ll also practice timing. Long exposures aren’t just about how slow your shutter is. They’re about when you press the shutter and what’s happening in the scene during the exposure. That’s why coaching matters: it helps you anticipate motion and brightness rather than discover problems after the fact.
And yes, the workshop is built to work with different gear. It’s not limited to one camera style. DSLR and mirrorless cameras are welcome, and smartphone users are supported too, as long as you can participate in the lesson focus.
Flexible Routing That Can Point You Beyond Just One Street Corner
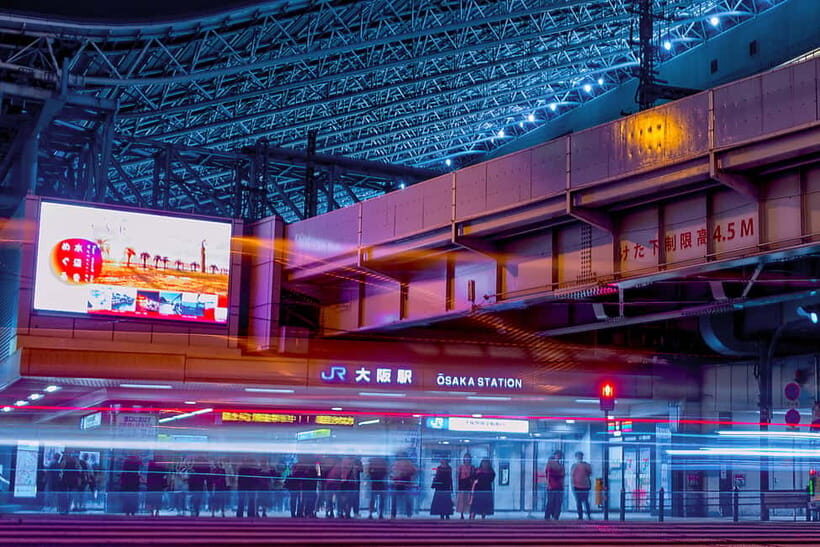
The workshop is flexible. Your route can be adjusted based on your interests and pace, which is important when you want better photos and not just a checklist of landmarks.
You’ll start in Osaka (Dotonbori → Nipponbashi → Shinsekai → train to Tennōji), but you’re not stuck with one rigid shooting script. The guide’s local knowledge includes Kyoto as well, and the included list points to famous photo areas like Kiyomizu-dera Temple, Yasaka Pagoda, Fushimi Inari Taisha, Gion alleys, and Shirakawa Canal.
How you apply that depends on what your session allows, but the point is good: you’re working with someone who understands how to find strong night scenes and how to shift your focus when the look you want changes.
This flexibility is also why the workshop can feel personal. One of the standout notes from a recent booking was that the guide was happy to help the photographer chase spots they didn’t usually cover, and that enthusiasm makes a difference when you want your images to reflect your taste.
Gear Options, Private Group Dynamics, and What’s Included
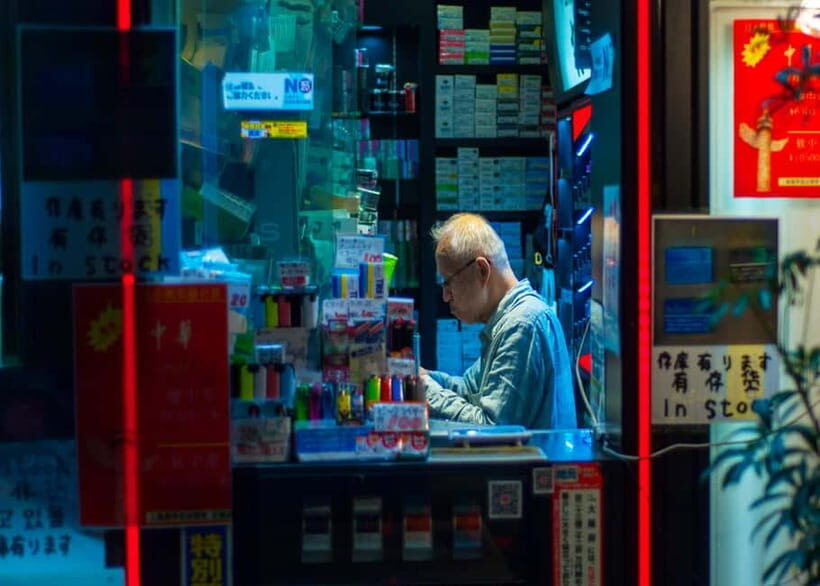
A few things make this easier to say yes to:
- English live tour guide.
- Private group format.
- Wheelchair accessible.
- Support for DSLR, mirrorless, or smartphone users.
That matters because night photography coaching often breaks down when everyone’s on totally different gear or skill levels. Here, the workshop is designed so you can match the lesson to your camera. You still practice the same fundamentals, just adapted to how your device handles exposure.
You’ll get photo review and feedback as part of the experience. This is where you accelerate. Shooting is practice, but critique is where you learn what to change for your next attempt. You’re guided toward improvement with constructive comments, which helps you avoid getting stuck repeating the same mistake.
What’s not included: food. So plan a snack or dinner on your own before or after, especially if your session runs through meal time.
Price and Value: Is $200 for 3 Hours a Smart Night-Shoot Investment?
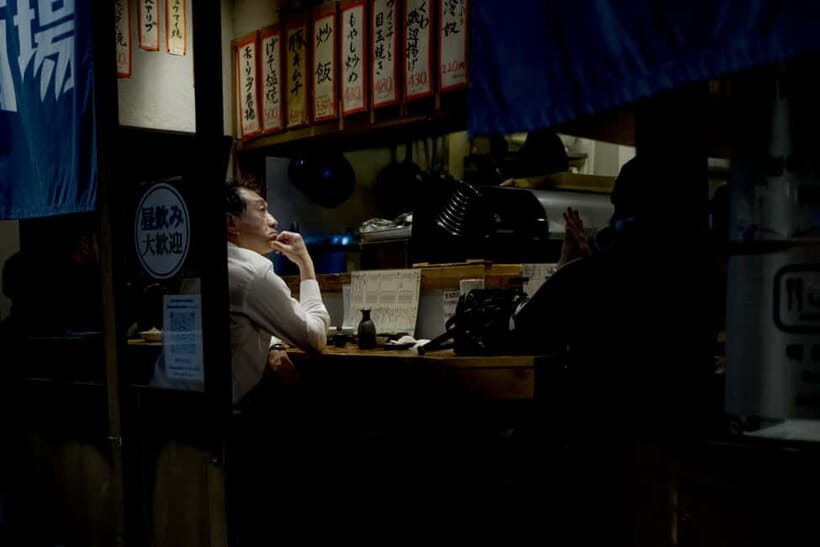
At $200 per person for 3 hours, this is not a budget activity. But it’s priced like a hands-on coaching session, and the value comes from what you get beyond “a place to stand.”
Here’s where the money goes:
- Step-by-step guidance tailored to your level, from camera basics to advanced techniques.
- Real practice with manual settings and tripod skills, not just theory.
- Structured stops across multiple Osaka neighborhoods so you learn how settings work in different lighting.
- Photo review and feedback, which can save you hours of trial-and-error later.
If you’re a beginner, you’re paying to skip the hardest part: figuring out how to get out of auto mode and still produce usable night images. That usually takes far longer on your own.
If you’re more experienced, you’re paying for direction: where to aim, what subjects to prioritize, and how to refine timing for motion and light trails. In one booking note, the guide also helped a photographer cover more-than-usual spots, and that flexibility is part of what you’re buying.
Bottom line: it’s worth it when you want your results to improve quickly and you’d rather learn with a guide than spend your vacation troubleshooting settings.
Should You Book This Osaka Night Photography Workshop?
Book it if you want structured night-photo progress in a short window. You’ll get manual settings coaching, tripod training, and practice that’s directly tied to what you’re photographing in Osaka. It’s also a good fit if you feel stuck—whether you’re starting from zero or you already shoot but want stronger night street results.
I’d hesitate if you dislike walking or you’re the type who only wants a slow, self-paced stroll. The route covers multiple areas in 3 hours, and the best outcomes come when you’re ready to move and experiment.
If you do book, come prepared: comfortable shoes, and strongly consider an extra battery. Night shooting is hungry, and you’ll want power for those “try one more setting” moments that make your photos click.
FAQ
How long is the Osaka Night Photography Workshop?
It lasts 3 hours.
What camera gear does the workshop support?
The workshop supports DSLR, mirrorless, and smartphone users.
Is this tour good for beginners?
Yes. It’s described as perfect for absolute beginners learning camera basics, and it also works for professionals with coaching and spot guidance.
Do you teach manual camera settings?
Yes. The workshop focuses on using manual settings and controlling aperture, ISO, and shutter speed.
Will we learn to use a tripod?
Yes. You’ll get guidance on how to work with a tripod for sharper night photos.
What locations are included during the tour?
The journey starts at Dotonbori, then goes to Nipponbashi, continues to Shinsekai, and then by train to Tennōji. The included list also references iconic locations such as Kiyomizu-dera Temple, Yasaka Pagoda, Fushimi Inari Taisha, Gion alleys, and Shirakawa Canal.
Is there an optional session for light trails?
Yes. There’s an optional evening session to capture light trails and illuminated scenes if you choose it.
Is food included?
No. Food is not included.
What language is the tour guide?
The tour is offered with an English live guide.