REVIEW · KYOTO
Kyoto Portrait Tour with Kimono
Book on Viator →Operated by Travel Japan Together · Bookable on Viator
Kyoto can look perfect in photos, fast. This kimono portrait tour turns famous sights like Yasaka Shrine into a guided photo session with a small-group pace and morning or afternoon timing. You also get the freedom to wear a kimono you choose (the rental isn’t included), which matters if you have a specific style in mind.
I love two things right away. First, the tour caps out at 6 people, so you’re not rushed between stops. Second, you leave with professionally edited photos, which is the part that actually saves your time later.
One consideration: the kimono is not included, so you’ll need to sort that out separately. Also, some site-related admission details are listed per stop, so it’s smart to know that not everything is automatically covered.
In This Review
- Key things to know before you go
- Kyoto Portrait Tour with Kimono: the value in plain terms
- Where you start and how the walk works (Yasaka Shrine to Yasaka Pagoda)
- Yasaka Shrine and Maruyama Park: classic Kyoto portraits with light control
- Chion-in’s Sanmon gate (24m tall) and Ishibe Alley’s texture
- Nene-no-Michi and Yasaka Pagoda: walkway atmosphere and a strong finish
- Kimono choice: plan your outfit since it’s not included
- Your photographer’s job: not just shooting, but directing
- Admission tickets and the small costs you might meet
- Who this Kyoto kimono portrait tour fits best
- Should you book this Kyoto Portrait Tour with Kimono?
- FAQ
- FAQ
- How long is the Kyoto Portrait Tour with Kimono?
- What is included in the tour price?
- Is the kimono included?
- Where does the tour start?
- Where does the tour end?
- How many people are in a group?
- What stops are part of the route?
- Are admission tickets included for the sites?
- Can I cancel and get a full refund?
Key things to know before you go
- Small group size (max 6) means more time at each spot and less waiting for the next shot.
- Morning or afternoon sessions let you pick lighting that fits your mood and photos.
- Professionally edited photos included so you’re not stuck sorting and fixing images yourself.
- Kimono not included (but you can choose a store), so plan your outfit in advance.
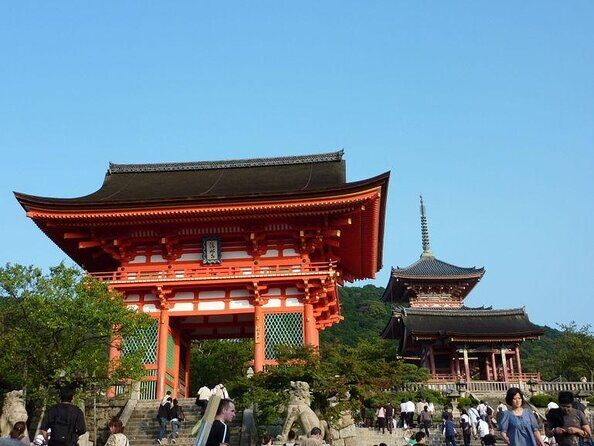
- A mix of icons and backstreets: Yasaka Shrine and Chion-in, plus Ishibe Alley and Nene Road.
- You finish at Yasaka Pagoda area with local travel tips around the neighborhood.
Kyoto Portrait Tour with Kimono: the value in plain terms
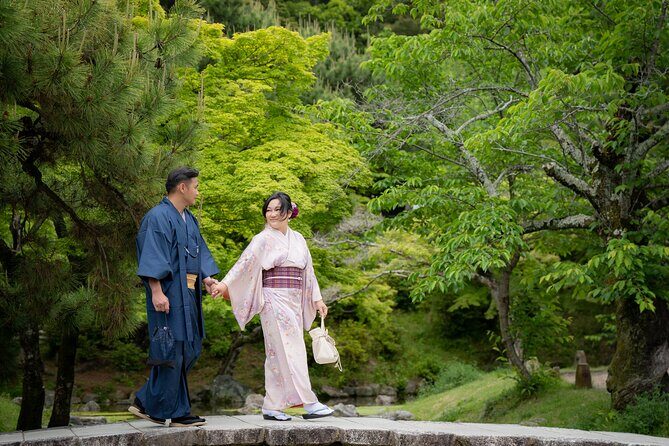
For $85.87, you’re paying for three big things: direction, timing, and editing. That’s the real value on a portrait tour like this. Standing in front of a temple is easy. Getting your photos to look intentional—pose, angle, background, crowd timing—is the tricky part. This tour is built to solve that, while still keeping a walkable city-feel.
The tour runs about 1 hour 30 minutes, which is long enough to move between several well-known spots and still feel like a “session,” not a quick photo stamp. It’s also short enough that you can slot it between other Kyoto plans without burning a whole day.
What you get included is clear: a guide plus professionally edited photos. What’s not included is equally clear: the kimono. That’s important, because Kyoto is one of those places where the kimono look can dramatically change your photos. But you’ll want to handle the outfit ahead of time instead of assuming it’s part of the package.
You can also read our reviews of more tours and experiences in Kyoto.


Where you start and how the walk works (Yasaka Shrine to Yasaka Pagoda)
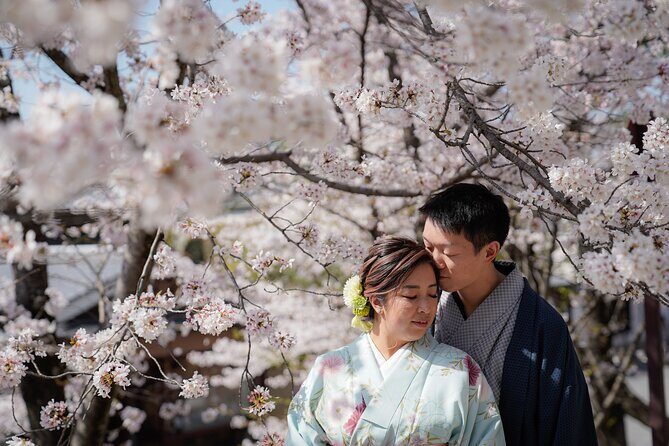
This tour starts at Yasaka Jinja Nishiromon Gate (the Western Tower Gate) in the Gion/Higashiyama area. That’s a good anchor point, because the meeting spot puts you near some of the most camera-friendly streets and transitions into the “classic Kyoto” temple rhythm quickly.
The route then guides you through a focused set of places, each with a set time block:
- Yasaka Shrine (about 20 minutes)
- Maruyama Park (about 20 minutes)
- Chion-in Temple (about 20 minutes)
- Ishibe Alley (about 10 minutes)
- Nene-no-Michi (about 10 minutes)
- Yasakanoto / Yasaka Pagoda area (about 10 minutes)
The finish is at Hōkan-ji Temple, by the Yasaka Pagoda, with travel tips around the area. In practice, that’s helpful because you end right where a lot of people start looking for dinner, snacks, and a bit more strolling.
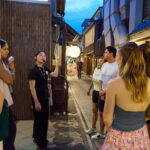
Group size is the quiet hero here. With a maximum of 6 travelers, you’re less likely to feel like you’re constantly waiting your turn, and your photographer can spend time nudging you into good poses. If you’ve ever tried to direct your own kimono photos with random street cameras, you’ll understand why that matters.
Yasaka Shrine and Maruyama Park: classic Kyoto portraits with light control
Your first stop is Yasaka Shrine, a landmark with that instantly recognizable Kyoto vibe. The tour starts you here for a reason: it gives you big traditional shapes right away, plus a sense of arrival. If your kimono is the star of the show, this is a strong opening backdrop.
Then you head to Maruyama Park, known for its traditional garden style. The seasonal note that stands out is cherry blossom timing in early April, when the park can look especially photogenic. Even if you’re not traveling during peak season, the park still works because it’s designed for atmosphere: paths, greenery, and a calmer look than the busiest streets.
Here’s why the “morning or afternoon” choice matters. Lighting changes how kimono fabric shows detail, how shadows fall on your face, and whether backgrounds look soft or harsh. If you care about flattering tones and fewer glare problems, picking your session time is a big deal.
Possible drawback: the time per stop is limited. Yasaka Shrine gets around 20 minutes, which means you’ll want to arrive ready to shoot, not still fixing accessories. If you need extra time for hair or clasp adjustments, build a little buffer before the meeting time.
Chion-in’s Sanmon gate (24m tall) and Ishibe Alley’s texture

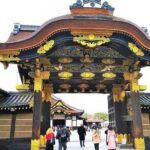
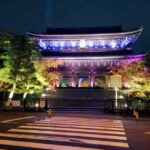
Next up is Chion-in Temple, specifically its main entrance gate, the Sanmon gate. This isn’t a small detail—this gate is listed as 24 meters tall and 50 meters wide, and it’s noted as the largest wooden temple gate in Japan. Even if you’re not a hardcore architecture person, a gate that size changes your entire photo composition. You’ll likely spend time framing it so the scale reads correctly behind you.
The practical advantage here: big structures help portraits look more dramatic without needing lots of extra props. Your kimono becomes a visual contrast against the massive gate, which is what you want for “Kyoto looks good on me” photos.
Then you move to Ishibe Alley, which is all about narrow, traditional architecture. This is one of those stops where you can get that older-street texture that feels real instead of staged. The tour gives it about 10 minutes, so it’s more of a quick hit than a slow wander. You’ll want to be ready to pivot, because alley photos tend to require turning your body slightly to keep lines leading through the frame.
Admission-wise, Ishibe Alley is listed as admission ticket not included, while several other stops are marked free. That’s worth a quick mental note so there are no surprises if you’re used to “everything included” tours.
Nene-no-Michi and Yasaka Pagoda: walkway atmosphere and a strong finish
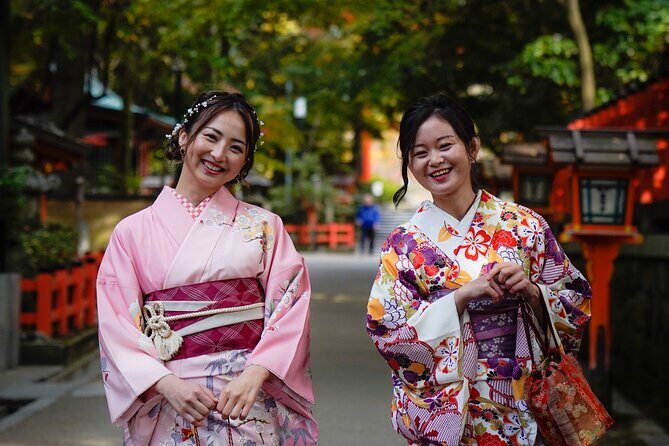
The penultimate stop is Nene-no-Michi, described as a wonderful flagstone walkway. It’s also tied to the autumn look: in fall, you can see lots of red leaves here. The tour also points out that Kodaiji is close by and that many people walk this street, which means the atmosphere can feel lively even in a smaller walking stretch.
This stop tends to work well for portraits because flagstone walkways give a natural pattern behind your feet. Pattern reads well in photos and can make your kimono look extra intentional, especially if your photographer times your shots around moving people.
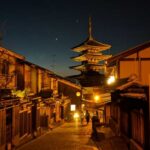
Finally, the tour ends at Yasakanoto, the five-storied style Yasaka Pagoda area by Hōkan-ji Temple. This is the kind of ending that makes sense: you get a recognizable Kyoto landmark you can remember even after the edits. The time allocated is about 10 minutes, so treat it like your finishing sprint. If you want a “hero shot,” this is usually where it happens.

Kimono choice: plan your outfit since it’s not included
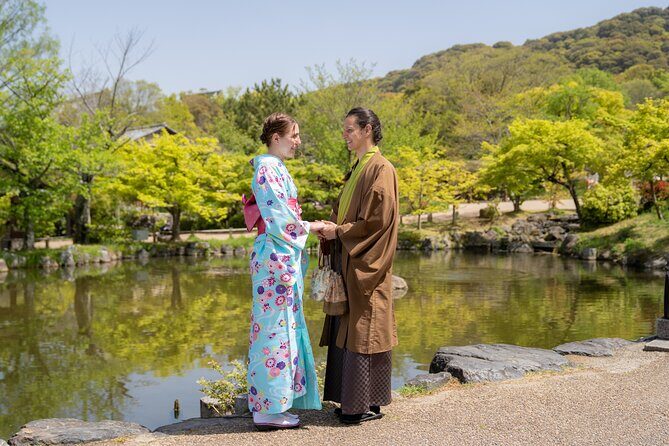
The kimono is not included, but you can choose it from your preferred store. That means the tour is built to accommodate you bringing your kimono setup with you. The key takeaway for your planning: don’t leave the outfit decision to the last day.
Ask yourself what you want your photos to feel like. Some kimono styles photograph better with certain colors of backgrounds (temple wood, garden greens, stone walkways). You can’t control Kyoto’s stone and wood tones, but you can control your clothing color and pattern.
Also, because the tour is only about 1.5 hours, dressing needs to be efficient. If your kimono takes a while to get properly arranged, you’ll be happier if you handle that well before the meeting point rather than trying to do final adjustments on the move.
Your photographer’s job: not just shooting, but directing
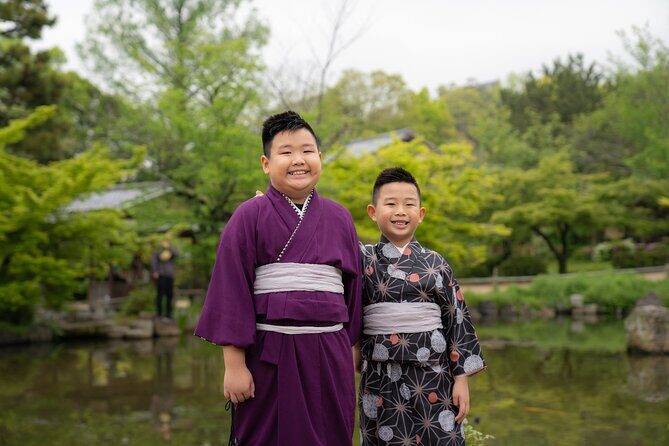
A good portrait photographer is part coach, part scout. This tour is built around meeting local photographers and getting a guided portrait experience while you visit favorite scenic spots around Kyoto.
The standout theme across the guide names mentioned in feedback is that photographers are patient and practical with posing. People specifically called out patience and explanations about shrine details, plus posing tips that make it easier if you’ve never done a photo shoot before. Names that appear include Yuta, Takuma, Mina, Cocoro, Soma, and Andy Yu Lei.
Other useful details mentioned: some guides wait for people to clear so you can get cleaner frames, and some work quickly if you’re running behind due to transport. That’s not just “nice service.” It’s a real quality factor in Kyoto, where crowds can make timing everything.
One more thing I like about this setup: you get professionally edited photos. That’s the part that turns a “snapshot” session into a set of images you’ll want to keep and print.
Note: the information you have here doesn’t specify how many edited photos you’ll receive or exactly how fast editing happens. If that matters to you, it’s worth checking what the provider says at booking.
Admission tickets and the small costs you might meet
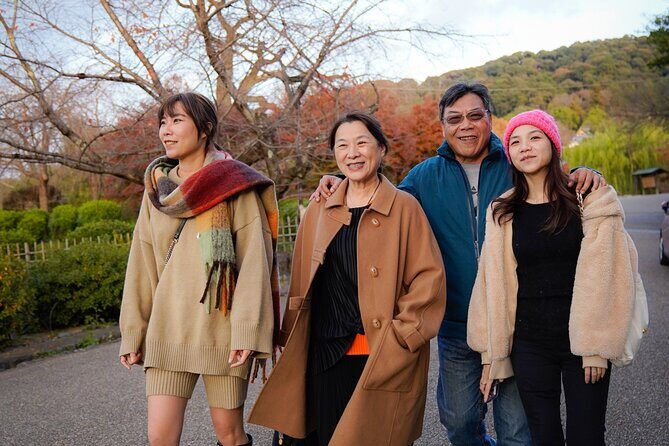
Most of the listed stops show free admission tickets. Yasaka Shrine is listed free. Maruyama Park is listed free. Chion-in Temple is listed free. Nene-no-Michi is listed free. Yasakanoto is listed free.
The one place where you might see a not-included note is Ishibe Alley, listed as admission ticket not included. If you like to travel with zero surprises, treat that stop as the one to verify.
Also, the tour uses a mobile ticket, which is handy. Just make sure you can access it when you meet.
Who this Kyoto kimono portrait tour fits best
This is a smart match if you want Kyoto portraits without spending hours planning angles. The small group size helps solo travelers feel less awkward, because someone else is handling composition and timing while you focus on being present in the moment.
It also makes sense for couples. You’ll get photo opportunities at multiple iconic and street-level backgrounds in a single session, which is hard to reproduce when you’re both trying to hold the camera and pose.
If you’re traveling with limited time, the 1 hour 30 minutes format keeps it realistic. You won’t need a whole afternoon to get something meaningful.
Who might want to skip it? If you’re the type who wants to fully explore each site on your own schedule, this tour’s time-boxed stops may feel a bit structured. You’re getting a portrait-focused route, not a free-form temple day.
Should you book this Kyoto Portrait Tour with Kimono?
Book it if you want a Kyoto photo set that looks intentional—kimono included visually, good backgrounds, and the editing done for you. The combination of small-group pacing, a clear route from Yasaka Shrine to Hōkan-ji/Yasaka Pagoda, and professionally edited photos is the main reason this is good value.
Don’t book it if you’re hoping the kimono is part of the package. You’ll need to handle that yourself through your chosen store. Also, if your priority is deep, slow wandering at each temple, you may find the stop times too short.
If you do book: pick your session time based on the look you want, arrive early enough to settle, and decide your kimono color beforehand so it matches the backgrounds. Then let your photographer do the job you came for: getting you positioned, looking natural, and capturing Kyoto the way it should photograph.
FAQ
FAQ
How long is the Kyoto Portrait Tour with Kimono?
The tour lasts about 1 hour 30 minutes.
What is included in the tour price?
You get a guide and professionally edited photos.
Is the kimono included?
No. The kimono is not included, but you can choose it from your preferred store.
Where does the tour start?
The meeting point is Yasaka Jinja Nishiromon Gate (Western Tower Gate), 625 Gionmachi Kitagawa, Higashiyama Ward, Kyoto.
Where does the tour end?
It ends at Hōkan-ji Temple, in front of Yasaka Pagoda, in the Yasaka Pagoda area (Higashiyama Ward).
How many people are in a group?
There is a maximum of 6 travelers per tour.
What stops are part of the route?
The tour includes Yasaka Shrine, Maruyama Park, Chion-in Temple, Ishibe Alley, Nene-no-Michi, and Yasakanoto (Yasaka Pagoda).
Are admission tickets included for the sites?
Many stops list admission as free, but Ishibe Alley is listed as admission ticket not included.
Can I cancel and get a full refund?
Yes. Free cancellation is available up to 24 hours before the experience starts for a full refund. If you cancel less than 24 hours before, the amount paid is not refunded.