REVIEW · TOKYO
Calligraphy & print your calligraphy on a T-shirt.
Book on GetYourGuide →Operated by Local Earth · Bookable on GetYourGuide
Brush, ink, then wearable art.
This class turns Japanese calligraphy practice into a real souvenir: you’ll write on thin paper, make ink the traditional way, and end by having your design printed on a T-shirt. I love how the lesson is both hands-on and explained clearly, and I especially like the moment your chosen design becomes a wearable keepsake instead of just a sheet of paper.
My favorite part is the mix of old-school materials and a simple process you can actually follow. You start with character history and guidance, then you practice with a fude brush/pen and ink, and you’ll even enjoy green tea while writing a postcard to take home. One thing to consider: you’ll need to wear clothes you don’t mind getting a little ink on, and time is limited—this is a fun intro, not years of training.
In This Review
- Key Highlights You’ll Remember
- Shodo Meets a Wearable Souvenir: The Big Idea
- Japanese Characters 101: Why the Lesson Starts with History
- Making Sumi Ink the Traditional Way (Yes, You’ll Do It)
- The Practice Step: Writing for About 30 Minutes
- Choosing Your Design and Deciding Where It Prints
- The Printing Moment: Turning Paper Into a T-Shirt
- Postcard + Green Tea: A Calm Second Souvenir
- Who This Class Suits Best (And Who Might Want Another Option)
- Price and Value: Is $48 Worth It?
- Logistics That Make or Break Your Experience
- Small Extras You Might Be Offered
- Should You Book This Calligraphy + T-Shirt Class?
- FAQ
- How long is the calligraphy and T-shirt class?
- What’s included in the price?
- What language is the instruction in?
- Where do I meet for the class?
- What should I wear or bring?
- Can I cancel or pay later?
Key Highlights You’ll Remember
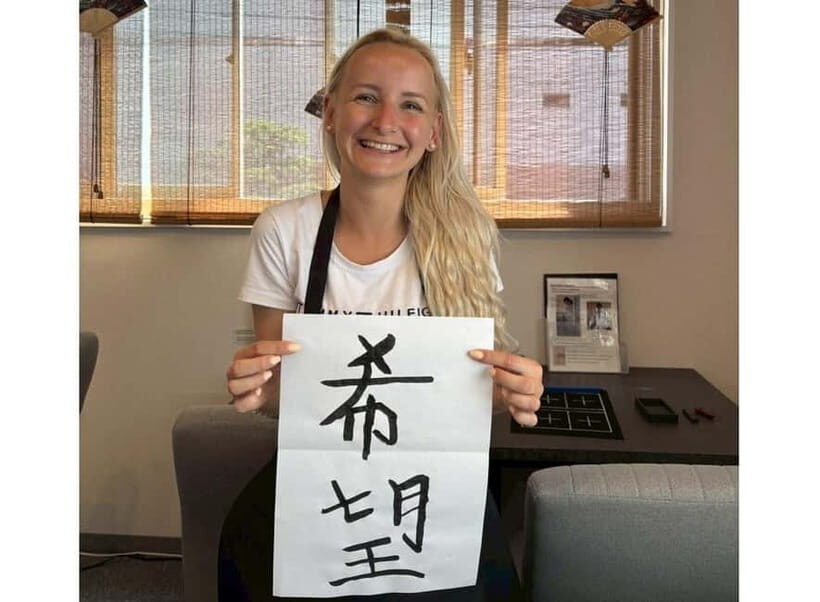
- Start with Japanese character culture so the practice has meaning, not just pretty strokes
- Make your own ink using water and a Sumi ink stick
- Practice shodo basics on thin paper for about 30 minutes before you choose your design
- Pick a favorite layout for your T-shirt and decide where it goes on your clothing
- Enjoy green tea and write a postcard with the same calligraphy vibe as your main project
- Leave with a finished T-shirt ready to take home after the printing step
Shodo Meets a Wearable Souvenir: The Big Idea
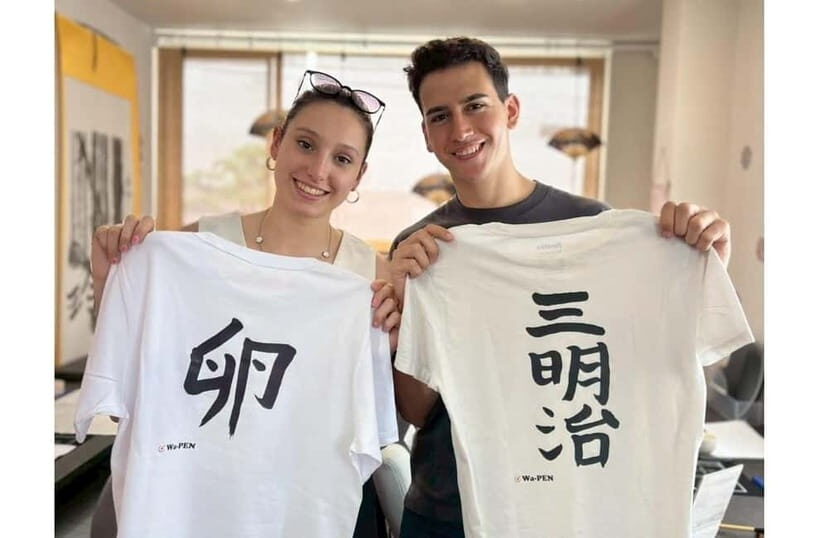
This experience is basically Japanese calligraphy with a practical twist. Instead of making a framed piece you’ll store in a closet, you’ll create a design and then print it onto a T-shirt you can wear on your trip afterward—or keep as a reminder when you get home.
What makes it work is the pacing. You’re not just watching someone else write. You’re learning the logic behind strokes, practicing with the right tools, and then using that practice immediately when it’s time to pick your final design. For me, that “practice now, use it right away” approach is the difference between an okay activity and a memorable one.
You also get a nice cultural context component first—so when you’re holding the brush and trying to copy a pattern, you know what you’re looking at. And because there’s a postcard plus green tea built into the session, the whole thing feels like a small, calm ritual rather than a rushed craft class.
You can also read our reviews of more tours and experiences in Tokyo.



Japanese Characters 101: Why the Lesson Starts with History
Before you pick up the brush, you’ll learn about the history of Japanese characters and culture from an expert. You’ll also get guidance on how to approach the writing itself, including the practical thinking behind spacing and shape.
Here’s why that matters: if you only copy shapes without context, calligraphy can feel like “guess the correct stroke.” But when you understand how Japanese writing developed and how characters function, your practice gets more confident fast. You’re not just making marks—you’re recreating forms that have a specific style and meaning.
Some classes include a first stage where you copy kanji stencils, which gives you a structured way to start. That’s a great option for first-timers because it reduces the mental load. You can focus on pressure, direction, and flow—then build from there.
Making Sumi Ink the Traditional Way (Yes, You’ll Do It)
One of the coolest parts is that you don’t rely on pre-made ink. You’ll learn how to make ink with water and a Sumi ink stick. You’ll also use classic tools such as an inkstone and related equipment provided for the class.
If you’ve never ground ink before, it’s oddly satisfying. You can see the ink shift as you work, and it makes the whole session feel more “real” than a typical classroom craft. You’ll also learn how to use a Japanese pen called fude, which is key for getting the look of traditional strokes.
This is the point where the class becomes more than “fun activity.” It turns into a skill you can repeat later. Even if your result isn’t museum-level perfect, you’ll leave knowing what to do with ink and how the brush behaves when you control angle and pressure.
The Practice Step: Writing for About 30 Minutes
After the introductory teaching, you’ll practice writing on thin paper with the brush and ink. You’ll get expert guidance while you practice, and the structure matters because it gives you repeated chances to correct and adjust.
Thin paper changes everything. It makes ink behavior more noticeable, so you learn quickly how much ink to pick up, how the brush glides, and how fast the ink settles. That helps you improve faster than if you were writing on thick cardstock.
You’ll practice for roughly 30 minutes, and then you’ll move into selecting a final design. This is also where you’ll likely be encouraged to try strokes step-by-step rather than forcing perfect calligraphy immediately. Time is short, so the goal is progress you can feel.
Choosing Your Design and Deciding Where It Prints
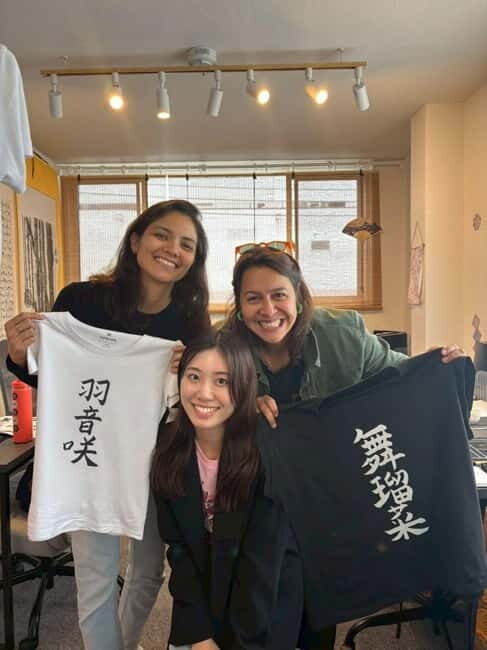
Once you’ve practiced, you’ll choose your favorite design. This part is surprisingly personal. You’re not just picking a random option—you’re choosing what your hand created that day.
Then comes the decision about placement. You’ll decide where on your clothing the design will be printed. This matters because the final look depends on scale and location: too high, too low, or too centered can change how it reads from a distance. The teacher’s guidance helps you land on something that looks intentional instead of accidental.
A practical bonus: if you’re interested in using a shirt you brought from home, one class report said that option was possible for that participant. If that’s your plan, ask ahead of time, since the standard includes T-shirts.






The Printing Moment: Turning Paper Into a T-Shirt
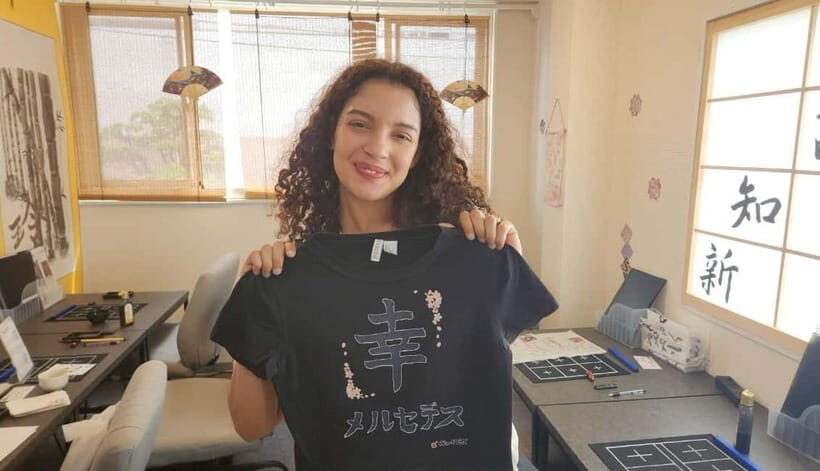
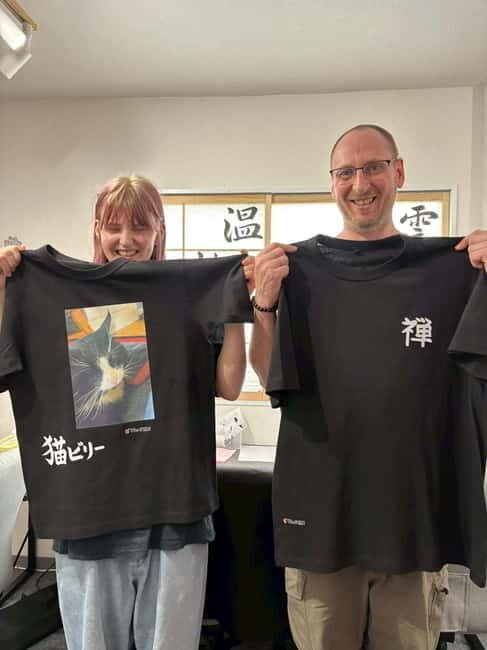
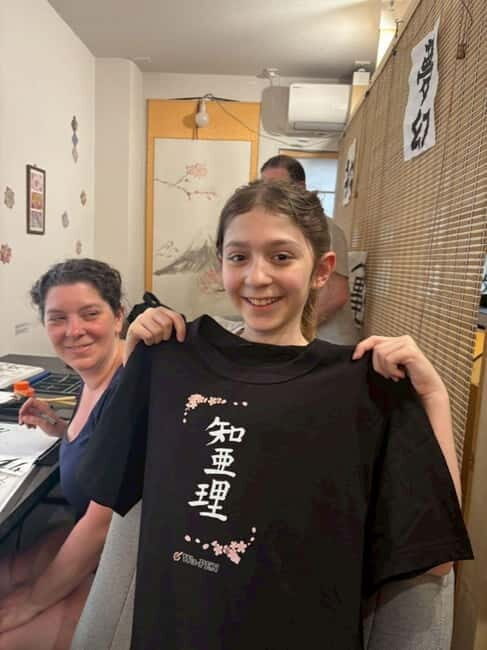
About 10 minutes after you start the final step, your clothes will be printed with your design. After that, the T-shirt becomes your take-home souvenir.
For most people, this is the “wait, that’s really mine?” moment. You spend time practicing on paper, then suddenly you’re wearing it. And because it happens quickly at the end of the class, you aren’t left guessing how it will turn out days later.
One practical consideration: wear clothes you don’t mind getting ink on, even if the final printed item is the T-shirt. Ink is part of the process. You’ll want to be comfortable with that mess factor, or you might feel distracted.
Postcard + Green Tea: A Calm Second Souvenir
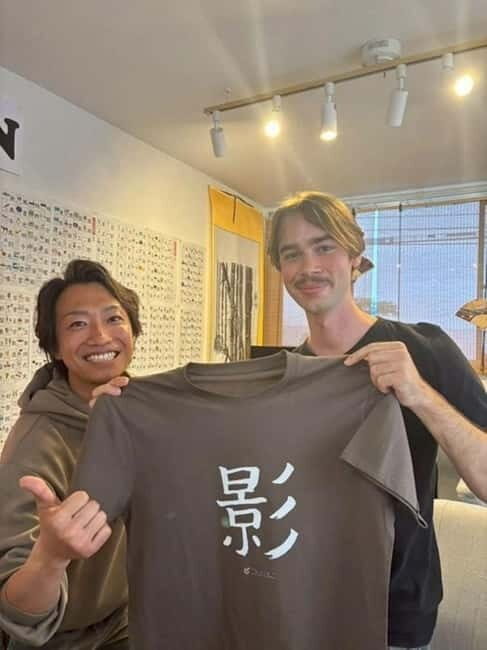
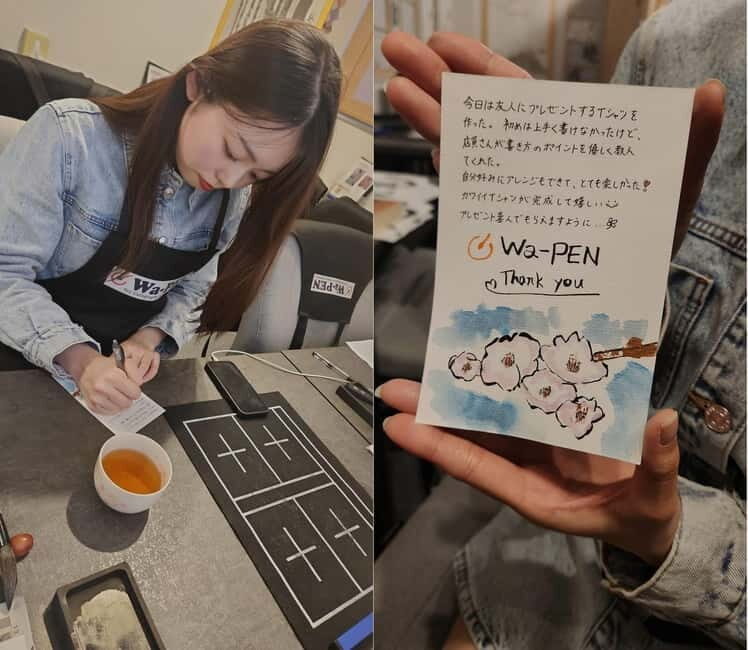
You’ll enjoy a cup of green tea while you write a postcard. The postcard becomes a second keepsake, and it also gives you a chance to practice your best strokes in a more personal way.
This is also a nice rhythm break. You do the heavier “learning and making” work first, and then the postcard step feels calmer. It’s a small writing moment you can treat like a travel memory—something you actually might send or keep because it feels authentically made.
Who This Class Suits Best (And Who Might Want Another Option)
This experience is a strong fit if you want a culture-meets-craft activity that ends with something tangible. If you like making things with your hands, and you want a souvenir that isn’t mass-produced, it delivers.
It’s also a good choice for families. One report highlighted how the teacher made the session engaging for kids aged 10 and 14, with patience and clear guidance. So if you’re traveling with children, this can be more than “watch an adult do art.”
You might consider skipping it if:
- You’re very time-sensitive and hate anything messy (ink is part of the workflow).
- You’re expecting advanced calligraphy training. The session is short, and the goal is a guided introduction plus a finished T-shirt.
- You want total customization like choosing any character combination from scratch. The process is guided with options and stencils, so you’re working within the class’s structure.
Price and Value: Is $48 Worth It?
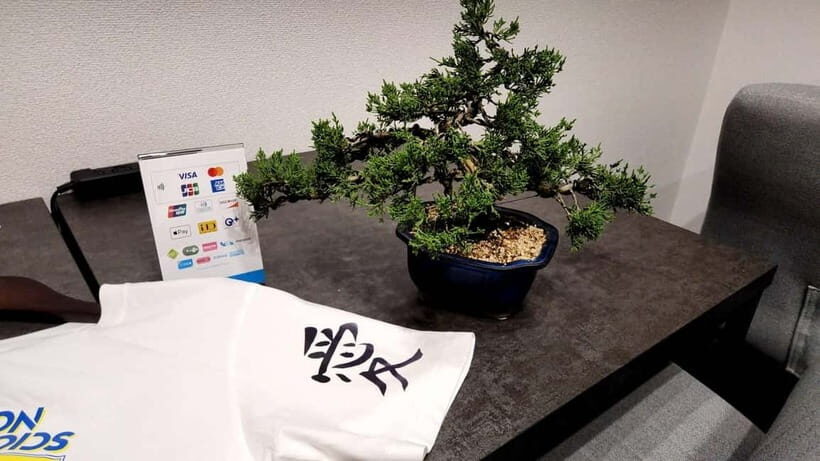
At $48 per person for a 1 to 90-minute session, you’re paying for more than a worksheet. You’re getting expert teaching, historical context, and a full set of writing tools.
What’s included matters:
- All necessary materials (including pen, paper, ink, and ink-related tools)
- Green tea
- A postcard
- A T-shirt
- Expert instruction and guidance
If you’ve ever tried to buy calligraphy supplies on your own, you know how fast costs add up—especially when you include proper tools and learning support. Here, your “lesson fee” covers both the materials and the coaching. You also leave with two souvenirs: the printed T-shirt and the postcard.
Is it cheap? No. But it’s also not “pay for an experience and get nothing.” You’re getting real output you can use and keep.
Logistics That Make or Break Your Experience
This class starts with a simple but specific meeting point.
You’ll find a red brick building. Go to the 3rd floor. There’s a sign on the 1st floor, and the restaurant is on the 1st floor. Go up the stairs to the right of the restaurant.
Timing tip: arrive about 10 minutes early. That buffer helps you get set up calmly before ink, paper, and brush work start.
What to wear: comfortable clothes. You’ll want to avoid your fanciest items because ink is involved. Also, plan for the practical reality that the final printing is quick at the end, and the T-shirt will be ready to take home after class.
Language: the instructor teaches in English, so you can follow without needing Japanese skills.
And if you’re flexible: one participant suggested doing it earlier in the day so you still have time to enjoy nearby sightseeing while you wait for the shirts to be finished. Even if you don’t plan that exact day flow, the point is the same: morning sessions can fit nicely into an itinerary.
Small Extras You Might Be Offered
One class report said the teacher offered an extension to try fan calligraphy for a small fee. That’s not something I’d count on for every session, but it’s a useful idea if you finish your main T-shirt project and want one more creative challenge.
Also, in one family case, the teacher personally delivered the completed creations when they were ready. The standard is that your custom design is ready to take home after the class, but it’s reassuring to know the teacher may handle logistics with care.
Should You Book This Calligraphy + T-Shirt Class?
Book it if you want a hands-on Japanese cultural activity that ends with something you can actually wear. The best part is the full chain: learn the context, make the ink, practice the strokes, choose a design, then see it printed onto a real T-shirt. It’s one of those experiences that feels both thoughtful and practical.
Skip it only if you’re strongly allergic to mess or you’re expecting a long, advanced training course. This is a guided introduction, not a multi-year apprenticeship. But if you want a memorable, skill-building activity you’ll carry home, this class is a solid choice.
If you can, wear clothes you’re okay with getting ink on, show up a few minutes early, and treat the first attempts as learning. Your best-looking strokes often come after you relax and stop trying to force perfection.
FAQ
How long is the calligraphy and T-shirt class?
The experience runs for 1 hour to 90 minutes, depending on the starting time and pace of the session.
What’s included in the price?
You get expert guidance, historical teaching, all writing materials (including tools for ink), green tea, a postcard, and the T-shirt used for printing.
What language is the instruction in?
The instructor teaches in English.
Where do I meet for the class?
Meet at a red brick building on the 3rd floor. There is a sign on the 1st floor by the restaurant. Go up the stairs to the right of the restaurant.
What should I wear or bring?
Wear comfortable clothes that you don’t mind getting ink on. You should also arrive about 10 minutes early to prepare.
Can I cancel or pay later?
You can cancel up to 24 hours in advance for a full refund. You can also reserve now and pay later to keep your plans flexible.