REVIEW · HIROSHIMA
Hiroshima: 1-Day Hiroshima and Miyajima Tour
Book on GetYourGuide →Operated by Machinovate Japan Ltd. · Bookable on GetYourGuide
Hiroshima and Miyajima in one long day. I like how the route connects Peace Memorial Park with island shrines and temples in the same morning and afternoon, so the day feels like a single story. I also like the small, practical touches—photo-stops and “how to look” guidance—that make the sights easier to understand and enjoy. One thing to consider: the pacing is full, so the Peace Memorial Museum can feel rushed if you want to read everything slowly.
You’ll start at Hiroshima Station with an English guide, then spend hours on foot. The upside is that you’re not just passing landmarks—you’re getting context at each stop, from the Edo-period garden design to what the city went through in WWII. The main trade-off is walking and time on transit, so wear comfortable shoes and plan for weather changes.
If you book this, you’re signing up for a thoughtful day with a very specific balance: solemn Hiroshima first, then Miyajima’s iconic shrine views and temple halls. A guide can make or break a tour like this, and the experience here tends to shine when the guiding goes beyond the obvious, like the organized, culture-aware approach shown by guides such as Isabella.
In This Review
- Key Points You’ll Care About
- Meeting at Hiroshima Station and Getting Oriented Fast
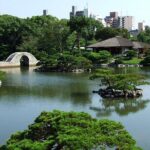
- Shukkei-en Garden: Edo-Era Mini Scenic Views and Photo Stops
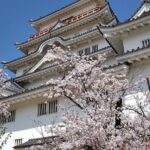
- Hiroshima Castle Ruins: Tower Views and What the Site Meant
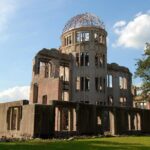
- Hiroshima Peace Memorial Park: Atomic Bomb Dome and the Flame of Peace
- The Peace Memorial Museum: Personal Belongings and When You Need More Time
- The Ferry to Miyajima: A 45-Minute Break That Sets the Mood
- Omotesando Free Time: Lunch, Snacks, and Getting Your Bearings on the Island
- Senjokaku Pavilion: The Unfinished Shrine That Feels Honest
- Itsukushima Shrine and the O-torii Gate: Shinto, Sea, and Iconic Views
- Daisho-in Temple: Golden Lantern Light and 88 Statues
- Heading Back: Ferry, Train, and Ending at Hiroshima Station
- Price and Value: Is $170 Worth It?
- Who Should Book (and Who Should Rethink)
- Should You Book This 1-Day Hiroshima and Miyajima Tour?
- FAQ
- FAQ
- How long is the Hiroshima and Miyajima tour?
- Where do I meet the guide?
- How do I get to the meeting point if I arrive by Shinkansen?
- How do I get to the meeting point if I arrive by JR lines, bus, or streetcar?
- Does the tour include transportation to Miyajima?
- How long is the ferry ride to Miyajima?
- Is lunch included?
- What are the main Hiroshima stops on the tour?
- What are the main Miyajima stops on the tour?
- What should I bring or prepare for?
Key Points You’ll Care About
- Shukkei-en garden stops with photo guidance so you’re not just sightseeing, you’re spotting what matters
- Atomic Bomb Dome + Peace monuments aligned with the Flame of Peace for a powerful visual moment
- A ferry crossing to Miyajima that breaks up the day and sets you up for shrine time
- Two hours of free time on Omotesando to eat and shop before your guided Miyajima sites
- Senjokaku’s unfinished construction that you can feel instantly when you’re there
- Daisho-in’s 88 statues under golden lantern light for a dramatic end to the tour
Meeting at Hiroshima Station and Getting Oriented Fast
The day starts at Hiroshima Station, under the Tourist Information sign outside the Shinkansen gates. If you’re coming by Shinkansen, it should be directly to your left as you exit the gates; otherwise, follow signs toward the Shinkansen gates. Aim to arrive about 15 minutes early—this tour moves like a machine and the meeting point is easy to miss when you’re walking fast.
Your guide will be holding a SNOW MONKEY RESORTS tour sign, so look for that right away. If you’re carrying bags, use the coin lockers at Hiroshima Station before you meet; it keeps the walking less annoying and helps you focus on sights instead of luggage.
This matters because the schedule is packed: roughly 510 minutes (about 8.5 hours) of sightseeing, with ferry and train included back to the station. You’ll want your basics handled up front—water, sun protection, and comfy shoes.
A few more Hiroshima tours and experiences worth a look
Shukkei-en Garden: Edo-Era Mini Scenic Views and Photo Stops
From the meeting point, you’ll head to Shukkei-en Garden first. This is the kind of stop that makes the rest of the day easier to appreciate because it gives you a slower rhythm after the station bustle.
Expect guided time among tea houses, bridges, and rolling hills. The key is that the guide doesn’t just walk you through paths—they point out the best photo spots and explain how Shukkei-en was constructed during the Edo period. You’ll also hear the garden’s idea as a miniaturized scenic view, plus how it has been restored differently over about the past 400 years.
Why it’s worth it: Shukkei-en isn’t only pretty. It’s an example of how Japan carefully designs experiences—movement, sightlines, and atmosphere—into everyday space. If you like gardens, this is the moment to reset your head before Hiroshima turns heavy.
Practical note: this part includes walking and outdoor time, so sunscreen and a hat aren’t optional.
Hiroshima Castle Ruins: Tower Views and What the Site Meant
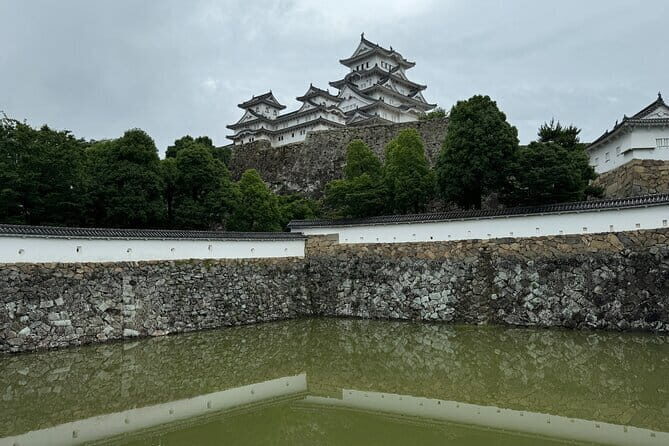
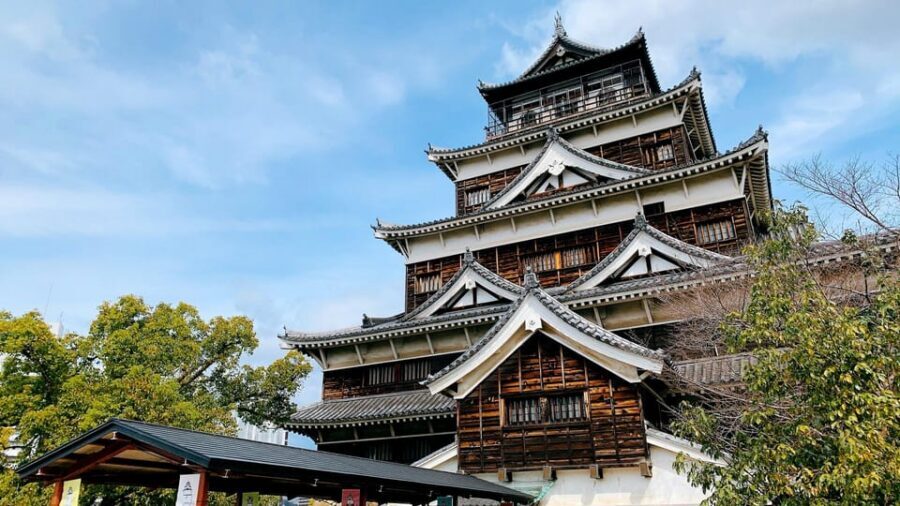
Next comes the Hiroshima Castle Ruins, where you’ll walk to key areas and learn the purpose and significance of each location. The tour includes stops at the Castle Tower, the Ninomaru enclosure, and the Hiroshima Gokoku Shrine.
What I like about this sequence is that you’re not just looking at rubble or reconstructed spots. The guide ties each location to what it was used for, so the ruins feel less like random history and more like a map of the city’s power structure.
Drawback to watch for: since the day is full, you’ll likely get “best hits” coverage rather than deep solo exploring. If you love castle history, you may want to add extra time in Hiroshima later.
Hiroshima Peace Memorial Park: Atomic Bomb Dome and the Flame of Peace
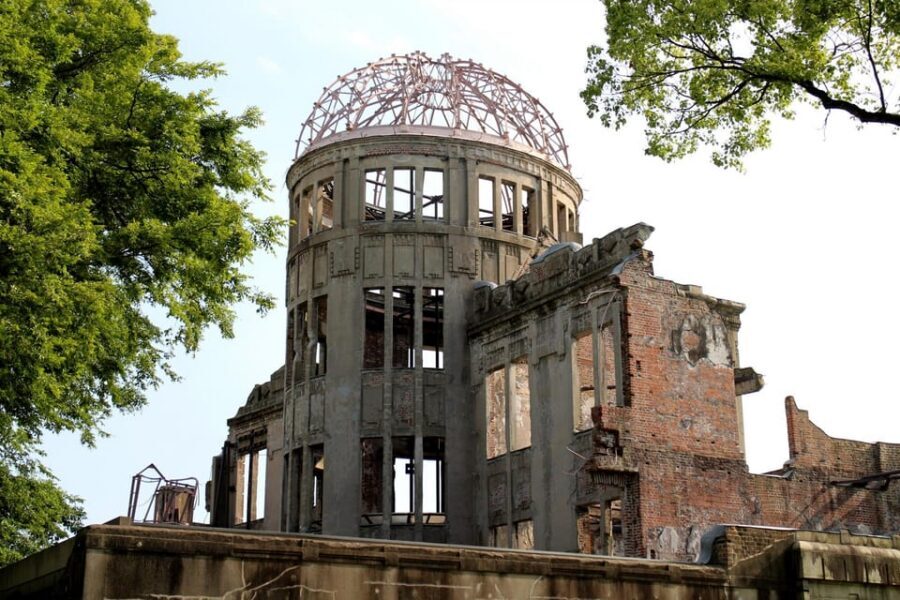
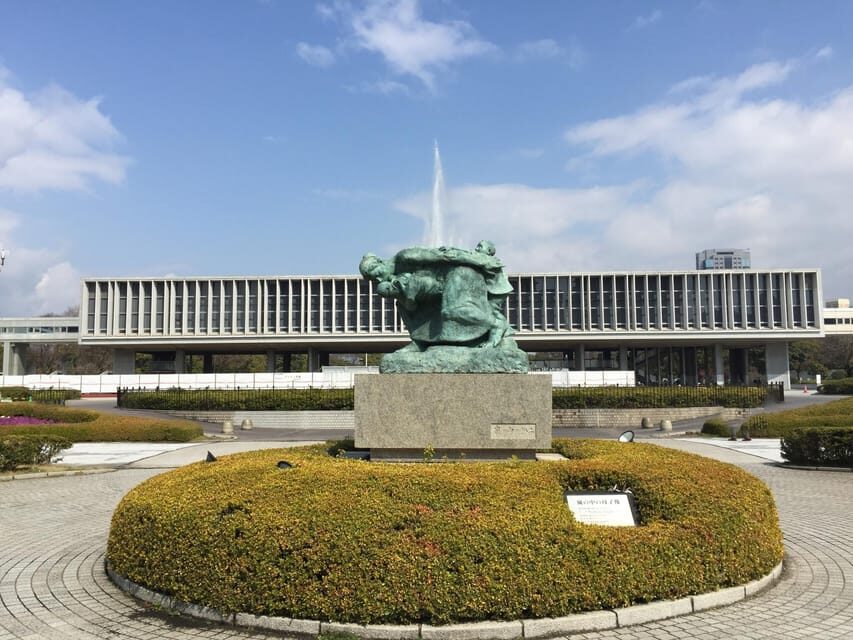
Then the tone changes. You’ll head to the Hiroshima Peace Memorial Park and the Atomic Bomb Dome, where the guide sets the WWII context leading up to the bombing.
This part is moving even if you’ve read about Hiroshima before. Seeing the Atomic Bomb Dome in place matters because it turns a timeline into a real space. The guide also helps you understand what you’re looking at, instead of leaving you to guess.
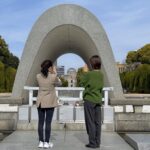
From there, you’ll visit the Children’s Peace Monument and hear about Sadako Sasaki and the other children who died as a result of the bombing. After that comes the Cenotaph for the Victims of the Atomic Bomb, including a registry of names of those who perished.
One of the most striking moments is when you stand in front of the monuments and observe the “Flame of Peace” and the Atomic Bomb Dome in perfect alignment. You don’t need to be a photography expert to appreciate it—your body just gets the symbolism once you see the geometry laid out.
If you’re sensitive to intense sites, give yourself permission to pause. The guide can keep moving, but you can take a breath and step back for a minute.
The Peace Memorial Museum: Personal Belongings and When You Need More Time
After the monuments, you’ll go to the Peace Memorial Museum. This is where the experience becomes intensely human. You’ll see personal belongings left behind by victims, and the exhibits guide you through August 6th and the hardships that followed, then into the city’s reconstruction.
This stop is important because it fills the gap between “event history” and “lived impact.” A lot of people think Hiroshima is only the day of the bombing; the museum shows what came afterward—trauma, loss, and rebuilding.
One consideration from real experience on this kind of tour: the museum time can feel shorter than you’d like, which means you might not absorb every exhibit the way you’d prefer. If museum reading is your top priority, you’ll probably feel the squeeze. My practical advice: go in with a focus. Pick the sections that match what you most want to understand—then you’ll leave satisfied instead of frustrated.


The Ferry to Miyajima: A 45-Minute Break That Sets the Mood
After Hiroshima, you’ll head to the pier near the museum and board the ferry to Miyajima. The ferry ride is about 45 minutes, and your guide points out relevant spots along the way.
This transfer does two jobs at once. Logistically, it gets you to the island. Emotionally, it gives you a transition from heavy memory sites to a place known for Shinto and Buddhist traditions—and that shift makes the second half feel clearer rather than random.
Bring something for comfort if you get cool on the water. Even short ferry rides can feel windy.
Omotesando Free Time: Lunch, Snacks, and Getting Your Bearings on the Island
Once you arrive at the Miyajima pier, you’ll start with Omotesando Shopping Street. You’ll have about two hours of free time here before your guided Miyajima sights.
Use this block well. Eat lunch or grab snacks, and shop if you want souvenirs. More importantly, use it to get your bearings. Miyajima can feel like a small maze once you’re on foot, so walking the main street first helps you understand where everything sits.
If you want an easy strategy: eat earlier in the free window if crowds are building, then slow down for browsing.
Senjokaku Pavilion: The Unfinished Shrine That Feels Honest
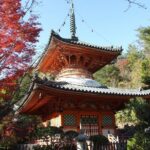
Next is Senjokaku Pavilion, a shrine whose construction was never completed and remains unfinished to this day. This is one of those places where the “unfinished” detail isn’t a footnote—it’s the whole experience.
Your guide explains the shrine’s history and elements, but even before you absorb everything, you can feel the mood. It reads as raw, open, and slightly unusual compared to the more famous perfectly composed shrine scenes.
If you like architecture with personality, this stop is a win. If you prefer strict symmetry and polished views only, you might find it less “instant Instagram shrine” and more “interesting to think about.”
Itsukushima Shrine and the O-torii Gate: Shinto, Sea, and Iconic Views
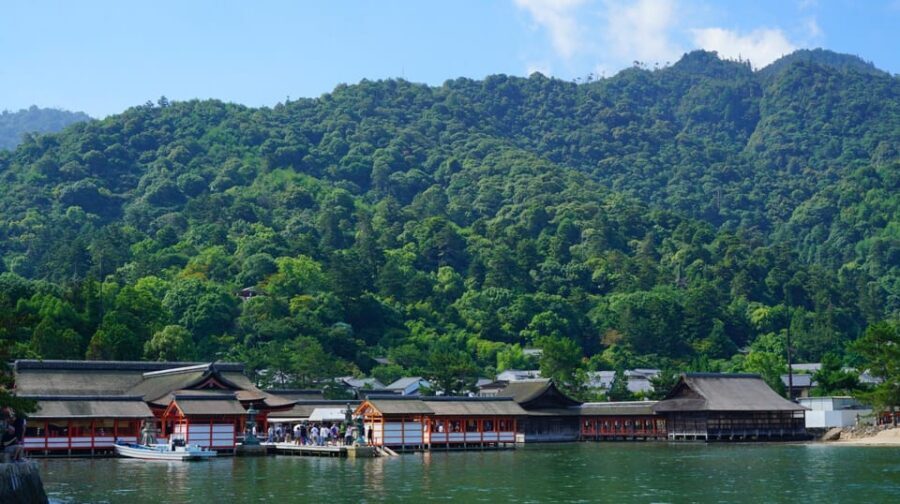
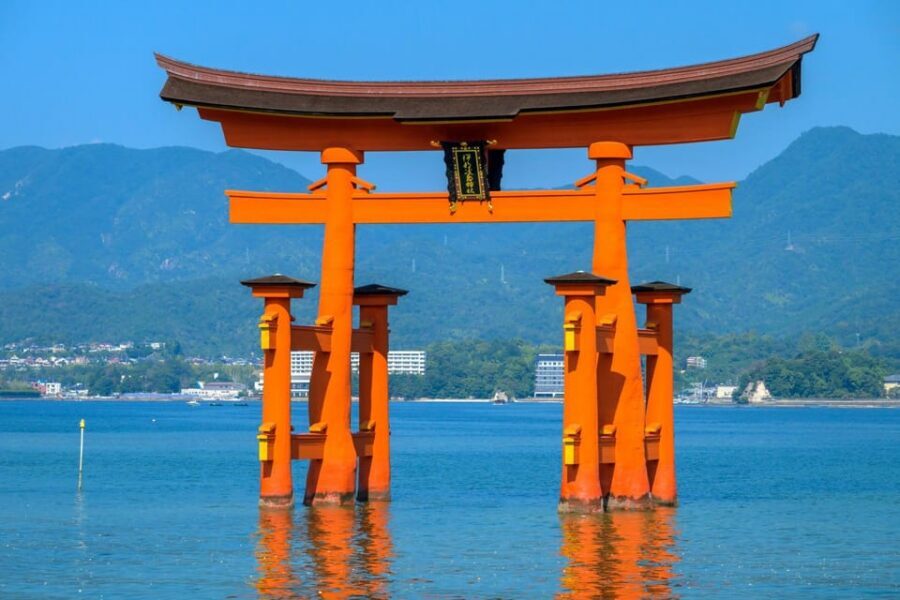
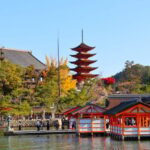
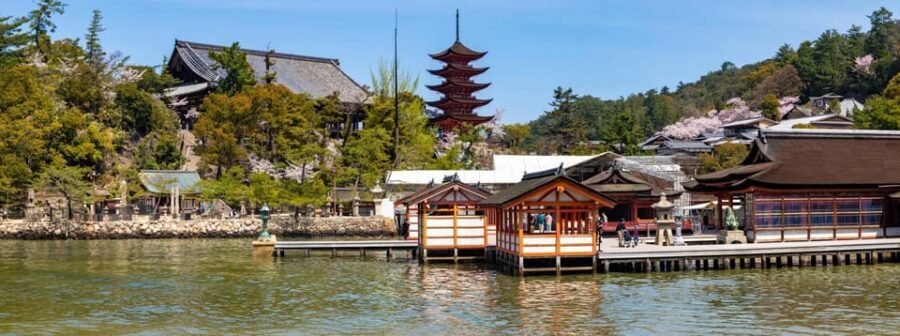
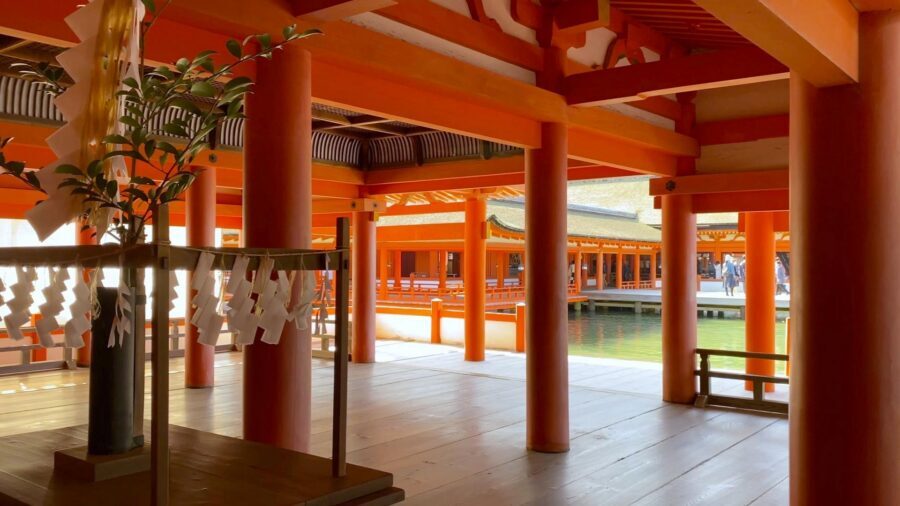
Then comes Itsukushima Shrine, the headline you’ve probably been picturing since you planned the trip. Expect explanations of Shintoism and shrine history, plus guided walking through worship halls and the famous “floating shrine” effect.
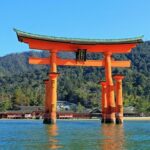
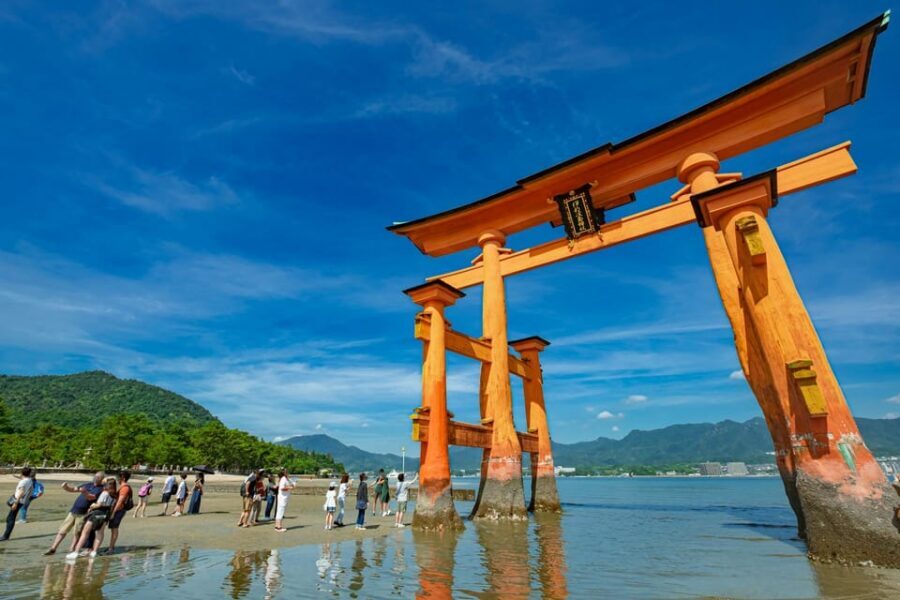
The iconic moment is the O-torii gate out in the Seto Inland Sea. Even in a group setting, this is one of the places where you can slow down and just look. The guide helps you understand what you’re seeing—so it’s not only scenery, it’s cultural design.
Practical note: conditions on the water can affect the look. You can’t control that, but arriving with curiosity makes it work either way.
Daisho-in Temple: Golden Lantern Light and 88 Statues
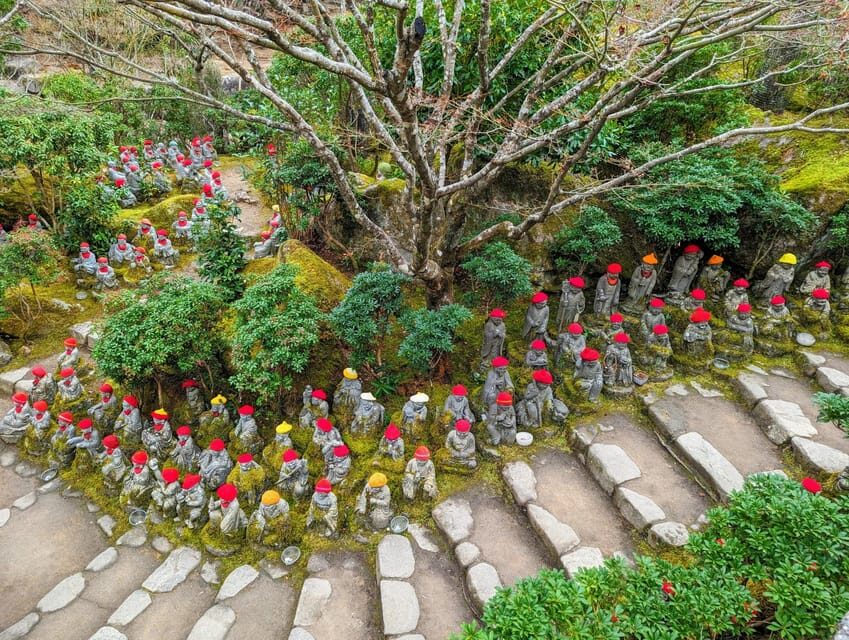
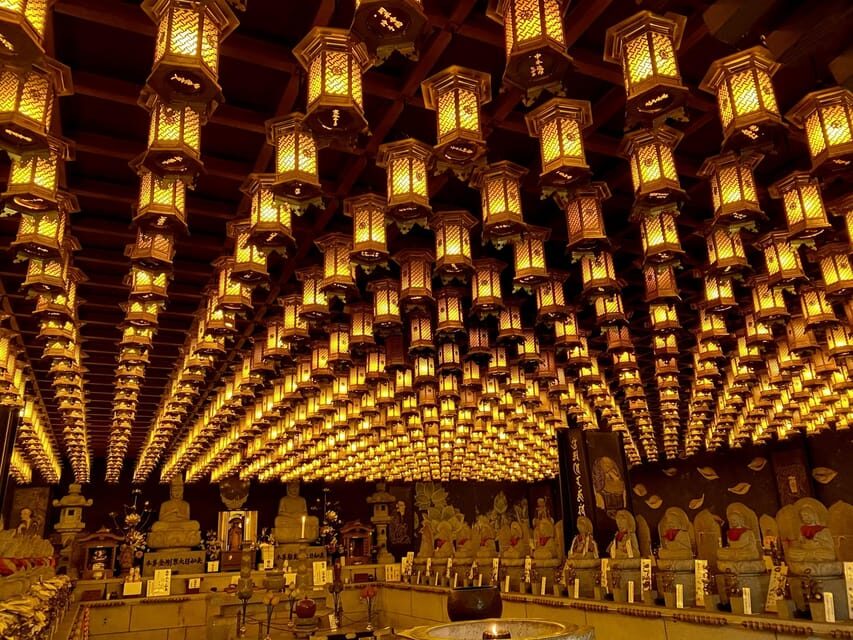
After Itsukushima, you’ll walk to Daisho-in Temple, a prestigious Shingon Buddhist temple. The tour includes time at Daishi Hall, where you’ll see 88 statues representing the Shikoku pilgrimage of 88 temples.
What makes this stop special is the lighting. The room is lit by golden lanterns hanging from the ceiling, creating a distinct, almost ceremonial glow. It’s a visually strong contrast to the sea-gate drama earlier in the day.
If you’re the type who enjoys spiritual art and symbolism, this part connects the dots between Shinto aesthetics and Buddhist devotion. If you’re more into outdoor views, you’ll still likely appreciate it because the atmosphere is unlike most temple experiences.
Heading Back: Ferry, Train, and Ending at Hiroshima Station
Once you wrap up the final temple stop, you’ll return to the pier with your guide. Then you’ll take the ferry back to the mainland and one last train ride, with the tour ending at Hiroshima Station.
This return plan is convenient because it closes the loop. You don’t need to solve logistics on your own after a long day. The trade-off is that you’ll want to keep your energy for the end of the schedule—no lingering for one more shop unless your guide’s timing allows it.
Price and Value: Is $170 Worth It?
At $170 per person, this tour isn’t a budget half-day—it’s a full-day, guided, entry-fee-included experience that strings together Hiroshima and Miyajima in one go.
Here’s the value math that matters:
- You get an English-speaking guide for the whole day.
- Entry fees are included for the tour locations.
- Transportation to/from Miyajima (ferry and train) is covered.
When you add that up, the cost starts to make more sense versus “DIY plus ticket hunting.” You’re paying for the guide’s context—especially at the Peace sites—and for the friction-free routing between mainland and island.
Where you might question value: if you’re the kind of traveler who wants to move at your own pace, the itinerary’s density can feel like it’s using you as a human clock. Also, if museum time is your top priority, the pacing can be a disappointment compared to a self-guided visit.
Who Should Book (and Who Should Rethink)
This tour fits best if you:
- want a guided day that connects Hiroshima’s WWII memory sites with Miyajima’s religious landmarks
- like learning as you walk, especially when a guide can explain what you’re seeing
- prefer a structured plan and included transit over building your own route
It’s less ideal if:
- you’re very sensitive to intense content, since Hiroshima is the core of the day
- you dislike long walks and changing weather
- you need wheelchair access or have mobility limitations (the tour is not suitable for wheelchair users or people with mobility impairments)
- you’re traveling with children under 6 (the tour isn’t suitable for them)
Should You Book This 1-Day Hiroshima and Miyajima Tour?
I’d book it if you want one day that does the big emotional work of Hiroshima and then gives you a strong, memorable counterweight on Miyajima. The combination is powerful: Atomic Bomb Dome and Peace monuments first, then shrine architecture, an unfinished pavilion, and golden lantern temple halls.
Before you hit Reserve, be honest about two things:
1) Do you like guided pacing, or do you want slow, solo time (especially in the Peace Memorial Museum)?
2) Can you handle significant walking and an outdoor day with possible weather shifts?
If you answered yes, this tour is a solid way to experience two of Japan’s most meaningful places without drowning in logistics.
FAQ
FAQ
How long is the Hiroshima and Miyajima tour?
The duration is 510 minutes, roughly an 8.5-hour day.
Where do I meet the guide?
Meet under the Tourist Information sign outside the Shinkansen gates at Hiroshima Station. The guide will be holding a SNOW MONKEY RESORTS tour sign.
How do I get to the meeting point if I arrive by Shinkansen?
Exit the Shinkansen gates and look to your left for the Tourist Information sign. Follow signs to confirm you’re at the Shinkansen gates area.
How do I get to the meeting point if I arrive by JR lines, bus, or streetcar?
Follow signs directing you to the Shinkansen gates. If arriving by bus, use an underground passage at Hiroshima Station and follow signs toward the Shinkansen gates. If arriving by streetcar, Hiroshima Station is next to you—follow signs to the Shinkansen gates.
Does the tour include transportation to Miyajima?
Yes. Transportation to and from Miyajima is included, using the ferry and train.
How long is the ferry ride to Miyajima?
The ferry ride is about 45 minutes long.
Is lunch included?
No. Lunch is not included, and you’ll have free time on Omotesando where you can grab food.
What are the main Hiroshima stops on the tour?
You’ll visit Hiroshima Peace Memorial Park, including the Atomic Bomb Dome, plus the Children’s Peace Monument, the Cenotaph for the Victims of the Atomic Bomb, and the Peace Memorial Museum.
What are the main Miyajima stops on the tour?
You’ll visit Senjokaku Pavilion, Itsukushima Shrine (including the O-torii gate view), and Daisho-in Temple.
What should I bring or prepare for?
Wear comfortable walking shoes. Bring a hat and sunscreen for changing weather, and bring drinking water. Coin lockers are available at Hiroshima Station.