REVIEW · KYOTO
Let’s make Japanese accessories with Mizuhiki
Book on Viator →Operated by Rakue · Bookable on Viator
Knot craft turns shopping into skill. This Kyoto workshop teaches Mizuhiki—thin twisted paper wrapped in string—to build adorable accessories like mini bags, earrings, and floral ornaments, step by step. I like that the class starts practical and ends calm, with a planned matcha and sweets break once your hands are busy.
What I like even more is the teaching style: it’s patient, friendly, and very geared to getting you to a finished result, even if you’re new to knot work. One consideration: if you want to keep making things at home later, the workshop notes that Mizuhiki for non-gift items and metal fittings aren’t included.
In This Review
- Key things to know before you go
- Mizuhiki knots in Kyoto: small-time craft, big souvenir payoff
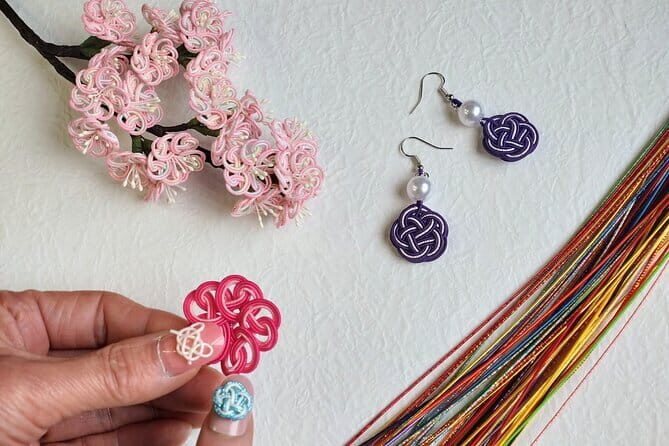
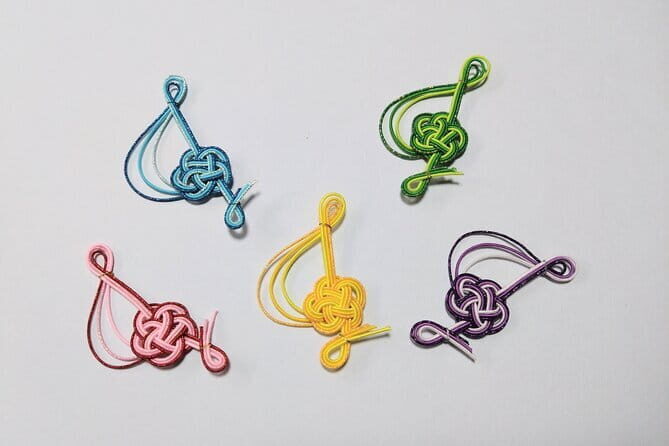
- What you’ll make: pochibag, earrings, and cute ornaments
- The flow of the class: from basic knot to your chosen design
- The instructor experience: patient guidance that actually gets results
- Matcha and sweets: why the tea break is part of the craft
- Price and value in Kyoto (and why $19.60 makes sense)
- Location at RakueJapan: easy access, short walk energy
- Who this Mizuhiki class is best for
- Tips to get the best result (without stressing)
- Should you book this Rakue Mizuhiki workshop?
- FAQ
- How long is the Mizuhiki accessories class?
- Where does the workshop meet in Kyoto?
- Is the tour private?
- What’s included in the price?
- What isn’t included if I want to make items at home?
- Do I get a ticket on my phone?
- What can I expect to make?
- Is the workshop near public transportation?
- What’s the cancellation policy?
- Can beginners participate?
Key things to know before you go
- Mizuhiki is paper-and-string knot craft, tied into recognizable shapes used in gifts in Japan
- You build a mini bag (pochi bag) and then tie the base knot that drives your designs
- You practice first, so the more complex accessories feel doable by the time you choose from samples
- You pick what to make from example designs like hair ornaments and earrings
- Matcha and sweets are included, so you’re not rushed after the craft
- It’s a private class with your group only, and the setup is easy to find
Mizuhiki knots in Kyoto: small-time craft, big souvenir payoff
Kyoto is famous for craft shops, but this workshop flips the script. Instead of buying a finished trinket, you make it—out of paper string knots with a look that instantly feels Japanese. The result is not just pretty; it’s something you understand, which makes it harder to lose interest once the class starts.
At the heart of the lesson is Mizuhiki, a technique that uses colored paper wrapped around a thin twisted paper core, tied into specific knots. In Japan, Mizuhiki shows up in gift culture tied to envelopes and ceremonial uses, so your finished accessory carries a bit of that meaning—even if yours is shaped like something cute and wearable.
The workshop is also paced like a good workshop should be: enough structure to keep you moving, with room to focus. You’ll move from a basic setup to practice knots, then to an accessory of your choice, and finally to a break with tea.
The setting is deliberately small and personal. Many classes like this run fast; this one runs thoughtful. That matters because Mizuhiki is all about tension, direction, and consistency, not brute force.
You can also read our reviews of more tours and experiences in Kyoto.


What you’ll make: pochibag, earrings, and cute ornaments
The activity is built around a set of common, recognizable designs. You’re not stuck with one generic craft. You start with a pochi bag base using colored paper, and then you tie the abalone knot to form the structural pattern for what you’ll build next.
From there, you choose an accessory from the sample set. The overview specifically calls out options like:
- Straps shaped like strawberries
- Floral hair ornaments
- Cute earrings
- Mini baskets
In the same spirit, one student outcome described flower earrings made with careful help and a patient instructor. Another result described a keychain completed during the session. The exact design depends on what’s available in the sample set, but the big idea stays the same: you leave with something that looks like it belongs in a Kyoto gift shop, and you’ll recognize how the knot work creates the shape.
This is also one of those activities where your brain gets quiet. Once you start tying, it’s hard to multitask. That concentration is part of the appeal. It’s a break from walking, crowds, and decision fatigue.
The flow of the class: from basic knot to your chosen design
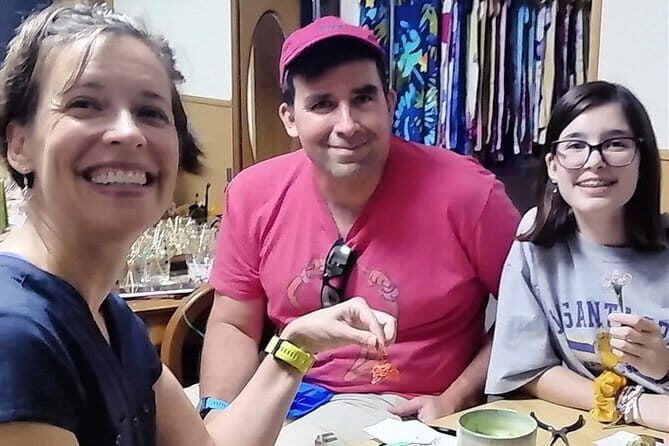
Even without a printed minute-by-minute schedule, you can expect a clear sequence. Here’s the workshop rhythm, translated into what it means for you on the table.
Step 1: Choose colored paper for your pochi bag
You’ll pick the paper color(s) used for the mini bag base. This matters because Mizuhiki looks best when the color palette is intentional. Choosing early also gets you involved before knot tying begins.
Step 2: Learn the basic abalone knot tied to the poche bag
Next comes the foundation. The overview calls out tying the abalone knot to the pochi bag. This knot isn’t just decorative; it’s a structural pattern that shows up across designs, which is why learning it early is so important.
Step 3: Practice the abalone knot with just a string
Before you move on to the accessory version, you practice the knot on its own. This is where you gain control of spacing and tension. If your first attempt looks uneven, that doesn’t mean you’re doing it wrong—it means you’re learning the feel.
Step 4: Choose your accessory design from the samples
Now you select from what the instructor has prepared. This is a key part of the class value: you’re not choosing a craft kit you already saw online. You’re choosing from in-person examples, which makes it easier to match your skill level to what you pick.
Step 5: Pick Mizuhiki cords and make your accessory
You’ll then select from some Mizuhiki cords and construct the accessory you chose. The instruction approach described in multiple outcomes is straightforward and encouraging, and the teacher adjusts support when needed.
Step 6: Take a break with matcha and sweets
At the end, you switch gears from hands-on work to a short tea break. This is included, which makes the class feel complete rather than like a quick craft stop you rush through and forget.
The instructor experience: patient guidance that actually gets results
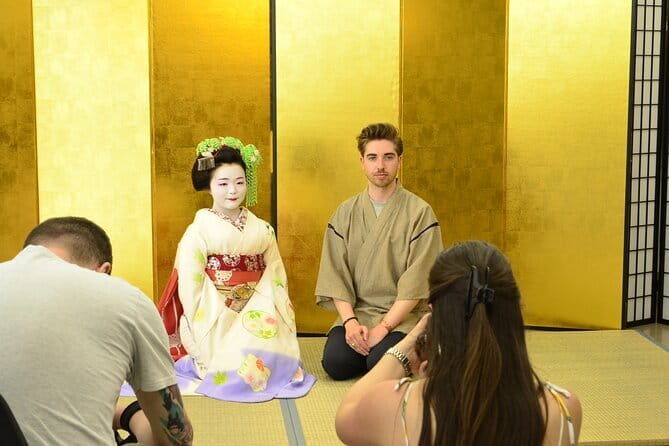
A huge part of why this workshop earns a perfect score is the teaching. The craft itself can look complicated at first glance, but the instruction format focuses on getting you tying correctly rather than expecting perfection.
One review specifically named Akemi and praised how she demonstrated the basic knot and then guided the student through additional knots like a leaf knot and a flat plum knot. That same student described working with different numbers and colors of Mizuhiki cords, first with one cord and then with two and three. In other words, you’re not just learning a single trick—you’re learning a system.
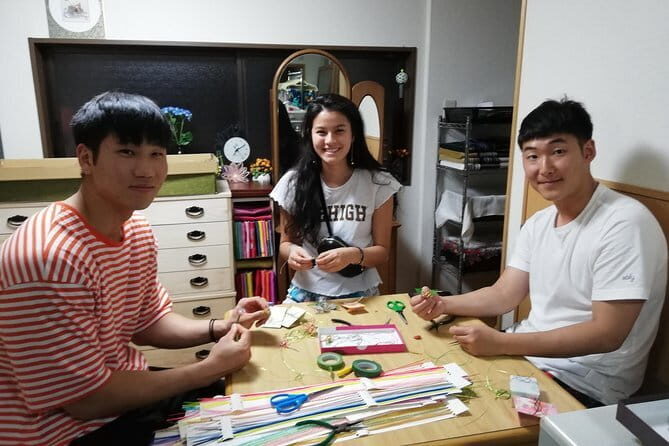
Even when someone described themselves as unskilled, the tone stayed patient and encouraging. The workshop environment also seems to support one-on-one attention within the private setting, which makes a big difference if your hands need time to catch up.
If you’re the type of traveler who fears you’ll be slow at a class, this is a good choice. Mizuhiki rewards repetition, and the class is designed for repetition.
Matcha and sweets: why the tea break is part of the craft
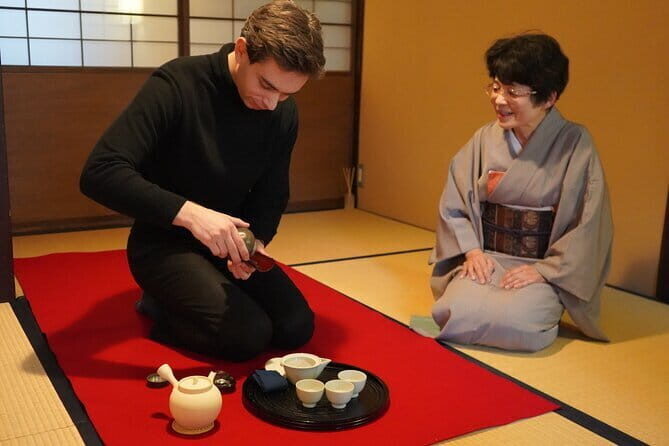
It’s easy to treat included snacks as an afterthought. Here, the matcha and sweets are part of the experience rhythm. You finish the knot work, relax, and then look at your finished accessory with a little perspective.
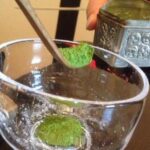
This break is also helpful practically. When you’re done tying, your fingers can feel cramped or your eyes can feel tired. A hot drink and something sweet helps you settle before you put your piece away or take it with you as a gift.
And yes, the workshop explicitly includes snacks: matcha and sweets.



Price and value in Kyoto (and why $19.60 makes sense)
The price is $19.60 per person, for about one hour. You also get a private format with your group only, plus materials and the included tea/snacks.
Here’s how I’d think about value:
- You’re paying for instruction that turns visual complexity into step-by-step doable steps
- You’re paying for materials during the class, so you’re not hunting supplies after you arrive
- You’re leaving with a tangible souvenir that feels personal because you made it
If you’ve ever bought a small Kyoto craft and felt that it was just decoration, this is the opposite experience. Even if your first knot isn’t picture-perfect, the final item still looks like Kyoto and still reflects your hands on it.
Two practical notes about costs at home: the workshop specifies that Mizuhiki for non-gift items and metal fittings are not included for making accessories at home. That means you can take your craft home, but if you plan to recreate designs later, expect to buy supplies separately.
Location at RakueJapan: easy access, short walk energy
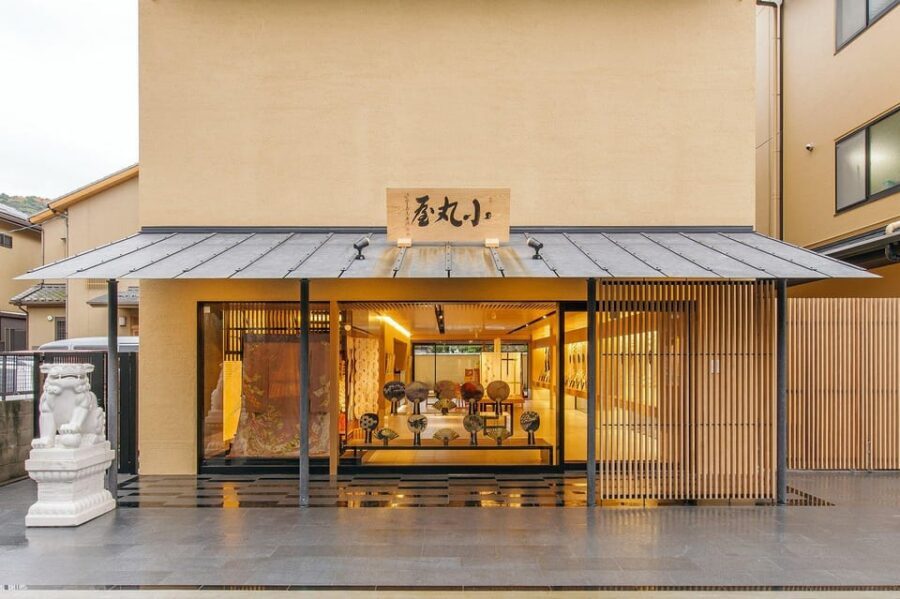
The meeting point is RakueJapan in Shimogyo Ward at 600-8481 Kyoto, Shijōhorikawachō 255, Nomura Building 2F. The workshop is described as near public transportation, which is ideal in Kyoto where travel time between neighborhoods can add up.
Since the class is only about one hour, the exact location matters. You don’t want to spend your day fighting bus or train transfers for something short. This is the kind of stop that fits well between sightseeing blocks, especially when you want a break from walking.
Your session ends back at the meeting point, so you can plan your next activity without needing a long commute afterward.
Who this Mizuhiki class is best for
This is a craft class, but it’s not a craft-test. Most travelers can participate, and the format is designed for beginners to succeed.
I’d especially recommend it if:
- You want a Kyoto souvenir that you make, not just buy
- You like traditional Japanese gift culture but don’t want a museum lecture
- You’re traveling with people who enjoy hands-on activities and a calm pace
- You want something lightweight enough to fit into a one-hour plan
It’s also a smart pick if you’re curious about Japanese aesthetics—paper texture, color choices, and knots—without needing a long course.
And if you like the idea of dressing up, one note from the workshop area is that kimono rental may be available at the shop. The class data doesn’t list rental as part of the experience itself, so treat it as an option rather than a guarantee.
Tips to get the best result (without stressing)
You don’t need special skills. But if you want to make your life easier during the class, these are the habits that help:
- Choose your accessory design based on what you think you’ll enjoy wearing or keeping, not just what looks hardest
- Take the practice knot seriously. The class uses practice on just a string for a reason
- Keep your colors thoughtful. Colored paper and Mizuhiki cord colors are part of the final look
- Wear something comfortable. Knot craft uses small hand movements for a full hour
Also, since the workshop is popular, plan ahead. It’s commonly booked about 38 days in advance, and the organizers advise that if you want an earlier time, you should contact them as soon as possible to increase reservation availability.
Should you book this Rakue Mizuhiki workshop?
Book it if you want a short, high-reward craft in Kyoto that produces an item you’ll actually keep. The price is reasonable, the format is private, and the instruction emphasis is on getting you to a finished accessory rather than judging your skill.
Skip it only if you’re looking for a fast cultural tour focused on talking and walking. This is hands-on. Your attention will be on knots, paper, and color choices. If you want a show or a lecture, this won’t match that mood.
One more reason to lean yes: the class ends with matcha and sweets included. That turns it into a complete reset in the middle of a busy Kyoto itinerary.
If you like gifts, knots, and making something small but meaningful, this is a very solid choice.
FAQ
How long is the Mizuhiki accessories class?
The class is about 1 hour.
Where does the workshop meet in Kyoto?
Meet at RakueJapan, 600-8481 Kyoto, Shimogyo Ward, Shijōhorikawachō, 255 野村ビル 2階. The activity ends back at the meeting point.
Is the tour private?
Yes. It’s a private tour/activity, so only your group participates.
What’s included in the price?
Materials are included, plus matcha and sweets.
What isn’t included if I want to make items at home?
The workshop notes that Mizuhiki for non-gift items and metal fittings for making them at home are not included.
Do I get a ticket on my phone?
You’ll use a mobile ticket.
What can I expect to make?
You’ll make a pochi bag and then tie the abalone knot, plus create an accessory from sample options such as earrings, hair ornaments, mini baskets, or novelty straps like strawberries.
Is the workshop near public transportation?
Yes, it’s described as near public transportation.
What’s the cancellation policy?
You can cancel for a full refund if you cancel up to 24 hours in advance. If you cancel within 24 hours, the amount paid isn’t refunded.
Can beginners participate?
Yes. The class states that most travelers can participate.