REVIEW · KYOTO
Kyoto: Sumi Ink and Brush Calligraphy Experience
Book on GetYourGuide →Operated by JEUGIA Corporation · Bookable on GetYourGuide
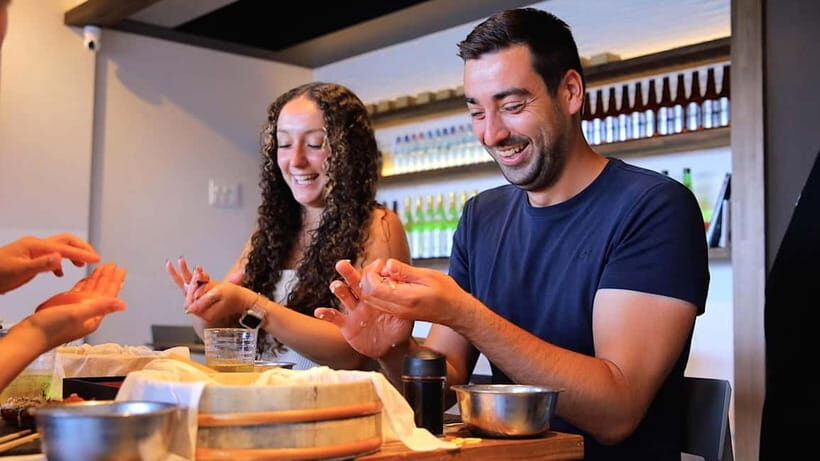
Kyoto teaches you to slow down. In this 50-minute sumi ink and brush calligraphy session, you grind the ink yourself, then paint bamboo and write kanji like 竹 (bamboo) and 和 (harmony). It is hands-on from start to finish, not a sit-and-watch show.
I especially like that the process builds in steps: first brush technique, then bamboo, then character-writing on your finished shikisi board. One consideration: the activity is listed as wheelchair accessible, but it also says it is not suitable for wheelchair users or people with mobility impairments, so check what the setup will be like for you.
In This Review
- Key Things I’d Prioritize
- Grinding Sumi Ink With the Suzuri: The Scent-and-Texture Start
- Two Brush Techniques That Explain Everything: Soku-hitsu and Choku-hitsu
- Drawing Bamboo on a Shikisi Board: Where Practice Becomes Art
- Writing 竹 and 和 (and Your Own Characters) Next to Your Bamboo
- What You Get, What You Bring, and Why the Tools Matter
- Meeting Near Kani Doraku and Finishing With a Finished Board
- Price and Value: Paying for Technique, Ink, and Take-Home Work
- Who This Kyoto Calligraphy Class Suits Best
- Should You Book This Sumi Ink and Brush Calligraphy Experience?
- FAQ
- How long is the Kyoto Sumi Ink and Brush Calligraphy experience?
- What do I do during the class?
- Is pre-made sumi ink provided?
- Can I request characters other than the ones taught?
- What should I bring with me?
- Where do I meet the instructor?
- What languages are the instructors?
- Can I take the finished artwork home?
- Is it wheelchair accessible?
Key Things I’d Prioritize
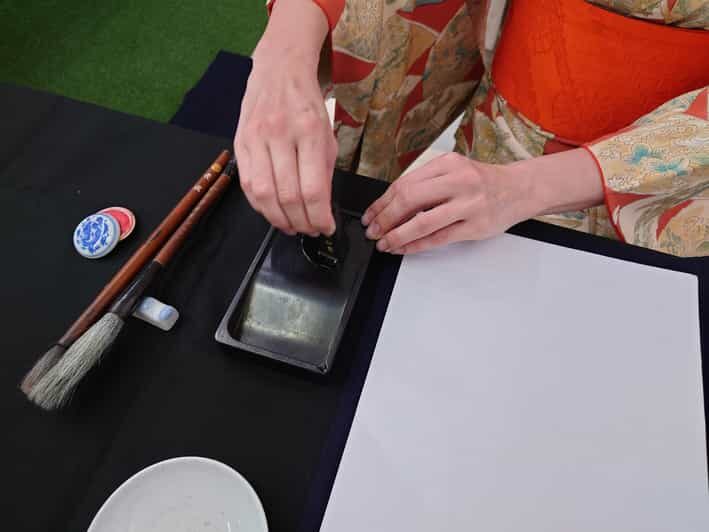
- You grind real sumi ink with a suzuri, controlling texture and color from scratch
- You practice two brush methods (soku-hitsu and choku-hitsu) before drawing bamboo
- Your bamboo becomes a guide for writing characters right next to it
- You take home the finished shikisi board, so it feels like a real souvenir
- Small-group size (up to 6) keeps the teaching practical, not rushed
Grinding Sumi Ink With the Suzuri: The Scent-and-Texture Start
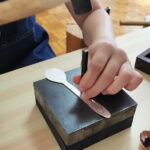
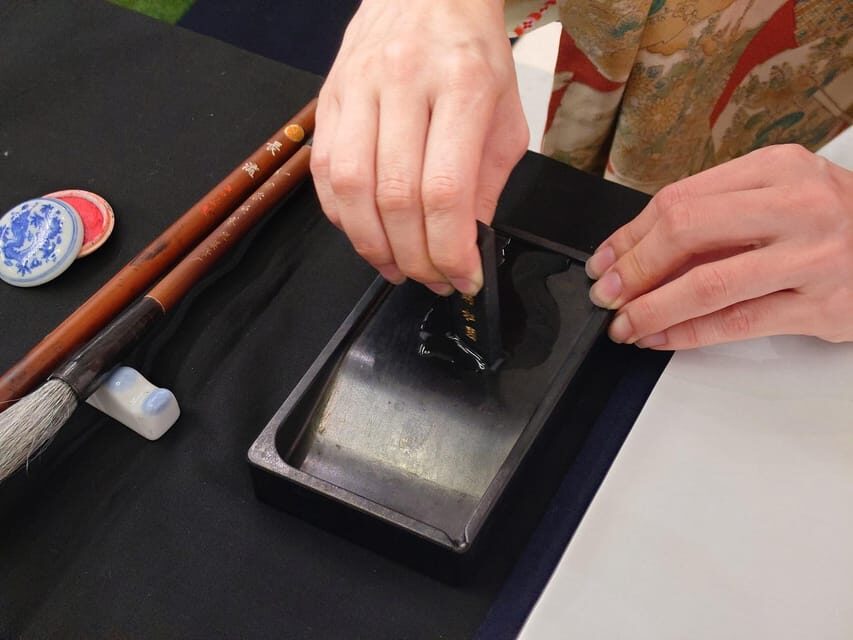
This class starts the way traditional ink work actually starts: by making the ink. Instead of using pre-made sumi ink, you grind it with water on an inkstone (the suzuri). If you like tactile experiences, this is the best part. You feel the texture change as the ink loosens, and you notice the subtle shifts in color as it mixes with water.
That grinding step matters more than it sounds. When you make your own ink, you stop treating the brush like a magic wand. You start to understand how thickness and flow affect the stroke. Even if you have never done calligraphy before, you learn the basics of control early, while everything is still simple.
Also, there’s an unmistakable sensory side: the fragrance and the look of the ink as it turns from solid to usable is part of the calm. It’s the kind of ritual that makes the 50 minutes feel intentional, not just scheduled.
And yes, everything you need is prepared for you, so you are not arriving with mystery supplies. You do bring the usual comfort items (more on that later), but the tools are all there.
You can also read our reviews of more tours and experiences in Kyoto.


Two Brush Techniques That Explain Everything: Soku-hitsu and Choku-hitsu
After the ink is ready, you move into brush training. You start with soku-hitsu, using the side of the brush. This is the technique that helps you create strokes with a broader, softer presence. Side-of-brush control is what you need for bamboo-like movement, where the line should feel alive, not stiff.
Then you switch to choku-hitsu, where the brush is held more upright. This is how you get sharper, more defined marks. Upright grip tends to reward patience: you slow your hand down and let the brush do what it does best.
What I like about this structure is that it gives you two different toolsets. Beginners often try to do everything with one “default” stroke. Here, you learn that bamboo strokes can come from different angles, and characters can look more balanced when you understand how brush position changes line behavior.
No prior experience is required. The teaching approach is practical, and the class is built so you can practice the techniques repeatedly before you’re judged by the final artwork. In other words, you get the time to get it wrong a few times and still finish something you will be happy to take home.
Drawing Bamboo on a Shikisi Board: Where Practice Becomes Art
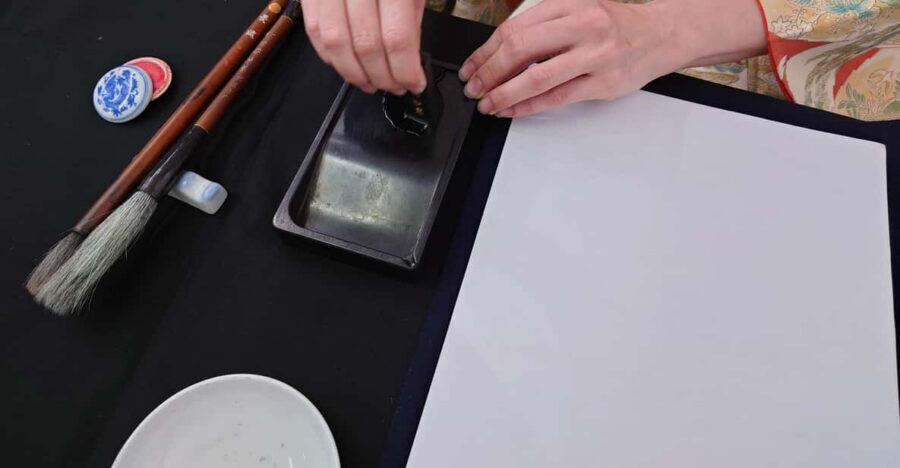
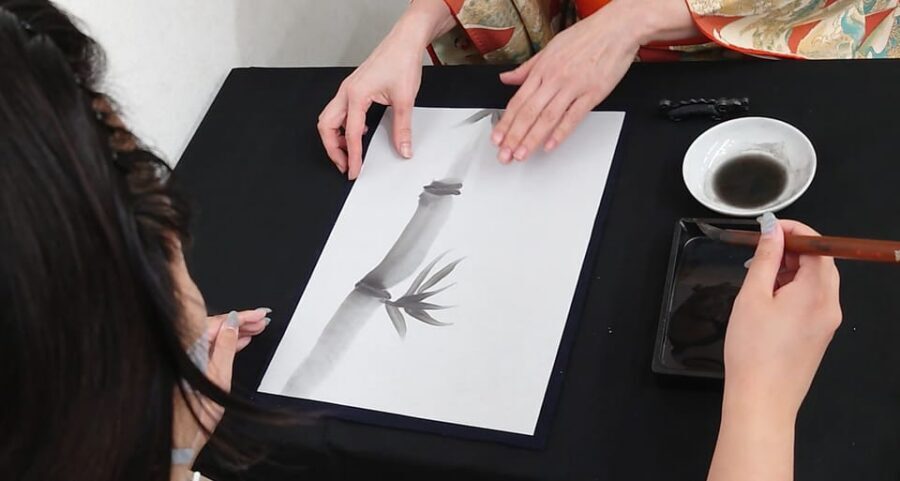
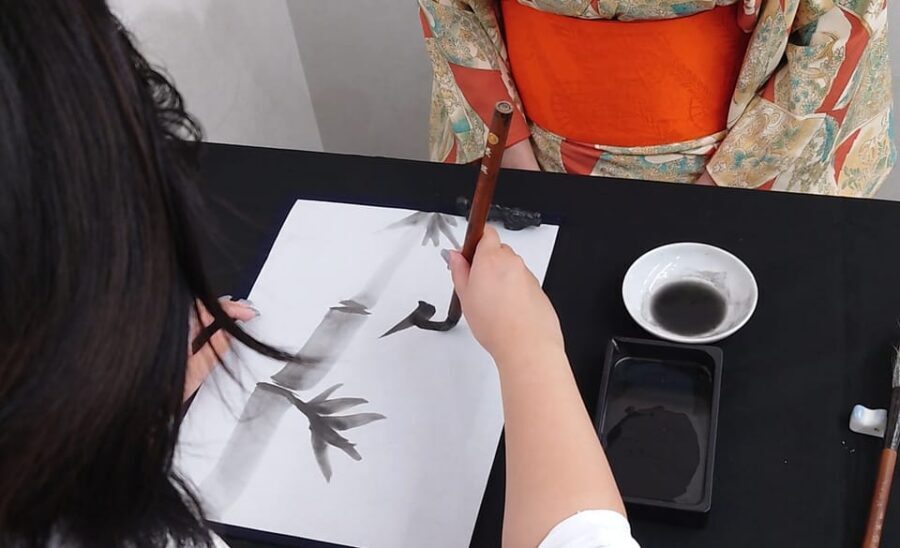
Once you’ve tried the strokes, you move to the main event: drawing bamboo on a shikisi board. You do not just copy a template. You use what you practiced—especially the way side-of-brush and upright-brush strokes behave—to build bamboo that looks like bamboo, not like a drawing app.
Shikisi boards are designed for calligraphy and ink work, which means you get the benefits of the right surface for ink. Your lines can show the character of sumi ink better than they would on random paper. Since this activity is built around bamboo, you get a subject that is forgiving in theme but demanding in line quality. If your lines vary a little, bamboo still looks believable. If your strokes are too uniform, it can start to look mechanical. The class helps you find the in-between.
One practical perk: since you practice strokes first, drawing bamboo feels like applying a small set of rules, not starting from nothing. That is why a short class can still produce a satisfying result.
The drawing part is also where the relaxing tone shows up. This is not about speed. You are working with ink that behaves differently depending on how you made it, and with brush angles you practiced in advance. It naturally slows your hands—and your brain follows.
Writing 竹 and 和 (and Your Own Characters) Next to Your Bamboo
After bamboo is in place, you add the characters. The default lesson includes kanji for 竹 (bamboo) and 和 (harmony). But you are not limited to just that pair.
You write your characters next to your bamboo on the same board. The guide can help with other requests if you want different kanji. This is a small but meaningful touch: it turns the board from a generic souvenir into something personal.
If you are worried about writing characters correctly, don’t. The point is guided practice with the brush you already learned to control. Think of it as learning how to place ink confidently, not as passing a handwriting test.
Also, it is worth noting what “next to your bamboo” really means for the final look. Calligraphy composition is about balance—where the strokes land, how heavy or light they feel, and how the character space interacts with your bamboo lines. Doing bamboo first gives you an anchor, and then the characters can frame the image.
When you finish, you are not leaving with a photo. You leave with a physical board designed to display your work.
What You Get, What You Bring, and Why the Tools Matter
Included tools are part of the value here. You get:
- Inkstone (suzuri) and the setup for grinding sumi ink
- A shikisi board
- Guidance on brush techniques and bamboo drawing
You do not get pre-made sumi ink. That is deliberate. The grinding and mixing process is part of the learning, and it’s also part of the enjoyment.
You’ll also get an apron so your clothes do not end up with ink stains. That is more important than it sounds. Even if the ink never splashes like a movie scene, sumi ink can leave marks if you bump a sleeve. The apron reduces that worry and lets you focus on brush control.
What you should bring:
- Comfortable shoes
- Hat and sunscreen
- Water
- Comfortable clothes
Even though the workshop is indoors, you will still likely walk to the meeting point in Kyoto’s sun. I treat the hat and water like “starter insurance,” especially if your day includes other stops.



Meeting Near Kani Doraku and Finishing With a Finished Board
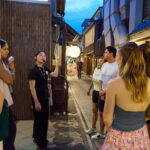
The meeting point is near the giant crab sculpture of Kani Doraku. That’s a surprisingly helpful detail. Kyoto has plenty of close-by attractions, and “near this big landmark” makes it much easier to show up calm instead of sprinting with your map app.
The session runs 50 minutes, indoors. Arrive on time, because the pace is designed as a sequence: grind ink, learn strokes, draw bamboo, write characters, and finish.
There is also a small convenience factor: you can skip the ticket line. In a city where time can evaporate quickly, that little bit of friction removal helps.
At the end, your artwork is ready to take home. If you’ve ever bought a “made in Japan” item and felt weirdly distant from it, this is the opposite. It’s personal work in ink and brush. You can display it without translating it as a souvenir.
Price and Value: Paying for Technique, Ink, and Take-Home Work
At $49 per person for about 50 minutes, this class is not “cheap,” but it also isn’t priced like a simple craft station. You are paying for:
- Real instruction in brush technique
- The inkstone and ink work setup
- The shikisi board (your take-home piece)
- A small-group environment that allows hands-on practice
The value stands out because the materials are not extras you need to buy separately. Pre-made kits can feel like follow-the-dots art projects. Here, the class includes the core learning steps and the final display piece.
Also, small group matters for quality. When the class is limited to 6 participants, guidance can stay practical. You’re more likely to correct grip, stroke angle, and brush technique before you lock in bad habits.
If you like experiences that produce something you can use in your home (or give as a thoughtful gift), the price makes sense for what you leave with.
Who This Kyoto Calligraphy Class Suits Best
This experience is built for beginners. You do not need calligraphy background. If you can follow directions and use your hands comfortably, you will be able to participate.
It also suits people who want a calmer break from Kyoto’s outdoor walking. Since the activity is indoors and relatively short, it fits well when your schedule is packed.
A good match if you:
- Want a hands-on cultural skill, not just a craft
- Like step-by-step teaching and practice time
- Enjoy taking home a finished piece you made yourself
Two notes for planning. First, the class is small group, so it can feel more personal than a bigger workshop. Second, the accessibility information is mixed: it is listed as wheelchair accessible, but it also says it is not suitable for wheelchair users and people with mobility impairments. If that affects you, confirm the room setup before booking so you aren’t guessing.
Should You Book This Sumi Ink and Brush Calligraphy Experience?
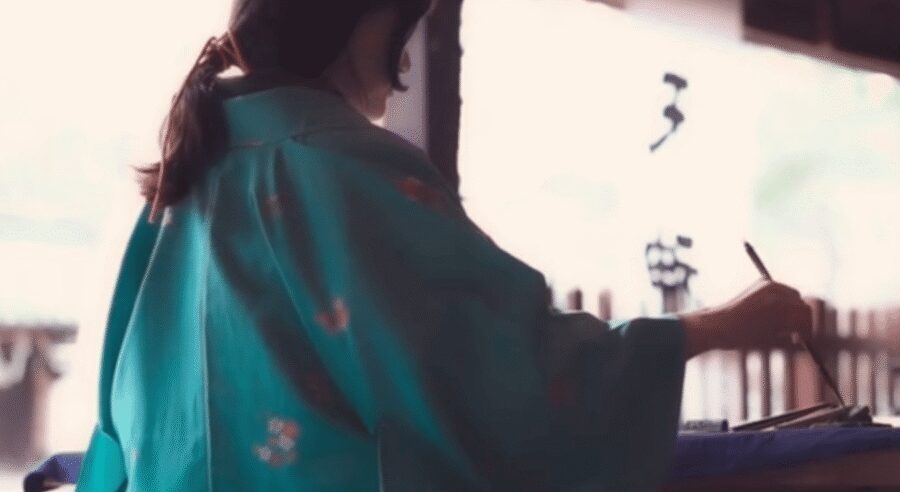
I would book it if you want a real, teachable skill in a short window—especially if you enjoy the sensory ritual of grinding sumi ink and you like the idea of writing kanji like 竹 and 和 on your own finished board.
Skip it if you need highly accessible mobility accommodations without uncertainty, or if you strongly prefer experiences where you do not use ink and brush tools at close range.
If your goal is value, this checks a lot of boxes: all tools are provided, you get guided technique practice (not just a demo), and you take home the final shikisi board. For many Kyoto days, that is exactly the kind of hands-on souvenir that feels worth the time.
FAQ
How long is the Kyoto Sumi Ink and Brush Calligraphy experience?
The experience lasts 50 minutes.
What do I do during the class?
You grind sumi ink using an inkstone (suzuri), practice brush techniques, draw bamboo on a shikisi board, and write characters next to your bamboo.
Is pre-made sumi ink provided?
No. You grind and mix the sumi ink yourself; pre-made sumi ink is not included.
Can I request characters other than the ones taught?
Yes. The class includes kanji for 竹 (bamboo) and 和 (harmony), and you can let the guide know if you want other characters and they will write them for you.
What should I bring with me?
Wear comfortable clothes and bring comfortable shoes. The activity notes bringing a hat, sunscreen, and water.
Where do I meet the instructor?
You meet near the giant crab sculpture of Kani Doraku.
What languages are the instructors?
The instructor support is available in English and Japanese.
Can I take the finished artwork home?
Yes. Your finished shikisi board can be taken home and displayed.
Is it wheelchair accessible?
The info lists wheelchair accessible, but it also says it is not suitable for wheelchair users and people with mobility impairments. If mobility affects your plans, it is smart to confirm the setup with the provider before booking.