REVIEW · FUJIKAWAGUCHIKO MACHI
Lake Kawaguchi Explorer: E-Bike Guided Tour
Book on Viator →Operated by Lake Kawaguchi explorer : e-Bike Guided Tour · Bookable on Viator
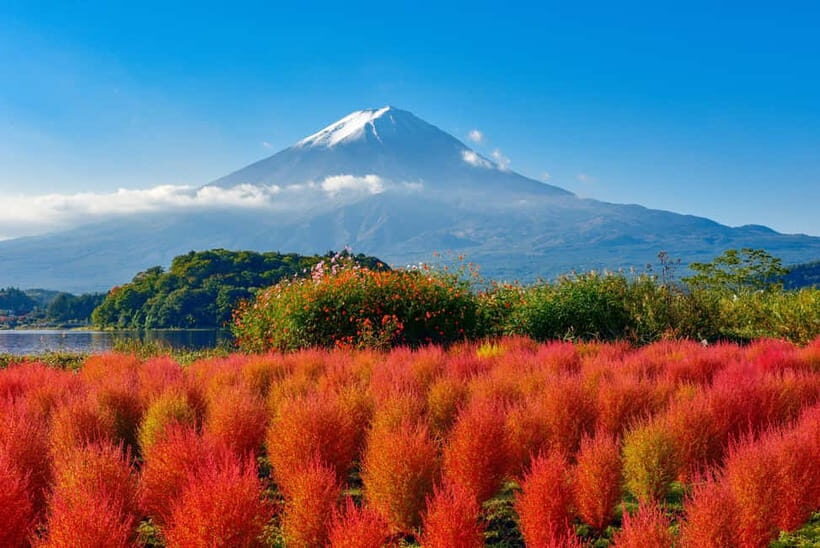
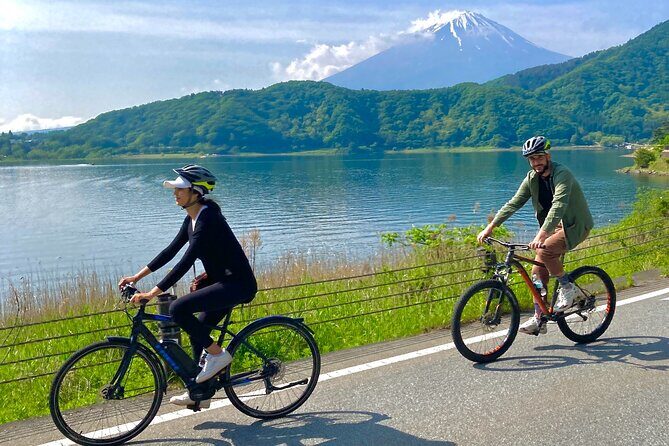
Mt. Fuji views, with way less effort. This small-group e-bike tour circles Lake Kawaguchiko while a local guide explains what you’re seeing, not just where to stand. You’ll glide along the shore, then hit the key lookout spots and a shrine tied to stories about calming Fuji’s eruptions.
I really like two things here: first, the guide-led commentary. Having a guide born and raised at the foot of Mt. Fuji changes the whole feel, because you’re learning context for each stop. Second, the ride stays manageable thanks to the pedal-assist Trek Verve+ bikes (plus a helmet and bottled water), so even if you’re not a cyclist, you can still enjoy the scenery.
One thing to consider: part of the route follows roads by traffic, so it helps if you’re comfortable riding near cars and you keep your pace steady. Also, the experience depends on weather, and the shrine stop comes with small extra entrance fees you’ll pay separately.
In This Review
- Key highlights to know before you go
- Lake Kawaguchiko on pedal-assist: why this tour is such good value
- The route begins at Kawaguchiko Station: an easy start and finish
- Stop 1: Lake Kawaguchiko shore cycling road (the “start seeing it all” hour)
- Stop 2: Ubuyagasaki and the upside-down Fuji effect
- Stop 3: Kawaguchi Ohashi Bridge for the best Fuji-and-lake photos
- Stop 4: Kawaguchi Asama Shrine and why the trees matter
- Your guide can change the whole feel (Shunji is a standout name)
- The ride comfort factor: e-bikes make it doable, but still pay attention
- Timing and how to fit this into your Fuji day
- Photo tips that actually help on this specific route
- Weather and small risks: what can affect your experience
- Should you book this Lake Kawaguchiko e-bike tour?
- FAQ
- How long is the Lake Kawaguchiko explorer e-bike guided tour?
- What is included in the price?
- What are the main stops on the tour?
- Where do I meet the guide?
- Do I need to pay entrance fees?
- Is the tour suitable for everyone?
Key highlights to know before you go
- Small-group guided ride with real local context at every major stop
- Trek Verve+ pedal-assist e-bikes designed to keep things easy
- Classic Fuji photo stops, including the upside-down view at Ubuyagasaki
- Kawaguchi Ohashi Bridge for a memorable photo viewpoint from the middle
- Kawaguchi Asama Shrine among 1000+ year cedar and cypress trees
- Guide support and photo help, including taking photos while you’re out and about
Lake Kawaguchiko on pedal-assist: why this tour is such good value
This tour hits a sweet spot for people visiting Fuji and the lake area for the first time. You get the big-name scenery, but you’re not stuck doing it solo or cobbling together bus timing and ticket lines. The structure is simple: ride the lakeshore loop, pause at the best viewpoints, then finish back where you started.
The price, around $84.92 per person for a 2-to-3 hour outing, feels fair when you count what’s included. You’re getting an English guide, bottled water, and the e-bike itself (with helmet): that removes some of the hassle and cost of renting gear separately. Also, the tour is small-group and guided, which means you’re not just chasing photos on your own—you’re getting explanations that help you understand why certain spots matter.
The bikes are a big part of the value. With pedal-assist, you still do the pedaling, but you’re not fighting the terrain and you’re not burning your legs on a short holiday trip. That means more energy for looking around, walking a bit at viewpoints, and enjoying the shrine rather than arriving tired.
You can also read our reviews of more tours and experiences in Fujikawaguchiko machi.
The route begins at Kawaguchiko Station: an easy start and finish
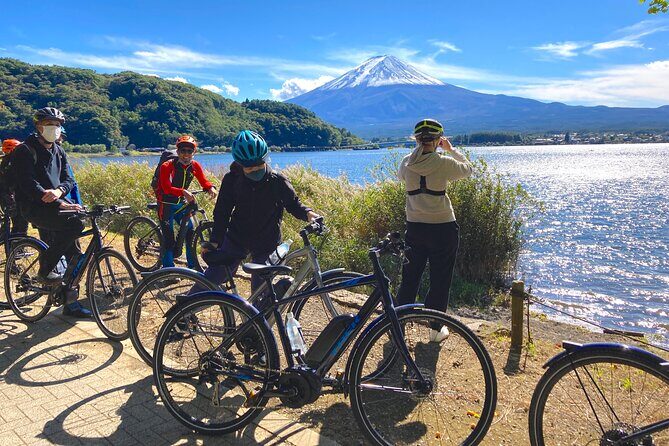
Your meeting point is Kawaguchiko Station (Funatsu area). The tour ends back at the meeting spot, which is convenient in a place where you may have limited time between trains, buses, or shuttles.
Because the start is near public transportation, you can build this into a broader day around the lake area without worrying about a complicated drop-off. It also tends to reduce the anxiety factor. You’ll spend less time figuring out where to be and more time riding.
If you’re using a phone for navigation, make sure you have your confirmation ready as a mobile ticket. It’s one less thing to sort at the last minute.
Stop 1: Lake Kawaguchiko shore cycling road (the “start seeing it all” hour)
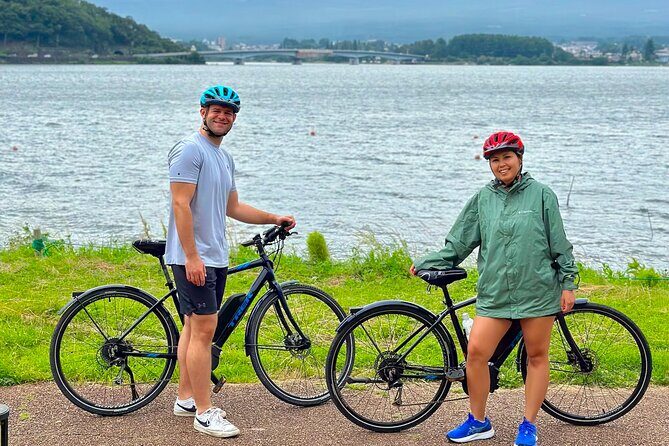
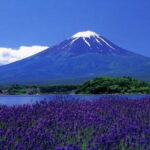
The first stop is on Lake Kawaguchiko along the cycling road by the shoreline. This is the part where the e-bike really earns its keep. Instead of commuting-style pedaling, you can cruise and scan the lake, the surrounding mountains, and—if visibility is good—Mt. Fuji.
This leg is about getting your bearings and enjoying the wide views without turning it into a workout. You’ll also get time early in the tour to ask questions. Guides often explain the bigger picture first, so by the time you reach the sharper photo points later, you already know what you’re aiming at.
A small practical note: views can change with clouds and wind. If you catch Fuji at the start, that’s a bonus, not a guarantee. Still, the lake itself is attractive in different lighting, so even partial views can feel worthwhile.
Stop 2: Ubuyagasaki and the upside-down Fuji effect
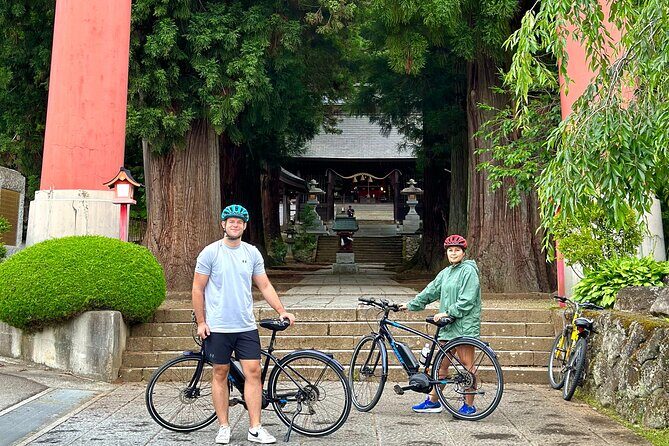
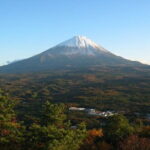
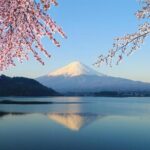
Ubuyagasaki is quick—about 5 minutes—but it’s a classic Kawaguchiko-style trick. You’re there for the famous upside-down view of Mt. Fuji, where the mountain appears mirrored in the water area.
The reason this stop works is timing and framing. You’re not wandering around for long—you’re likely positioning yourself to see symmetry and the reflection effect. If you’re lucky with conditions, the effect can look dramatic, and the symmetrical feel makes it a favorite for photos.
The main downside is also the simplest: it’s short. If you want to sit and linger, this won’t be that stop. Treat it like a quick photo and viewpoint moment, then move on.
Stop 3: Kawaguchi Ohashi Bridge for the best Fuji-and-lake photos
Next comes Kawaguchi Ohashi Bridge, about 10 minutes. This is described as the only bridge built over Lake Kawaguchi, which matters because it gives you a vantage point you can’t fully replicate from the shore.
The tour focuses on one strong idea: go to the middle of the bridge for the best view. That’s exactly where your photo composition benefits most. From there, you can capture Mt. Fuji, the lake, and the bridge line in a single frame.
This is also one of those moments where the guide helps you avoid common mistakes—like standing too close to railings where your view gets blocked. You get a short window, so you’ll want to be ready with your camera and keep your footing careful.
If you’re traveling in the colder or breezier months, bring a layer. Bridges can feel cooler than the shore.
You can also read our reviews of more guided tours in Fujikawaguchiko machi

Stop 4: Kawaguchi Asama Shrine and why the trees matter
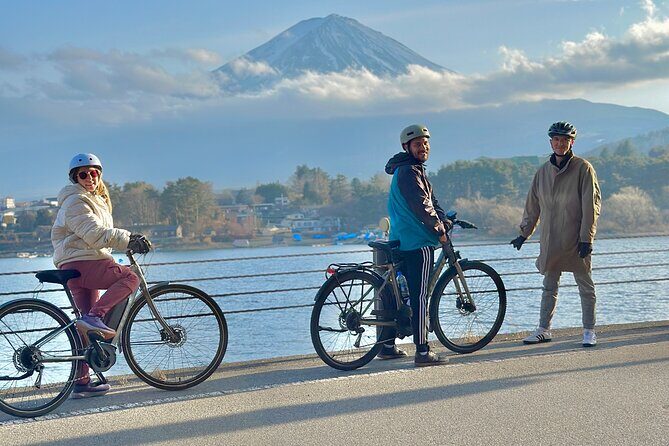
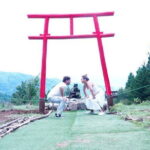
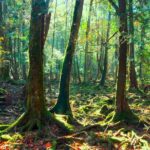
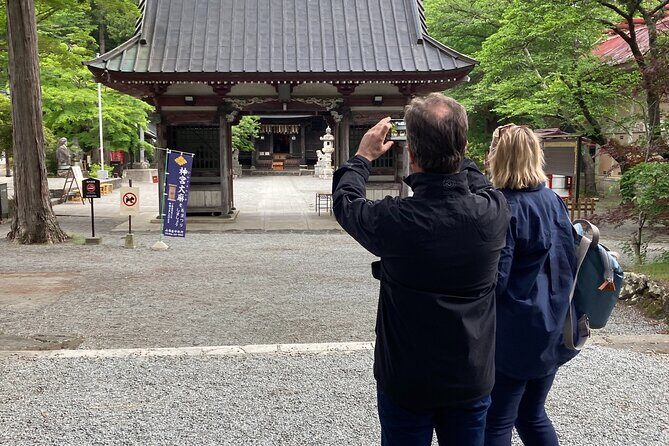
The final stop is Kawaguchi Asama Shrine, around 30 minutes. This is not just a quick temple-photo pause. The shrine area is known for large cedar and cypress trees over 1000 years old, and the guide explains why the shrine exists and what it’s connected to.
The story tied to Mt. Fuji is about calming and pacifying eruptions. That theme gives the shrine more weight than a typical roadside stop. You’ll feel the contrast between the open lake views and the shaded, quiet shrine precinct.
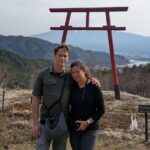
One important cost note: the shrine entrance fees are not included in the tour price. The data you’ll want to have in mind is that there’s a 100 yen entrance fee for the Tenku-no-torii of Kawaguchi Sengen Shrine, and there’s also an entrance fee for Kawaguchi Sengen Shrine. In practice, that means carrying a little cash or being ready for small payments on-site.
If you’re into Japanese religious sites, plant life, or local storytelling, this stop gives your day balance. If you’re only interested in scenery and photos, it still makes sense because it connects the Fuji area to human history and belief.
Your guide can change the whole feel (Shunji is a standout name)
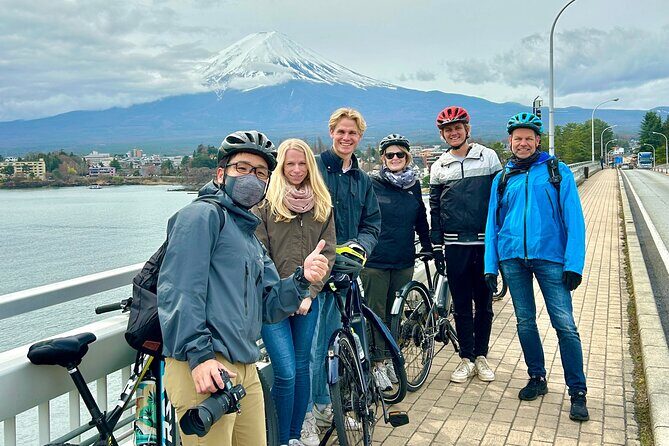
In the best versions of this tour, the guide is the engine. People have praised the friendly, patient, and warm guidance style, and they especially mention how easy it is to learn the e-bike basics with clear instructions.
One guide name shows up strongly: Shunji. Guests describe him as very helpful and knowledgeable about the town and the area around Mt. Fuji. They also highlight that he explains the right amount—enough to be meaningful, not so much that you feel like you’re sitting in a classroom.
There’s also a practical service angle. People say he takes photos while riding and while you’re visiting the stops. That matters because it solves a real problem: in front of Fuji, it’s hard to get good shots when everyone in your group is holding a phone.
I’d suggest you prepare for ride guidance by asking your guide how they handle the road sections. If you’re nervous about traffic, say so at the start. A good guide will slow you down, show the line to follow, and help you feel in control.
The ride comfort factor: e-bikes make it doable, but still pay attention
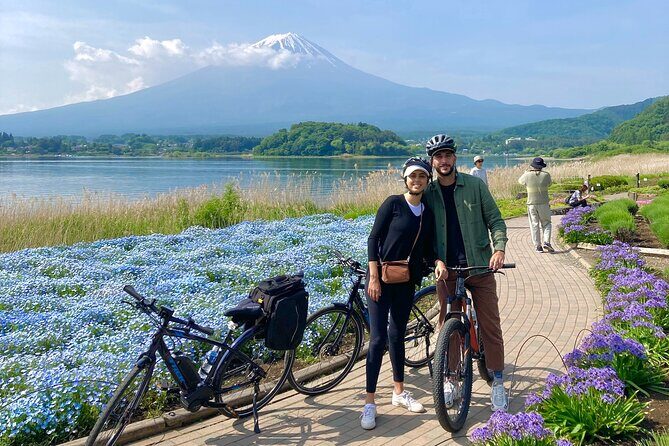
The tour is designed for most travelers, and the pedal assist helps a lot. The e-bike setup includes the bike (Trek Verve+), a helmet, and bottled water, which removes several friction points.
Still, there are two considerations that help you enjoy the tour:
1) Road confidence matters. One guest noted the road next to cars can feel a bit scary. If you’re cautious, keep your speed consistent and follow the guide’s lead rather than drifting.
2) Physical limitations matter. This tour is not recommended for individuals with paralysis. If that applies to you, it’s best to look for a different format that doesn’t involve riding.
If you’re afraid of falling, don’t be. Helmets are provided, and the tour is structured as a guided group ride. You just want to be honest about comfort levels before you set off.
Timing and how to fit this into your Fuji day
The tour runs about 2 to 3 hours, so it’s an easy match for a morning or afternoon slot. With a start at Kawaguchiko Station and a return back to the same place, it fits cleanly into a day that may already include trains or buses.
The stop durations are short and efficient:
- Lake Kawaguchiko shore ride: about 1 hour
- Ubuyagasaki: about 5 minutes
- Kawaguchi Ohashi Bridge: about 10 minutes
- Kawaguchi Asama Shrine: about 30 minutes
That pacing is the point. You’re not spending half your time standing in a slow-moving line or waiting around. It’s also why the e-bike feels right for this route: you cover the distance quickly, then you pause for the moments that need more attention.
A smart strategy: if you’re also planning to eat near the lake, consider leaving a little buffer after the tour. Some guides may suggest local food spots as an optional extra. For example, Shunji is reported to have taken guests for ice cream and udon at places locals go, which turned the outing into more than just a viewpoint circuit.
Photo tips that actually help on this specific route
You’ll want photos at almost every stop, but you can make them better with a little prep.
At Ubuyagasaki, try to be ready to shoot quickly. The stop is short, and your best chance is when the framing clicks.
On Kawaguchi Ohashi Bridge, aim to position yourself near the middle viewpoint the guide recommends. That’s the point of going there.
At the shrine, slow down. Indoors-outside lighting changes and tree shade can make phone cameras work better if you tap to focus and keep your hands steady.
Also, if your group includes non-riders or someone taking a lot of shots, tell your guide. People have praised how the guide helps take photos while you’re riding and standing. It’s a built-in solution to the classic Mt. Fuji problem: everyone wants a picture, but nobody can hold the camera and do it well.
Weather and small risks: what can affect your experience
This is a weather-dependent experience. If conditions aren’t good, it may be canceled and you’ll be offered a different date or a full refund. With Mt. Fuji areas, weather can shift fast—clouds come in, winds rise, and views can fade.
On top of that, the ride environment includes sections near roads. The big safety tool is your behavior: keep steady, follow instructions, and don’t try to out-ride the group. If you stay relaxed, the road parts feel like part of the adventure instead of a problem.
Should you book this Lake Kawaguchiko e-bike tour?
I’d book it if you want a guided, easy-going way to see the lake and key Fuji viewpoints without spending hours figuring out logistics. It’s especially appealing if you like learning the meaning behind stops—shrines, viewpoints, and local explanations—rather than treating the day like a checklist.
I’d think twice if:
- you dislike any riding near cars and you know you’ll be tense the whole time
- you need a fully accessible option that avoids e-bike riding
- you’re only interested in one or two photos and don’t care about the guided context
If you fall somewhere in the middle, this tour is a strong compromise. You get the big scenery, you get a local guide’s storytelling, and you’re back at the station with enough time left in your day to explore on your own.
FAQ
How long is the Lake Kawaguchiko explorer e-bike guided tour?
It runs about 2 to 3 hours.
What is included in the price?
You get a bottled water, an e-bike (Trek Verve+), a helmet, and English guide fees. Some shrine-related entrance fees are not included.
What are the main stops on the tour?
You’ll ride along Lake Kawaguchiko, visit Ubuyagasaki for the upside-down Fuji view, stop at Kawaguchi Ohashi Bridge for photos, and visit Kawaguchi Asama Shrine.
Where do I meet the guide?
The meeting point is Kawaguchiko Station, 3641 Funatsu, Fujikawaguchiko, Minamitsuru District, Yamanashi 401-0301, Japan.
Do I need to pay entrance fees?
Yes. The tour does not include the entrance fee of 100 yen for the Tenku-no-torii of Kawaguchi Sengen Shrine, and it also does not include the Kawaguchi Sengen Shrine entrance fee.
Is the tour suitable for everyone?
Most travelers can participate, but it is not recommended for individuals with paralysis. The experience also depends on good weather.