REVIEW · TOKYO
Tokyo: Photography Masterclass – Private Photo Lesson
Book on GetYourGuide →Operated by Aperture Tours · Bookable on GetYourGuide
Shibuya turns your camera into a compass. This private street photography masterclass in Tokyo helps you see Shibuya crossings and Harajuku street life with a local instructor beside you. You get specific coaching matched to your gear and interests, so you leave with more than a few good shots.
One possible drawback: this is a photography lesson, not a portrait session, and you’ll want to bring your own camera to get full value from the instruction.
In This Review
- Key things that make this Tokyo photo lesson work
- Meeting at Hachiko: where your photo plan starts
- Coffee, technical sheets, and getting your camera to cooperate
- Shibuya street photography: shooting the crossing and beyond
- Harajuku: using style and motion as your subject
- Day vs night: neon, slower shutter, and choosing your look
- What’s included, and what you need to bring for best results
- Pricing: why $323 per group can make sense
- Who this tour fits best (and who might want something else)
- A realistic shot plan for your three hours
- Should you book this Tokyo photography masterclass?
- FAQ
- How long is the Tokyo Photography Masterclass?
- Is there a day tour or a night tour?
- Where do we meet?
- Which exit should I use from Shibuya Station?
- Do I need to bring my own camera?
- Is a tripod provided?
- Is this a portrait session where the instructor photographs me?
- Does it run as a private group with an English-speaking guide?
Key things that make this Tokyo photo lesson work
- Private 1-on-1 coaching focused on your camera and your level
- Coffee level-check at the start so the lesson fits what you can already do
- Shibuya practice on real street drama, including the Hachiko Crossing area
- Harajuku street scenes aimed at action, style, and fast-changing moments
- Day, night, or day-and-night options tuned to the mood you want to shoot
- Spot planning that considers focal length and techniques like slow shutter or time lapse
Meeting at Hachiko: where your photo plan starts
The tour meets at the Hachiko Memorial Statue in Shibuya, the bronze dog honoring the famously loyal Akita. It’s a smart choice. That area is easy to find, full of foot traffic, and it naturally puts you in the right “photo zone” fast—before you start thinking about settings.
If you’re taking the train, get off at Shibuya Station and use the Hachiko exit. The tour also notes several train lines that serve Shibuya, including JR East’s Yamanote Line and Tokyo Metro lines like Ginza. If you’re arriving by taxi, you can ask for the area near the Hachiko crossing (渋谷駅の近くのハチ公交差点までお願いします).
A quick practical note: being at Hachiko means you’re starting where Tokyo is already visual. You won’t waste time looking for a subject.
You can also read our reviews of more private tours in Tokyo

Coffee, technical sheets, and getting your camera to cooperate
Before walking into the streets, the tour starts with a coffee to establish your level. That matters because Tokyo street photography can fall apart in two minutes if you’re struggling with basics. The coffee and initial chat help your instructor understand what you can handle: exposure, focusing, shutter speed, and how comfortable you are moving quickly.
After that, you’ll go through technical sheets and camera-feel checks. This isn’t just lecture. It’s how you build a repeatable habit: decide what you want the photo to say, then pick the settings that make it happen. If you’re brand new, this is the gentle runway. If you’re already semi-pro, it becomes a focused upgrade of small things you might skip on your own—like how to anticipate movement, handle tricky light, or match focal length to the scene.
What I like here is the custom approach. The tour is private, so you’re not stuck doing one rigid route or one generic lesson. You can also mention what you want more of—iconic crossings, quieter back streets, or a specific style.
Shibuya street photography: shooting the crossing and beyond
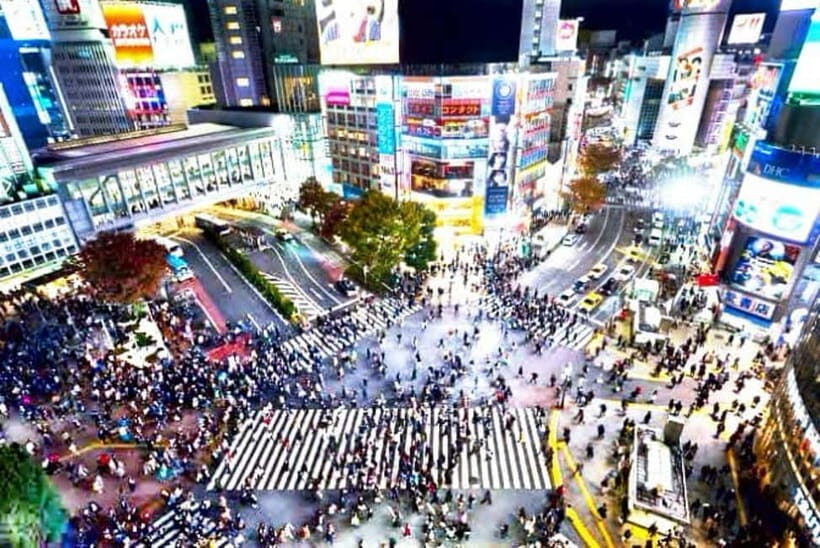
Most Tokyo street photographers dream about the moment at the pedestrian chaos near Hachiko Crossing. This tour doesn’t treat that as a postcard stop. You practice how to get useful results there, not just clicks.
In practice, the crossing zone tests several things at once:
- How you handle mixed light (bright signage plus shadowed pedestrians)
- How you keep focus sharp when people are moving and the scene changes constantly
- How you manage shutter speed so you either freeze motion or intentionally blur it
The tour is built around doing this with guidance. Your instructor helps you choose camera settings for the look you want, and then you work the scene with feedback. One of the most praised parts of these lessons is that guides know the spots precisely and can adapt when conditions change.
From there, the tour continues into back streets of Shibuya. This is where the lesson often becomes more valuable than the famous intersection. The back streets give you room to slow down, build sequences, and learn street photography tactics without the same level of visual noise. You’ll also get more chances to experiment—trying compositions that include storefronts, small movements, and everyday textures.
Harajuku: using style and motion as your subject
After Shibuya, the tour moves into Harajuku, where street style is basically part of the environment. The highlight here is photographing not only landmarks, but the human details: clothing choices, youth fashion energy, and the fast rhythm of people moving through the area.
Harajuku can be tricky. If you only shoot from far away, you miss the story. If you shoot too close without a plan, you’ll get distractions and inconsistent results. With a guide, you’re more likely to end up with frames that feel intentional—photos where your composition shows you understood the scene.
This is also where your instructor’s coaching on camera use becomes practical. You learn how to translate what you see into settings:
- When a faster shutter speed helps you freeze faces and fabric
- When a slower shutter can add motion feel
- How to think about focal length so your background doesn’t swallow your subject
The tour’s approach is aimed at all levels, so you should expect the instructor to calibrate the lesson. If you’re new, you’ll probably get clearer step-by-step priorities. If you’re experienced, you’ll likely get more tactical recommendations and shot planning.
Day vs night: neon, slower shutter, and choosing your look
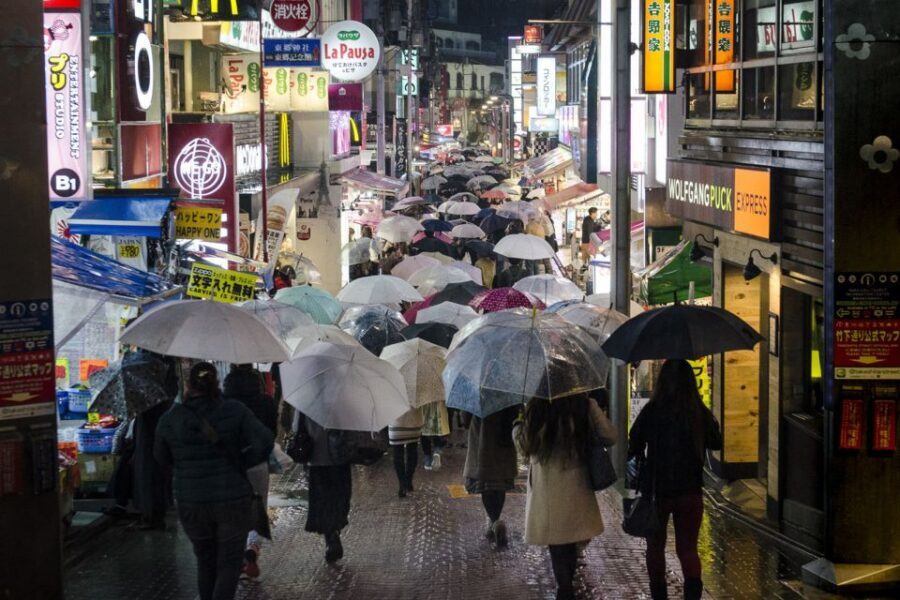
The company offers a 3-hour day tour, a 3-hour night tour, and a 6-hour combined day-and-night option. That’s more than a scheduling choice. It changes the whole photography problem you’re solving.
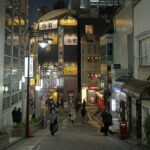
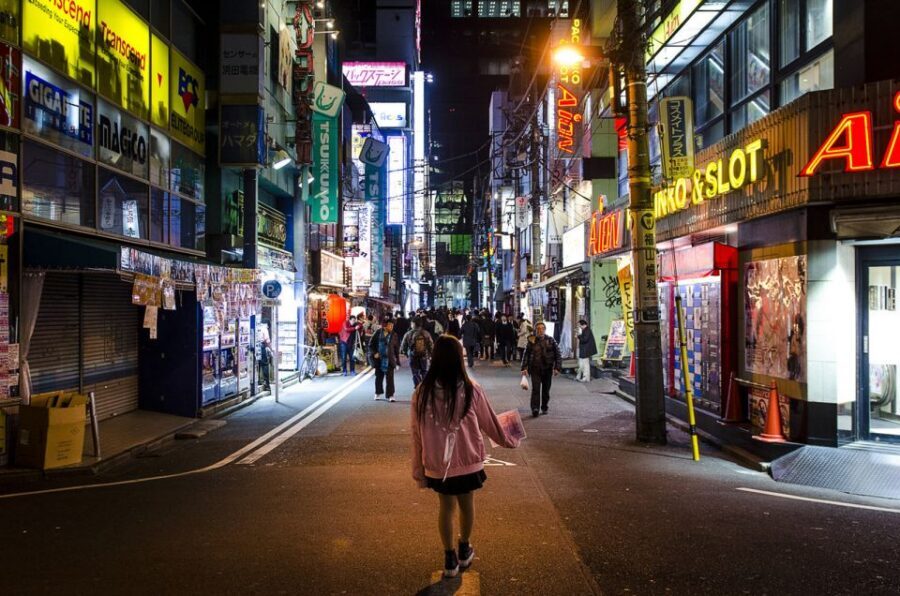
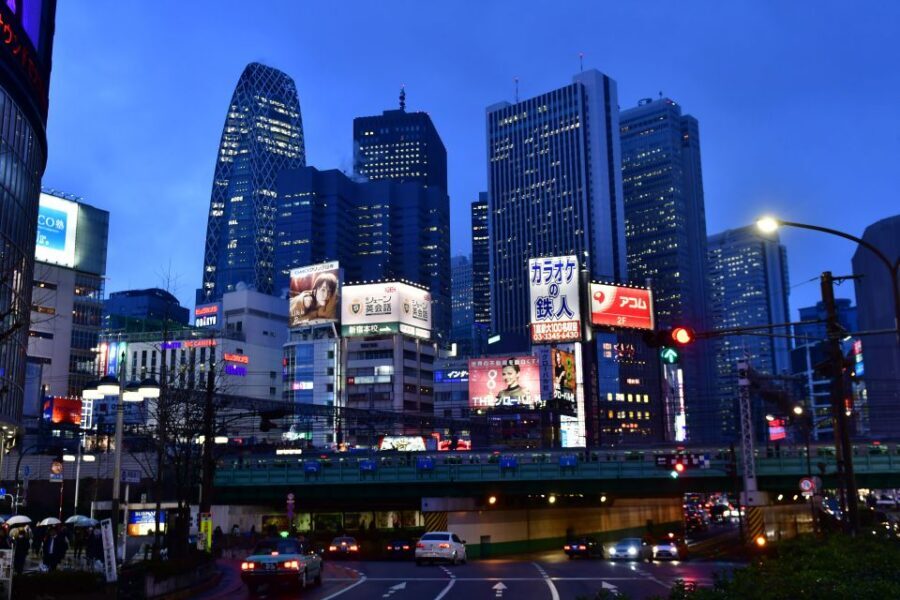
On a night tour, Tokyo becomes a different character. You’re dealing with:
- Neon and signage light sources
- Darker streets where exposure mistakes show fast
- More opportunities for dramatic motion and longish exposures
One of the standout bits from instructor feedback is that some guides plan for the kind of look you’re going for, down to what focal length you might need and what techniques could fit. Slow shutter and time lapse are specifically mentioned as options that can come up based on the situation. That’s the kind of guidance that saves you time. Instead of guessing, you get a plan.
On a day tour, light is simpler, but the challenge is still real: crowds, hard contrast, and fast-moving subjects. Day shooting is great for nailing composition and learning to respond quickly. Night shooting is great for mood, atmosphere, and learning how your camera behaves under mixed light.
If you’re deciding between day and night, pick the one that matches your camera comfort. If you’re still learning exposure basics, the day tour may feel more forgiving. If you’re ready to experiment, night can be where you level up quickest.
You can also read our reviews of more photography tours in Tokyo
What’s included, and what you need to bring for best results
This experience includes a local guide and a professional personal photography instructor. The instruction piece is the real value: you’re not just walking around getting inspiration—you’re practicing technique with someone watching your choices.
Not included:
- Camera (you need to bring yours)
- Tripod (but you can rent one by request)
Before you go, think about your lens plan. The tour experience emphasizes matching focal length to each shot idea, so your lens choices matter. If you only bring one lens and it’s fixed, that’s still fine, but you might find your options narrower.
Also, this is explicitly not a portrait session. The lesson is about how to take better photos of Tokyo, not having the instructor take pictures of you.
Pricing: why $323 per group can make sense
The price is $323 per group for up to 2 people, with a 3-hour duration. That breaks down differently depending on how you travel.
Here’s how to judge value:
- You’re paying for private coaching, not a group lecture
- You get both local street guidance and photo instruction, which usually costs more if you buy separately
- Your tour is flexible: you can target iconic crossings, quiet back streets, or Harajuku fashion moments
If you go as a pair and share the cost, it can start to feel like a practical upgrade over doing street photography on your own with only online tips. If you’re solo, it’s still reasonable if your goal is skill-building rather than just sightseeing.
If you want a day pass to a famous area, there are cheaper options. But if you want the fast learning that comes from feedback on the spot, this kind of private lesson tends to pay off.
Who this tour fits best (and who might want something else)
This class is listed as suitable for all levels, from first-time shooters to semi-professionals. The tone is designed to keep you moving and learning without feeling lost.
It’s a great fit if:
- You want street photo direction instead of wandering without a plan
- You’re trying to understand shutter speed, focal length, or composition choices in real situations
- You like Tokyo areas like Shibuya and Harajuku and want to shoot them with intent
It may be less of a fit if:
- You’re hoping someone will take photos of you, because this is not a portrait session
- You don’t want to bring your own camera and work on settings during the walk
A realistic shot plan for your three hours
Even without a formal timetable spelled out stop-by-stop, you can use the tour structure as your own mental game plan:
- Start with the technical setup: learn what the instructor wants you to prioritize and how to use it.
- Practice under pressure at Shibuya: use the crossing area to test exposure, focus, and motion choices.
- Work the quieter material: back streets help you build better compositions and reduce visual chaos.
- End with Harajuku style: use people, outfits, and movement as your subject, not just scenery.
- Leave with repeatable habits: the goal is photographic development, not one perfect frame.
The strongest moments usually happen when you’re willing to take multiple variations instead of hunting for one magic shot immediately.
Should you book this Tokyo photography masterclass?
Book it if you want your Tokyo photos to get sharper quickly, with private instruction and real street shooting practice in the Shibuya-to-Harajuku stretch. It’s a solid choice if you’re hungry for technique feedback, like learning how to react to neon, movement, and changing light.
Skip it if your main goal is casual sightseeing photos with no interest in settings or practice. And if you’re expecting a portrait session, this tour won’t match that expectation.
If you’re on the fence, the decision rule is simple: if you want to learn how to take better photos of Tokyo with your camera, this is the kind of experience that helps you improve faster than solo wandering.
FAQ
How long is the Tokyo Photography Masterclass?
The private photo lesson lasts 3 hours.
Is there a day tour or a night tour?
Yes. You can choose a 3-hour day tour, a 3-hour night tour, or a 6-hour combined day-and-night option.
Where do we meet?
You meet at the Hachiko Memorial Statue in Shibuya.
Which exit should I use from Shibuya Station?
Use the Hachiko exit after getting off at Shibuya Station.
Do I need to bring my own camera?
Yes. The camera is not included, so you’ll need to bring your own.
Is a tripod provided?
A tripod is not included, but you can rent one by request.
Is this a portrait session where the instructor photographs me?
No. This is a photography lesson to help you take better photos of Tokyo. The instructor will not do a portrait session of you.
Does it run as a private group with an English-speaking guide?
Yes. It’s a private group and the live tour guide is English.