REVIEW · TOKYO
Tokyo Photography Masterclass – Private Photography Lesson
Book on Viator →Operated by Aperture Tours · Bookable on Viator
Tokyo has a way of making your camera feel alive. This private photography masterclass gets you out in real places like Shibuya and Senso-ji, then teaches you how to capture them with actual skills. It’s designed for first-timers and semi-pros, so you don’t get stuck in the beginner trap or the advanced jargon trap.
I like that it’s built as a true private lesson, not a generic walk with photo stops. You’ll practice composition techniques like lines, repetition, texture, and angles, and you’ll get hands-on help with aperture, shutter speed, ISO, and focusing. If you want a friendly, experienced teacher, the name Karl comes up in the feedback—plus you’ll have time to review and adjust what you’re doing.
One thing to consider: the experience doesn’t include a camera, and a tripod is only available to rent. Also, if you’re hoping for a super rigid fixed route, this is more flexible, based on what you want to shoot—great for customization, but you won’t get a one-size-fits-all itinerary.
In This Review
- Key takeaways before you book
- Why this private Tokyo lesson is a smart way to learn fast
- Starting at Hachiko: how you’ll begin framing your shots in Shibuya
- Shibuya crossing and Harajuku street scenes: practicing composition in motion
- Shooting streaks and neon: Shinjuku at night with a photography plan
- After-dark Senso-ji and calmer Asakusa paths: switching to slower storytelling
- The real curriculum: aperture, shutter speed, ISO, and focusing that actually clicks
- Reviewing your photos: turning shots into learning, not just memories
- Logistics that matter in Tokyo: meeting spot, duration, and moving efficiently
- What to bring, plus the small costs people forget
- Price and value: getting better pictures without spending all day lost
- Who this masterclass is best for
- Should you book this Tokyo Photography Masterclass?
- FAQ
- What’s included in the Tokyo Photography Masterclass?
- Does this experience include a camera?
- How long is the lesson?
- Where do I meet the guide?
- Is it a private tour or shared group?
- Can I bring a tripod?
- What if I need to cancel?
- Is this tour suitable for beginners?
- Bonus question: Are there day and night shooting options?
Key takeaways before you book
- Private, tailored instruction: your route can match what you want to photograph, not just what the group happens to want.
- Composition you can use right away: lines, repetition, texture, angles—learn the why, then apply it on the street.
- Exposure basics with real Tokyo light: aperture, shutter speed, ISO, and focusing, explained for the scenes you’re standing in.
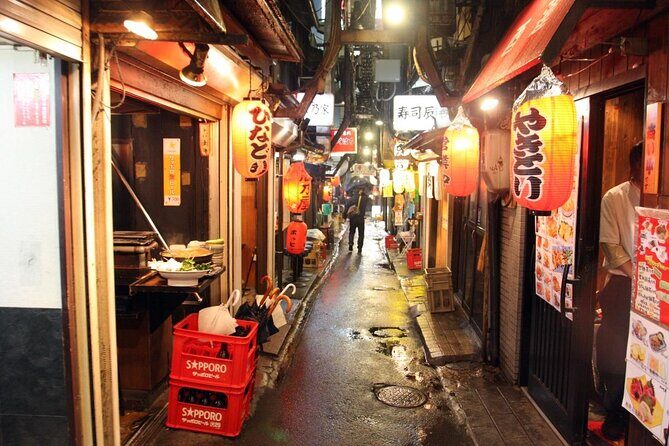
- Day or night shooting options: street scenes in Shibuya/Harajuku or neon and after-dark temples around Shinjuku/Asakusa.
- Photo review time: you don’t just take pictures—you learn from what you captured.
Why this private Tokyo lesson is a smart way to learn fast
Tokyo is a harsh teacher. Too many signs, too many people, too much light. The value here is that you get a photographer guide to help you decide what matters in the frame, and then you practice in the exact environment where you’ll be shooting for the rest of your trip.
This masterclass is priced at $190 per person for about three hours, and the format is private. With the rating sitting at 4.8 from 25 reviews and a 96% recommendation rate, it’s clearly working for people who want results—not just a photo-walk souvenir.
For your time, three hours is enough to learn a few core techniques, use them immediately, and walk away with images that look intentional. For your budget, $190 is in the “this is worth paying for” zone when you compare it to spending the same time guessing your settings alone in crowds.
You can also read our reviews of more private tours in Tokyo
Starting at Hachiko: how you’ll begin framing your shots in Shibuya
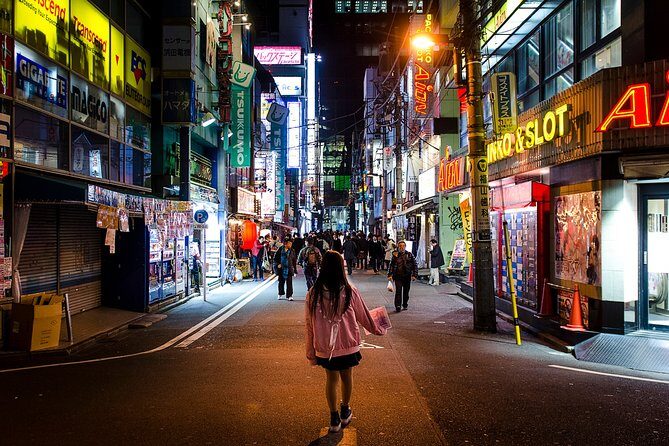
Your meeting point is the Hachiko Statue near Dogenzaka in Shibuya. It’s a practical start: you’re at a well-known landmark in the middle of one of Tokyo’s busiest photo zones, and the area is tied into public transportation.
What you’ll likely notice right away is how quickly a guide can teach you to see structure in chaos. Even before you go deep into side streets, you’ll have opportunities to practice fast composition reads—where to put the subject, how to use foreground and background, and how to keep your eye on the light rather than the noise.
If you’re new to street photography, Shibuya can be a stress test. That’s why this works. You get direction before you get overwhelmed.
Shibuya crossing and Harajuku street scenes: practicing composition in motion
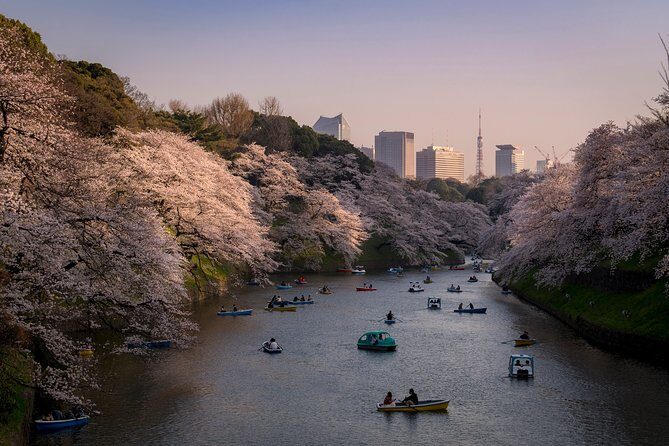
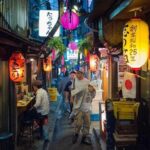
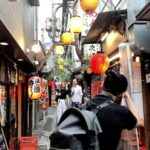
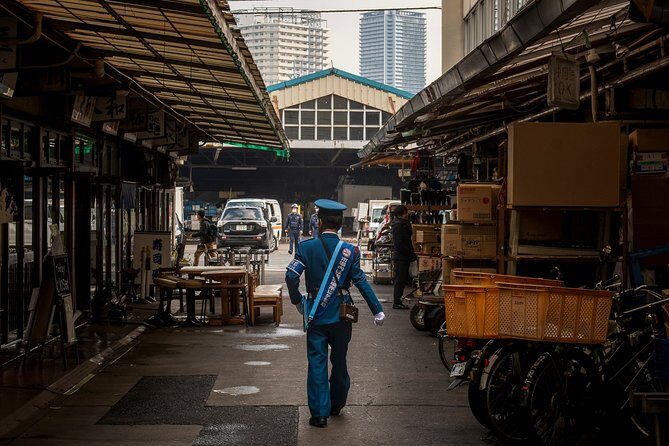
One common focus is the street route: Shibuya’s major pedestrian crossing, then back streets in Shibuya, and on to areas associated with youth fashion like Harajuku. This is where composition tricks stop being homework and start becoming habits.
Here’s what you’re practicing in spots like these:
- Lines and leading paths: use the way walkways, storefront edges, and crowd movement point your viewer toward your subject.
- Repetition and patterns: find repeating signage, railings, or building rhythms that make a busy scene feel organized.
- Texture: notice surfaces—concrete, clothing, wet pavement—so your images have more than just faces and buildings.
- Angles: tilt your camera or change your height to avoid flat “postcard” shots.
A possible drawback: crowd density can limit your ability to stop and tinker with settings for long. The solution is exactly what the lesson is good for—learning settings and framing choices that work quickly when you’re moving with people.
Shooting streaks and neon: Shinjuku at night with a photography plan
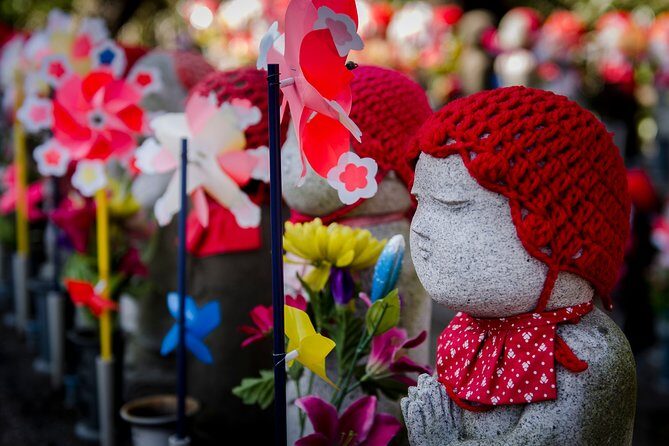
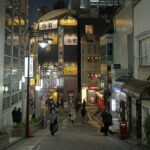
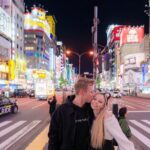
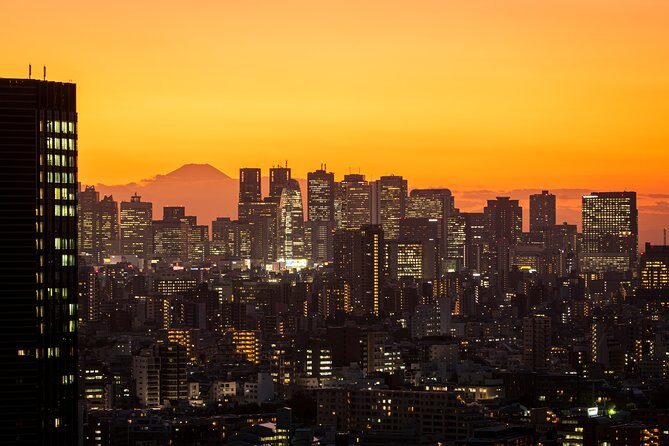
If you pick the night option, Shinjuku is a strong candidate. The idea is straightforward: neon lights, skyscrapers, and high-contrast scenes where you can learn to handle light instead of fearing it.
You may also get opportunities that sound like a Tokyo cliché but actually teach real camera control—like photographing car trails against the city backdrop. Even if your first attempt isn’t perfect, this kind of scene is ideal for learning how shutter speed changes motion and mood.
Why Shinjuku helps you learn:
- The lighting gives you strong subject separation.
- Reflections and signage create depth.
- You can test exposure adjustments without leaving the neighborhood.
One consideration: night scenes often mean higher ISO and more noise. Your guide’s job is to help you choose a tradeoff that still looks good, not just “bright.”
After-dark Senso-ji and calmer Asakusa paths: switching to slower storytelling
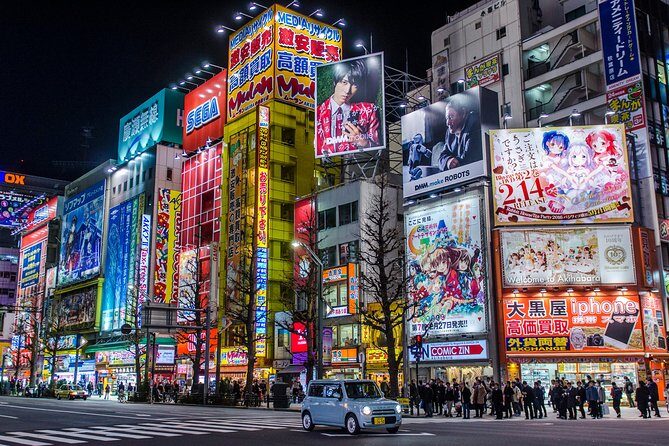
Another option leans calmer: around Asakusa, with the Buddhist temple Senso-ji and quiet paths nearby. This is a nice counterbalance if you’ve been shooting fast street scenes all day.
After dark, temples can become strong compositions with leading gates, repetition in structures, and controlled pockets of light. This is also where the “sharpen your eye” part of the class matters. You’re not only learning the technical settings—you’re learning what makes a scene feel like a photograph instead of a snapshot.
Practical tip for this kind of area: keep your movement deliberate. When the environment is quieter, you’ll get more value from careful framing and exposure checks rather than frantic shooting.
You can also read our reviews of more photography tours in Tokyo
The real curriculum: aperture, shutter speed, ISO, and focusing that actually clicks
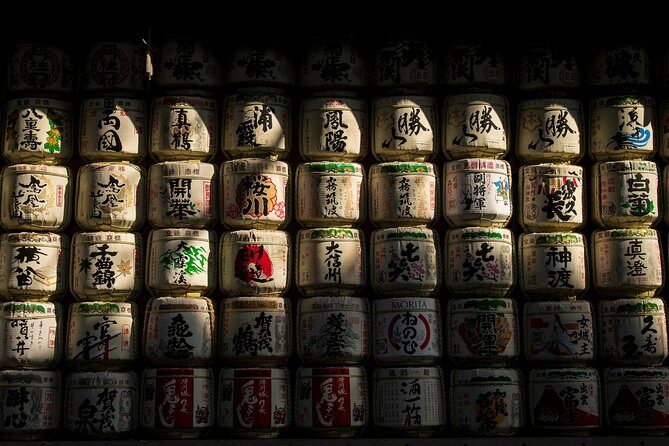
The lesson covers the big four—aperture, shutter speed, ISO, and focusing—and does it with Tokyo scenes in front of you. That matters because these settings make sense only when you see their results in real light.
Here’s how this becomes useful fast:
- Aperture helps you control depth of field. In street scenes, it’s how you separate a person from a busy background.
- Shutter speed controls motion. That’s why it’s relevant for walking crowds, night street life, and car trail effects.
- ISO helps you deal with low light. Your goal isn’t max brightness; it’s a usable exposure with acceptable noise.
- Focusing (and choosing what to focus on) turns your images from “almost” into “keeper.”
You’ll also go over sharpening your eye: composition, subject choice, and lighting. That last part is key. If you understand light direction and intensity, you’ll take better photos even when your settings aren’t perfect.
Reviewing your photos: turning shots into learning, not just memories
A big win of a private lesson is that you can correct mistakes in the moment, and then see improvement quickly. This experience includes reviewing your photography, so you’re not stuck guessing why one image works and another doesn’t.
In practice, photo review typically means:
- checking whether your subject is clear,
- confirming whether your composition guides the viewer’s eye,
- adjusting exposure choices,
- and refining how you’re using light.
If you like instant feedback, this is where you’ll feel the biggest jump. It also helps if you’re traveling with limited time and don’t want to spend the rest of the trip stuck in trial-and-error mode.
One regret I hear from people after doing skills-based tours: they wish they booked earlier. The good news is you don’t have to wait to get value—you’ll likely leave with images you can use right away, plus a skill set you’ll keep applying.
Logistics that matter in Tokyo: meeting spot, duration, and moving efficiently
This is a three-hour private tour/activity that ends back at the meeting point. The “ends where you start” format sounds small, but in Tokyo it means you can plan your day without worrying about getting stranded across town.
The meeting point at Hachiko is also helpful for navigation. You start in an obvious location, then your guide can take you through the areas you want to focus on, whether that’s street fashion energy or after-dark temple calm.
Duration matters: three hours is enough to learn, shoot, and adjust, without feeling like a whole-day commitment. It’s also easier to fit into a travel schedule.
For tickets, you get a mobile ticket. You can confirm at booking time. And because it’s private, only your group participates—no merging into a larger crowd with mixed skill levels.
What to bring, plus the small costs people forget
A camera is not included. If you don’t have one, you’ll need to rent or bring your own setup. A tripod isn’t included either, but you can rent one.
What I recommend you bring:
- Your camera plus the lens you use most (and any second lens if you like options).
- Extra batteries and memory card space, especially for night.
- Comfortable shoes. Even with a guide, Tokyo footwork adds up.
- If you’re renting a tripod, decide in advance if you’ll actually want to use it. It’s great for low-light control, but it changes how quickly you can move.
If you’re unsure what to bring, tell your guide what you shoot with. The class is flexible, and the best learning happens when your camera gear is part of the conversation.
Price and value: getting better pictures without spending all day lost
At $190 per person for roughly three hours, you’re paying for two things:
1) expertise in camera settings and composition, and
2) time saved by not figuring it out alone.
If you’re comfortable spending an evening experimenting, you could learn some basics on your own. But Tokyo is too fast and too bright (and too crowded) for most people. A private guide compresses the learning curve so you can move from theory to results quickly.
Also, the lesson is aimed at all levels. That’s good value because you’re not paying for a generic script that either bores beginners or confuses experienced shooters.
For context, this activity is commonly booked about 24 days in advance on average. If you’re aiming for a specific day or you want a particular focus like night neon or temple after dark, earlier booking makes your life easier.
Who this masterclass is best for
This is a great fit if:
- you want a private, hands-on lesson rather than a group photowalk,
- you want to learn the “why” behind settings like aperture, shutter speed, ISO, and focusing,
- you enjoy street photography or want to try it with guidance,
- you’d rather practice in Tokyo’s real conditions than learn in a classroom.
It may be less ideal if:
- you expect a fully fixed, always-the-same itinerary,
- you don’t want to do any camera technique work and just want wandering photos,
- you’re traveling with no camera and don’t want to rent.
Should you book this Tokyo Photography Masterclass?
I’d book it if you want better photos with less guessing. The combination of private coaching, practical composition drills, and real instruction on exposure is exactly what turns Tokyo snapshots into pictures you feel proud of.
Book it sooner if you can. Even if your goal is just a few great images, the skills you pick up during the lesson will make the rest of your Tokyo photos easier. And with the guide Karl mentioned positively in feedback, you’ll likely get teaching that’s both clear and friendly.
FAQ
What’s included in the Tokyo Photography Masterclass?
It includes a professional photographer guide, a private tour, and a local guide.
Does this experience include a camera?
No. A camera is not included.
How long is the lesson?
It lasts about 3 hours.
Where do I meet the guide?
You meet at the Hachiko Statue, 2 Chome-1 Dogenzaka, Shibuya, Tokyo 150-0043, Japan.
Is it a private tour or shared group?
It’s private. Only your group will participate.
Can I bring a tripod?
A tripod is not included, but it’s available to rent.
What if I need to cancel?
Free cancellation is available. You can cancel up to 24 hours in advance for a full refund.
Is this tour suitable for beginners?
Yes. The experience is suitable for all levels, from first-time photographers to semi-professionals.
Bonus question: Are there day and night shooting options?
The class can be focused on street photography or night photography, including areas like Shibuya/Harajuku for street scenes and Shinjuku/Asakusa around Senso-ji after dark, depending on what you want to shoot.