REVIEW · TOKYO
Tokyo Pre Japan Planning Kit Itineraries, Food & Survival
Book on Viator →Operated by Sunrise Adventure · Bookable on Viator
Tokyo can feel like you’re drinking from a fire hose. This digital 4-day Tokyo itinerary kit helps you hit the big sights while still staying in control of your time.
I especially like the mix of major neighborhoods (Tsukiji/Asakusa/Shibuya/Shinjuku) plus moments that feel more like you’re following a local’s route than a rigid tour script. The best second feature is the included personal food recommendations, which is where Tokyo trips often get messy without a plan.
One drawback to plan around: there’s no physical guide, so you’ll do the navigating and timing yourself. If you book late, you might not get the document in time—so don’t leave it to the last minute.
In This Review
- Key things that make this Tokyo kit worth your time
- The idea behind this self-guided Tokyo plan (and why it works)
- What you actually get: PDF plan, local food notes, and the Survival Card
- Price and value: $26.06 per group for a flexible 4-day structure
- Day 1: Tsukiji Fish Market, Asakusa, and the Tokyo City View
- Tsukiji Fish Market: go early or go curious
- Asakusa and Sensoji: the iconic walk you’ll remember
- Tokyo Metropolitan Government Building observation decks: the easy skyline hour
- Day 2: Imperial Palace gardens, Harajuku style, and Shibuya in motion
- Imperial Palace: calm city-center walking
- Harajuku: where Tokyo’s trends move fast
- Shibuya Crossing: neon, noise, and good timing
- Day 3: Ueno Ameyoko market street and Akihabara electronics and anime
- Ueno and Ameyoko: open-air shopping with lots of food options
- Akihabara: electronics and pop culture shopping
- Day 4: Odaiba waterfront future, Shinjuku Gyoen calm, and Shinjuku at night
- Odaiba: a futuristic break on Tokyo Bay
- Shinjuku Gyoen National Garden: the one ticketed stop
- Shinjuku: neon night energy and easy dining
- How to use this itinerary without losing time (my practical approach)
- What’s the vibe: who this fits best
- Notes on tickets, admissions, and what costs you might see
- FAQ
- FAQ
- How long is the Tokyo itinerary?
- Is this a guided tour with a live guide?
- Where does the activity start?
- Where does it end?
- Are the main attractions free to enter?
- Do I choose when to start and stop?
- What’s included with the purchase?
- Is there a limit on group size?
- What if I need to cancel?
- Should you book this Tokyo kit?
Key things that make this Tokyo kit worth your time
- Start when you want, skip when you want: the itinerary is built for flexible pacing.
- Local food recommendations included: you get guidance on what to eat, not just where to walk.
- Most major stops are free: you can spend money on food instead of ticket lines.
- A smart “hit-and-mix” route: old Tokyo (Asakusa, Imperial area) + modern Tokyo (Shibuya, Shinjuku, Odaiba).
- Designed for quick orientation: it gives you structure without trapping you in a schedule.
- Small group cap: max 15 travelers, which often means the product stays manageable and easy to access.
The idea behind this self-guided Tokyo plan (and why it works)
I like Tokyo itineraries that do two jobs at once: they help you pick good priorities, and they keep you from feeling boxed in. This kit gives you that balance by suggesting stops for four days, but letting you move through them in your own rhythm—start and stop whenever you like.
For me, the value is that it reduces the mental load. Tokyo has endless options, and without a plan you end up either rushing or backtracking. With this, you get a clear framework for an efficient first visit, then you choose how much time you want at each place.
And yes, it’s self-guided. That’s not a failure—it’s the whole point. You’re paying for a curated path and practical notes, not for someone to keep you on a leash.
You can also read our reviews of more food & drink experiences in Tokyo


What you actually get: PDF plan, local food notes, and the Survival Card
This experience includes a self-guided PDF itinerary, plus Tokyo personal food recommendations by locals. That combination matters because the biggest quality-of-life problem in Tokyo isn’t getting lost—it’s eating wrong for your tastes and your time.
You also get a Japanese Survival Card. The exact contents aren’t listed here, but the intent is clear: it’s meant to help you communicate basic needs without stress. For first-timers, that alone can be worth it, especially when you’re tired and your Japanese is limited.
There’s also a discount on e-Sim. If you’re planning to use data for maps and transit, that can be a quiet money saver. This kit is built for modern travelers who rely on phones, not printed maps.
Price and value: $26.06 per group for a flexible 4-day structure
The stated price is $26.06 per group (up to 15). On its face, that looks almost too low for Tokyo. The trick is that you’re not paying for guided time or museum tickets—you’re paying for planning help that covers multiple days.
Here’s why that’s good value. You’re using the plan to reach major areas across the city: Tsukiji, Asakusa, Imperial Palace area, Harajuku, Shibuya, Ueno, Akihabara, Odaiba, Shinjuku Gyoen, and Shinjuku. Most of these stops are marked with free admission (except Shinjuku Gyoen), so you’re not funding expensive entries just to justify the ticket.
If you treat this like a rough blueprint—follow a stop or two, swap the order, and spend your time where you feel drawn—you’ll likely get far more than your money’s worth.
Day 1: Tsukiji Fish Market, Asakusa, and the Tokyo City View

Day 1 is a classic “start strong” day: food energy, old Tokyo spirit, then skyline views.
Tsukiji Fish Market: go early or go curious
You’re given Tsukiji Fish Market for about 2 hours, and admission is free. Even if you don’t plan to buy anything, the real payoff is the atmosphere—this is Tokyo at full speed, where seafood is serious business.
Practical tip: keep your expectations realistic. This area can be intense, and standing around with no plan can feel like a time sink. Use the kit as a launch point, then commit to one or two things you actually want: a snack stop, a food counter, or just a quick look around before you move on.
A few more Tokyo tours and experiences worth a look




Asakusa and Sensoji: the iconic walk you’ll remember
Next is Asakusa (Sensoji Temple) for about 2 hours. Admission is also free. This is where you get the symbolic Tokyo images: temple gate views and the shopping street vibe right outside.
If you want a first-day win that feels unmistakably Tokyo, this is it. I also like that it’s not only about sightseeing—you can easily fit in small purchases and street snacks without losing your whole day.
Tokyo Metropolitan Government Building observation decks: the easy skyline hour
Finally, you’ve got Tokyo Metropolitan Government Building Observation Decks for about 1 hour, free admission. This is an efficient way to get a big-city view without committing to a timed reservation style experience.
A small consideration: views can vary with weather and visibility. If you’re choosing between this and something else sky-related, treat it as your backup plan. On a clear day, it’s perfect. On a gray day, it still gives you a sense of Tokyo’s scale.
Day 2: Imperial Palace gardens, Harajuku style, and Shibuya in motion
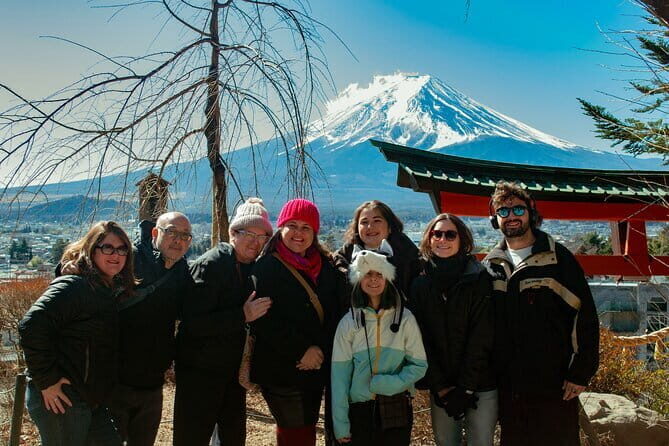
Day 2 swings from imperial gardens to youth fashion to one of the most photographed crosswalks in the world.
Imperial Palace: calm city-center walking
You get Imperial Palace for about 2 hours and admission is listed as free. The kit points you toward the garden area (the East Gardens are specifically named in the description).
This works well after Day 1 because it’s a reset. You’re not bouncing between crowds all day—you’re shifting gears. If you like walking space and slower pacing, you’ll appreciate this stop.
Harajuku: where Tokyo’s trends move fast
Then it’s Harajuku Station for about 2 hours, also free. This is your style stop: street fashion, boutiques, and the famous Takeshita Street area.
One drawback to consider: Harajuku can feel like a lot of stimulation in a short time. If you find crowds exhausting, use your 2 hours intentionally. Pick one street to focus on and let the rest be optional.
Shibuya Crossing: neon, noise, and good timing
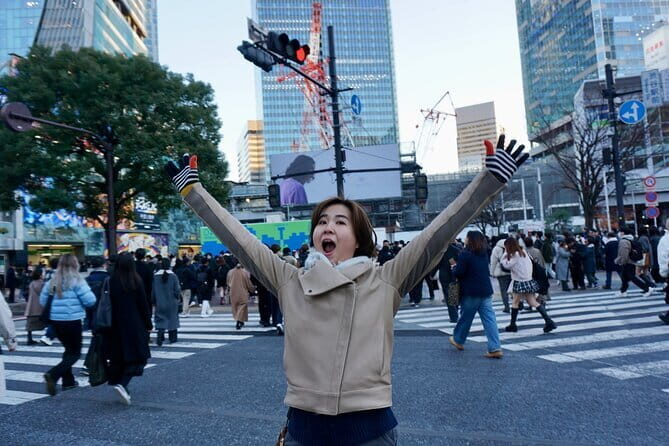
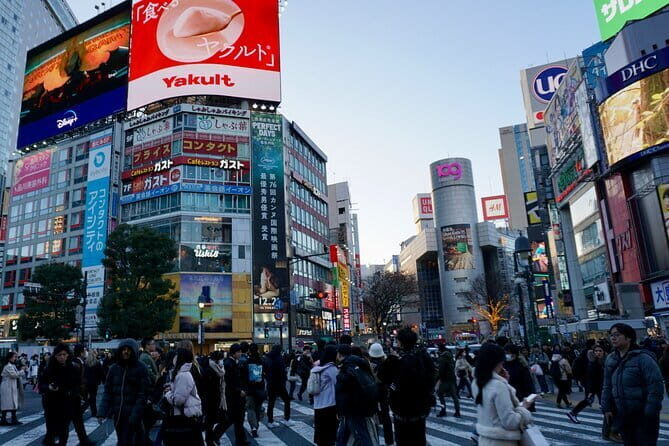
Last on Day 2 is Shibuya Crossing for about 2 hours, free. The kit frames it as the busy pedestrian intersection with simultaneous multi-directional crossing.
For me, the key is timing. Even without an exact schedule, you can get a satisfying experience if you arrive, watch the flow, then step away to a quieter corner for a snack or a quick photo session. Don’t spend the whole 2 hours stuck staring upward—Tokyo rewards you for moving.
Day 3: Ueno Ameyoko market street and Akihabara electronics and anime
Day 3 leans into Tokyo as a shopping and street-food city. It’s a strong day if you like browsing, people-watching, and snack breaks.
Ueno and Ameyoko: open-air shopping with lots of food options
You’re set for Ueno for about 3 hours. The description calls out Ueno Ameyoko as an open-air market street with shop stalls and food options.
Three hours is a good chunk of time because market streets aren’t one-and-done. You’ll want to compare prices, scan menus, and decide what actually sounds good in the moment. If your feet get tired, the structure helps you avoid wasting time elsewhere.
Akihabara: electronics and pop culture shopping
Next is Akihabara for about 2 hours, free. It’s framed as an electronics district and a haven for anime and pop culture merchandise.
This day suits you if you’re at least a little curious about gadgets, games, or themed merchandise. If you’re not, you can still enjoy the visual chaos and specialty shops, but you’ll probably want to keep it to a tighter browsing window rather than trying to see everything.
Day 4: Odaiba waterfront future, Shinjuku Gyoen calm, and Shinjuku at night
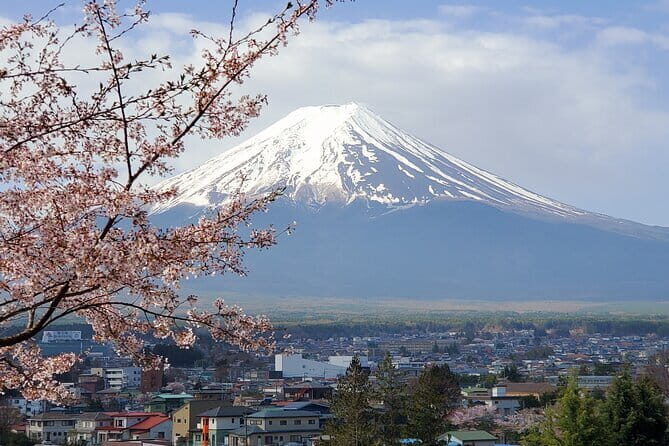
Day 4 blends modern Tokyo with nature break energy and then finishes where Tokyo goes loud again.
Odaiba: a futuristic break on Tokyo Bay
You’ve got Odaiba District for about 2 hours, free. The description highlights modern architecture, entertainment complexes, waterfront views, and mentions major attractions like the giant Gundam and teamLab Bor (the listing text cuts off, so details beyond that name aren’t provided).
Odaiba is a great “change of scenery” stop. It’s not just sightseeing—it feels like a different part of Tokyo with different vibes. If you’ve been walking for three days already, the waterfront can be a nice recovery moment.
Shinjuku Gyoen National Garden: the one ticketed stop
Then you move to Shinjuku Gyoen National Garden for about 2 hours. It’s marked as admission not included in the kit.
This is your calm counterbalance. The kit describes gardens blending Japanese, English, and French styles, plus cherry blossom season context. Even if you’re not there in peak bloom, it’s an easy win if you want a pause from streets and crowds.
Drawback: since admission isn’t included, you should plan for the cost separately. Also, gardens take time if you stop for photos and slow walking, so give it the full 2 hours rather than rushing through.
Shinjuku: neon night energy and easy dining
Finally, Shinjuku is scheduled for about 3 hours, free admission. The description focuses on night energy: neon streets and izakayas, plus karaoke-style nightlife options.
This is a good ending because it rewards you for being flexible. If you want a slower night, you can browse side streets and snack your way through. If you want high energy, Shinjuku can deliver without much planning.
One practical note: plan your transit back with care. Shinjuku is a transit hub, but it’s also busy. If you’re tired, pick one main area to stay near instead of zigzagging across the district.
How to use this itinerary without losing time (my practical approach)
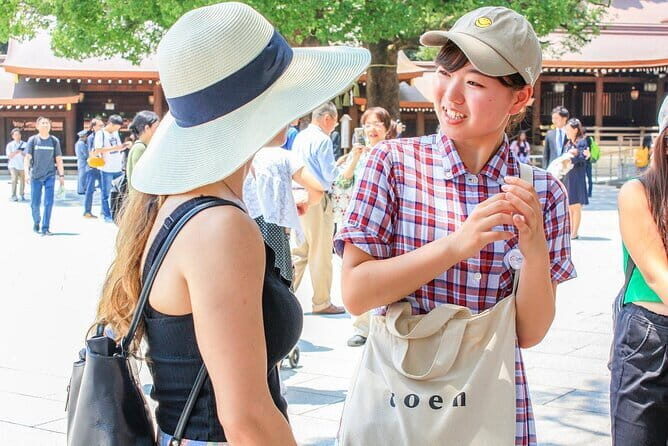
A self-guided plan only works if you treat it like a tool, not a checklist. Here’s how I’d use this kit to get the best day-to-day experience.
First, decide your pace at the start of each day. If you want photos and snacks, allocate more time to markets and shopping streets (think Ueno/Ameyoko and Harajuku). If you’re prioritizing “big hits,” keep strict time windows at places like observation decks and crossings.
Second, use the “skip” option guilt-free. The itinerary is designed so you can follow stops or pass them. If you arrive at a place and the line/crowd situation feels exhausting, move on. Tokyo rewards smart choices more than perfect sequences.
Third, keep your phone charged and use the transit plan as your safety net. Because this is mobile-first (mobile ticket + digital plan), you’ll be relying on maps. If your battery dies, you’ll feel the self-guided part more than you expected.
What’s the vibe: who this fits best
This kit fits best if you want a first-visit orientation but you don’t want to sit through a traditional tour pace.
You’ll probably love it if:
- You like independent exploration and choosing your own stops.
- You want a short, structured route across multiple neighborhoods in four days.
- You care about where to eat, not only where to stand for photos.
- You’re okay reading a PDF and using your phone for navigation.
It’s less ideal if:
- You strongly prefer a human guide for explanations and decision-making.
- You need someone to manage timing, lines, and group movement.
- You might book last-minute and risk missing the document arrival (a real concern raised by one user).
Notes on tickets, admissions, and what costs you might see
Most scheduled stops are marked with free admission: Tsukiji, Asakusa, Tokyo Metropolitan Government Building observation decks, Imperial Palace, Harajuku, Shibuya Crossing, Ueno, Akihabara, Odaiba, and Shinjuku.
The one stop called out as not included is Shinjuku Gyoen National Garden. So budget for that separately. For the rest, your spending is more likely to go toward food, snacks, small shopping stops, and transit—exactly where you’ll feel the city anyway.
FAQ
FAQ
How long is the Tokyo itinerary?
It’s planned for about 4 days.
Is this a guided tour with a live guide?
No. This is self-guided, with a digital PDF itinerary and local food recommendations, not a physical guide.
Where does the activity start?
The meeting point is Shinjuku City, Tokyo, Japan.
Where does it end?
It ends back at the meeting point.
Are the main attractions free to enter?
Most listed stops are marked as free admission, including Tsukiji, Asakusa, Imperial Palace, Harajuku, Shibuya Crossing, Ueno, Akihabara, Odaiba, and Shinjuku. Shinjuku Gyoen is not included.
Do I choose when to start and stop?
Yes. You can start and stop whenever you like and follow or skip suggested stops.
What’s included with the purchase?
Included items are a self-guided PDF itinerary, Tokyo personal food recommendations by locals, a Japanese Survival Card, and a discount on e-Sim.
Is there a limit on group size?
The experience has a maximum of 15 travelers.
What if I need to cancel?
You can cancel for a full refund up to 24 hours in advance.
Should you book this Tokyo kit?
If you want an easy, low-stress structure for a first Tokyo trip, I think this is a smart buy. The strongest reason: it covers a lot of neighborhoods over four days while keeping the schedule flexible, and the included food recommendations help you spend your time on the parts that matter most.
I’d only skip or delay booking if you know you’ll want a live guide to manage the day for you, or if you tend to book late and risk not getting the digital document in time. Otherwise, it’s the kind of planning tool that helps you get your bearings fast and then enjoy Tokyo on your own terms.