REVIEW · KYOTO
Kyoto Photography Masterclass – Private Photography Lesson
Book on Viator →Operated by Aperture Tours · Bookable on Viator
Kyoto at night can look magical. This private photo lesson turns that magic into repeatable skills, not just lucky shots, as you work through classic streets and lantern-lit scenes with a professional photographer.
You’ll get personalised instruction as you walk, focusing on camera settings, composition, and how to see the right angles in motion. I also like that it’s built around both street details and nighttime challenges, so you don’t spend the whole time staring at one view.
One thing to consider: you’ll need to bring your own camera, and while a tripod is available on request, the lesson is still time-tight. If you want slow, relaxed wandering, this format may feel a bit fast.
In This Review
- Key things I’d bank on before you book
- Why Kyoto night photography feels different from everywhere else
- Meeting at Izumo-no-Okuni and setting up your 3-hour rhythm
- Gion streets: wood, signage, and the art of timing your angles
- Pontocho District: lantern light, reflections, and controlling chaos
- Yasaka Shrine, Hokan-ji, and Koju Ninenzaka: steps, shadows, and strong composition
- Kiyomizudera at night: framing a big subject without losing detail
- How the photographer teaches: settings, composition, and reviewing your shots
- Price and value: what $170 gets you (and what it doesn’t)
- Who this private Kyoto photography masterclass suits best
- Should you book this Kyoto photography masterclass?
- FAQ
- How long is the Kyoto Photography Masterclass?
- Is this lesson private or shared?
- Where does the tour start and end?
- What camera gear is included?
- Is a tripod provided?
- What language support do I get?
- What is the cancellation policy?
Key things I’d bank on before you book
- Night photography coaching built around long exposure and low-light problem solving
- Irven-led patience and step-by-step adjustments, including shot review and re-shooting
- A focused Kyoto route through Gion, Pontocho, Yasaka Shrine, and Kiyomizudera
- Tripod support on request, helpful for stabilizing night exposures
- Private pacing so you can move based on your comfort and skill level
Why Kyoto night photography feels different from everywhere else
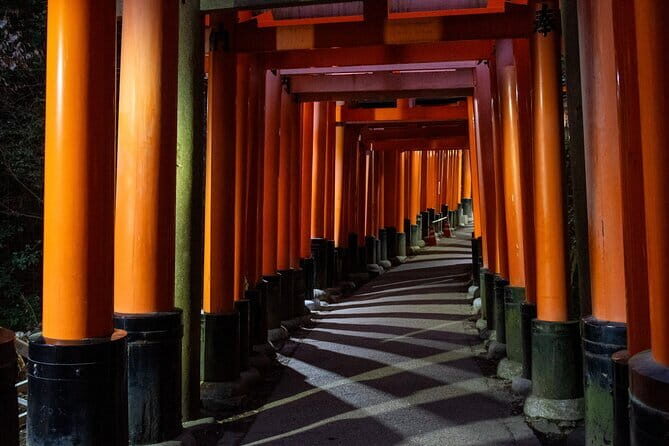
Kyoto’s night look isn’t just “darker.” It’s a patchwork of warm lantern light, cool street glow, reflective stone, and backgrounds that can quietly turn messy if your framing is off. That’s exactly why this kind of lesson is useful: you learn how to control the image, not just copy someone else’s photo.
A good nighttime goal is simple: make the scene readable. You want the viewer to instantly understand what you’re showing, even with long exposures and shifting light. The masterclass is designed around that challenge. You’ll practice exposure decisions, long exposure technique, and how to keep the mood without losing structure.
And because the route runs through places like Pontocho and Kiyomizudera at night, you get plenty of real-world variety. Wide views are bright and dramatic, while side alleys and architectural surfaces require careful composition and attention to patterns.
You can also read our reviews of more private tours in Kyoto
Meeting at Izumo-no-Okuni and setting up your 3-hour rhythm
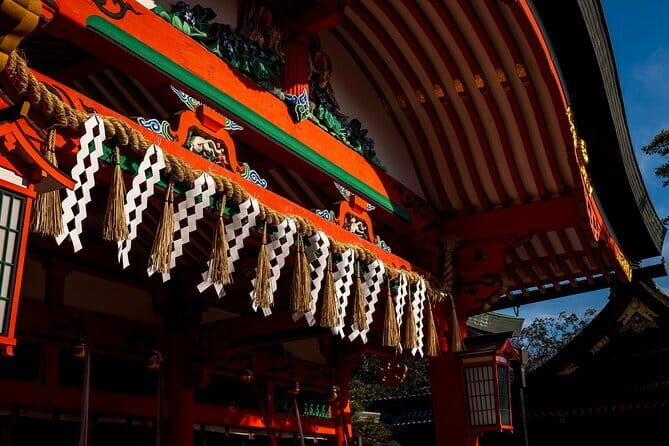
The meeting point is the Statue of Izumo-no-Okuni at Kawabatacho in Higashiyama Ward. The experience ends back at the same spot, so you’re not constantly re-routing or worrying about where you left off.
This is a private session, about 3 hours, which matters more than it sounds. With photography, timing is everything. If you’re slow to find a composition, you lose light. If you’re too fast, you don’t get to correct mistakes. Private instruction helps you hit that middle ground.
You also get a mobile ticket, which keeps things simple day-of. Since a camera isn’t included, you’ll want to be ready with your gear. If you have a tripod, that’s great. If you don’t, you can request tripod support—helpful for the longer exposures that Kyoto’s night scenes often demand.
Gion streets: wood, signage, and the art of timing your angles
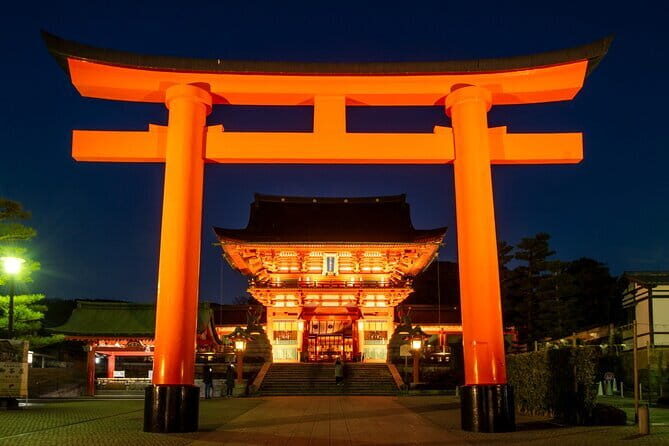
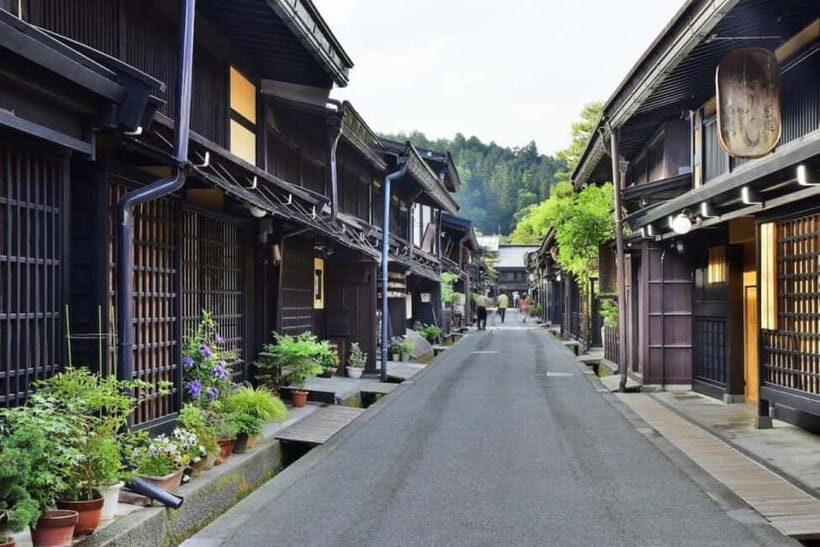
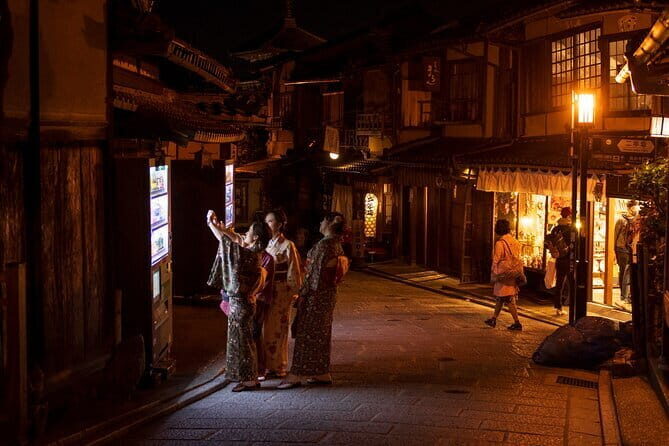
Gion is all about texture. Wooden machiya facades, narrow street perspective, and the way light slides across surfaces create photos with depth and story. In the street portion, you’ll work on photographing these details while also keeping the “sense of place” in frame.
For this part of the lesson, you’ll be walking through Gion and nearby cultural stops such as Gion Corner and Minamiza Theater. Even if you’re not focused on people, those locations help you practice a key skill: choosing a background that supports your subject instead of fighting it.
A practical takeaway from this style of guided street photography is how to think in layers:
- Foreground detail that gives texture
- Midground structure that creates the main lines
- Background light that sets the mood
In Gion, the lantern glow and shop signage can easily overpower your frame if you don’t control exposure and composition. This is where a photographer guide earns their fee: they steer you toward angles that let Kyoto’s atmosphere look intentional.
Pontocho District: lantern light, reflections, and controlling chaos
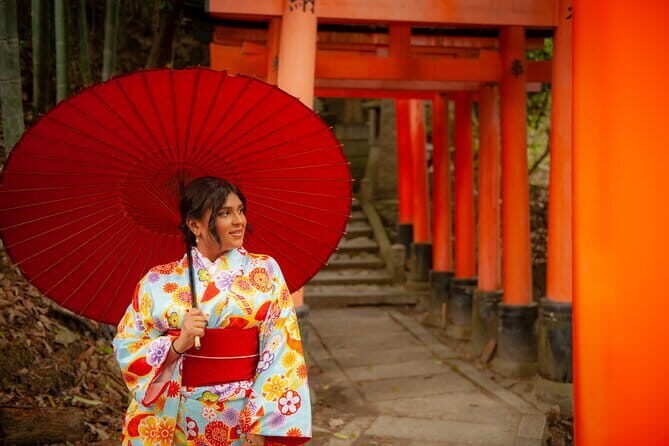
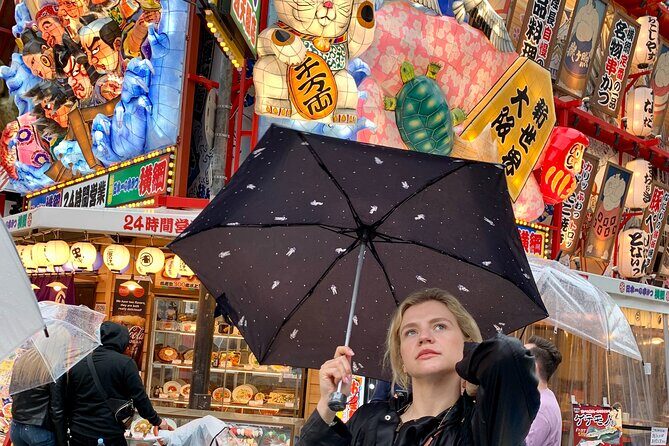
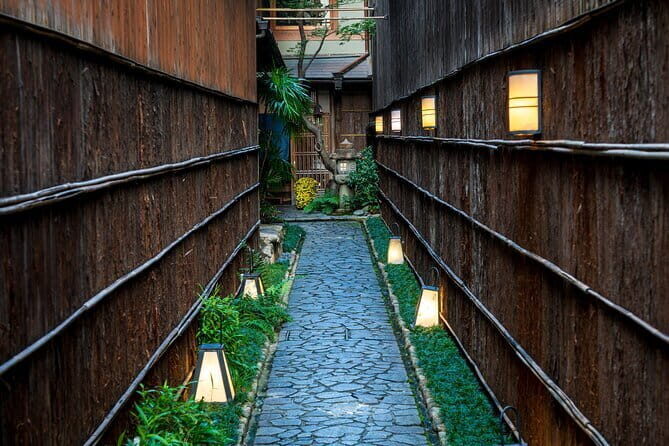
Then you move toward the Pontocho District, including the kind of lantern-lined alley atmosphere that photographers chase for years. This is where night lessons start to feel real, because you’ll deal with the messy side of low light: bright spots, dark shadows, and reflections that can either look poetic or distracting.
The trick is to treat Pontocho like a pattern-making exercise. You’re not only photographing a street—you’re selecting shapes, highlight sources, and leading lines. With long exposures, those bright points can smear or bloom depending on your settings. You’ll practice adjustments so the final image matches the mood you want.
You’ll also get advice on pacing: where to stop, when to reframe, and how to reset your settings as light changes. That matters here because Kyoto’s night isn’t static. People move. Lamps flicker. Bright signs appear and disappear from your angle.
Yasaka Shrine, Hokan-ji, and Koju Ninenzaka: steps, shadows, and strong composition
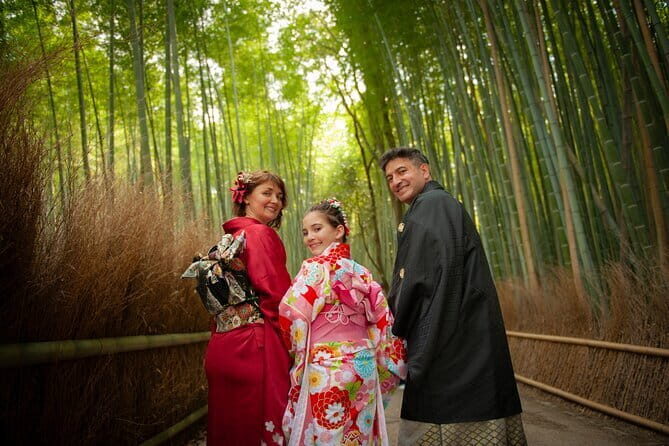
From the alley vibe, you’ll shift to a more layered scene around Yasaka Shrine, then onward to Hokan-ji Temple and Koju Ninenzaka. This stretch is a composition workout.
Why? Because temple areas and old streets don’t just give you a view. They force you to decide how to handle vertical lines, step rhythms, and the transition from lit foreground to darker background. In night conditions, your camera settings can easily make the scene either too flat or too noisy.
Koju Ninenzaka (the sloped, stepped street feel) is especially useful for learning composition because your position changes the perspective immediately. One step forward can change your lines, your highlight intensity, and your ability to include or exclude distracting elements.
If you’re the type of photographer who tends to frame too widely, this route helps you practice restraint. You’ll learn to choose a part of the scene that tells the story, rather than trying to fit everything in one image.
You can also read our reviews of more photography tours in Kyoto
Kiyomizudera at night: framing a big subject without losing detail
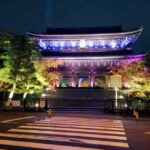
The tour’s night energy peaks at Kiyomizudera Temple, lit up against the night sky. This is a classic “big subject” challenge. Kiyomizudera can look spectacular, but it also tempts you to overexpose bright areas or lose the shadow detail that gives depth.
This is where long exposure technique becomes practical instead of theoretical. You’ll be thinking about:
- Stabilizing your camera (tripod support helps)
- Controlling highlights from lighting sources
- Selecting a viewpoint where the composition still works even with blur or light trails
You’ll also get guided emphasis on “story.” In real terms, that usually means selecting a frame that includes context but keeps attention on the subject. A mountain of stone and lights can turn into a confused photo if you don’t create a clear focal point.
If you want night photos that feel calm and intentional, this stop is the one to focus on. Spend time here refining, because the scene gives you lots of options—wide compositions, architectural details, and atmospheric shots from different angles.
How the photographer teaches: settings, composition, and reviewing your shots
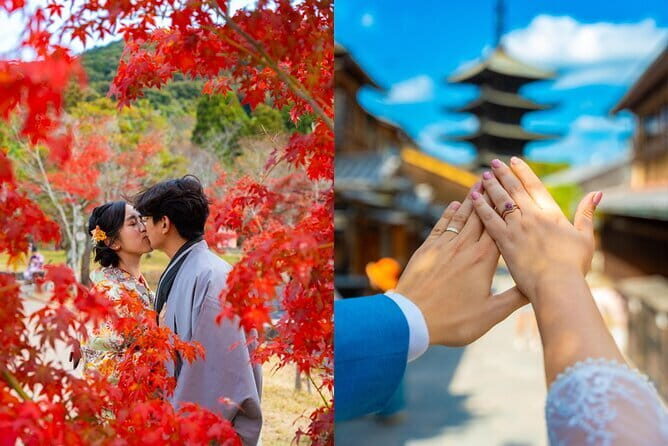
The lesson isn’t just walking around with a camera. It’s instruction while you’re moving, which is harder—and more useful—than classroom-only teaching.
You’ll receive personalised education on camera settings and composition techniques that match your skill level. That’s important because night photography can swing wildly depending on what gear you have (and what you already know). Instead of giving you a generic lecture, the instruction is tied to what you’re photographing in the moment.
One of the most praised parts of this experience is the way the photographer handles the learning loop:
- Shoot with guidance
- Review what you got
- Reset and try again
In feedback from an Irven-led session, he was patient and kept you practicing until the shots improved. That review-and-retry approach is how you actually learn. You stop guessing and start understanding what your camera is doing.
You’ll also get help with the practical night problem: long exposure and the movement that comes with city life. The goal isn’t to freeze everything. It’s to capture Kyoto’s nocturnal elegance in a way that still looks deliberate.
Price and value: what $170 gets you (and what it doesn’t)
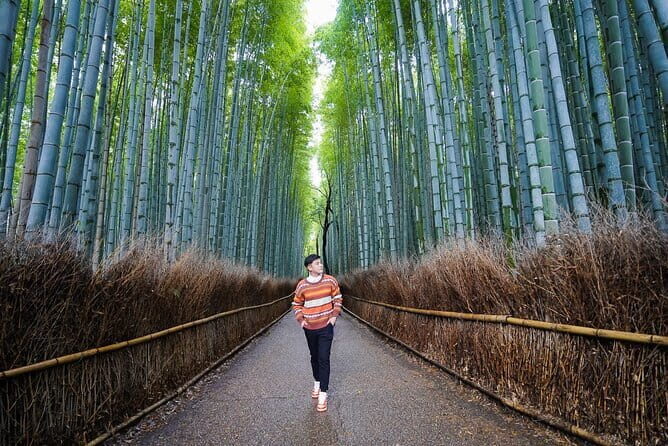
At $170 per person for roughly 3 hours, the price can look steep—until you break down what’s included.
You’re paying for:
- A professional photographer guide
- A licensed English-speaking local guide
- In-person guidance through high-focus photo areas
That pairing is the value. A photographer helps you solve exposure and composition. A local guide helps you find the best angles and timing in Kyoto’s specific streets. In other words, you’re not just buying pictures of Kyoto—you’re buying your ability to make better photos when you’re back on your own.
What’s not included: a camera. So if you’re borrowing or using an older phone, your results depend on what you can control. Also, a tripod isn’t automatically included, though it’s available upon request. If night shooting is your main goal, consider planning ahead so you’re not adapting last minute.
Booked on average 27 days in advance, which suggests this is a popular time-slot experience. If you’re traveling during peak seasons or want a specific start time, it’s worth planning early.
Who this private Kyoto photography masterclass suits best
This works well if you:
- Want night photography skills, especially long exposure basics and highlight control
- Prefer learning by doing, not just hearing tips
- Like Kyoto enough that you want to slow down your seeing, not speed through landmarks
It’s also a solid fit if you’re a beginner who can operate their camera a bit, because the lesson is described as personalised to your skill level. If you’re very advanced, you’ll still benefit from location choices and the review loop, but you may want to come with clear goals (for example, specific settings you want to practice).
Because it’s private, it’s easier to adapt if your interests shift mid-walk—street textures versus night lantern mood versus temple framing.
Should you book this Kyoto photography masterclass?
Book it if your biggest wish is to come home with night photos you actually understand. The combination of Irven-style patience, tripod support on request, and the review-then-retry teaching loop makes this feel like real instruction, not a sightseeing walk.
Skip it if you expect a casual stroll with no effort, or if you want all your photos to be mostly spontaneous without learning any settings. It’s a guided lesson, and the value comes from participation.
Also think about your gear. Bring your own camera, and if long exposure is a priority, decide whether you’ll request tripod support before you go. With that sorted, you’ll get a focused route through Gion, Pontocho, shrine-and-street stepping areas, and Kiyomizudera at night—exactly the kind of variety that turns night photography from frustration into control.
FAQ
How long is the Kyoto Photography Masterclass?
It’s about 3 hours.
Is this lesson private or shared?
This is a private tour/activity, so only your group participates.
Where does the tour start and end?
It starts at the Statue of Izumo-no-Okuni in Kawabatacho, Higashiyama Ward, Kyoto, and ends back at the same meeting point.
What camera gear is included?
A camera is not included.
Is a tripod provided?
A tripod is available upon request.
What language support do I get?
You’ll have a licensed English-speaking in-person local guide along with the professional photographer guide.
What is the cancellation policy?
Free cancellation is available up to 24 hours in advance for a full refund.
If you want, tell me what camera you’ll bring (phone, mirrorless, DSLR) and your current skill level, and I’ll suggest the best way to prep so the night portion goes smoothly.