REVIEW · KAMAKURA
Your Own HANKO Name Seal Activity in Kamakura.
Book on Viator →Operated by Name of Japan. Kamakura HANKO · Bookable on Viator
One sentence hook: This is a souvenir you can actually use.
In Kamakura, a small private workshop helps you understand the history of hanko and then create a custom name seal in Japanese katakana, with guidance from Tsukino (the third-generation craftsman behind Kamakurahanko). I like how the session is hands-on without feeling rushed, and I also like that you leave with an engraved item, not just a photo. The only real catch: the workshop runs only in the morning, so you’ll need to plan your day around that start time.
You’ll meet at Kamakurahanko’s shop near public transit, and your group does the whole thing together. It’s priced at $131.65 per person for about 45 minutes of instruction and design time, with the actual carving process handled afterward so your finished seal is ready for later pickup. One consideration: add-on costs can creep up if you want upgraded materials, a case, or red ink.
In This Review
- Key highlights you’ll care about
- Why make a hanko in Kamakura, not just buy one?
- Meeting Tsukino at Kamakurahanko: location and first steps
- Inside the 45-minute workshop: history, writing your name, then design
- Choosing materials and cases: what’s included vs what costs extra
- How the engraving really gets done (machine rough carve, hand finish)
- Your seal after the workshop: afternoon pickup or shipping
- The practical value of the $131.65 price tag
- Who should book this, and who might skip it?
- Should you book? My decision checklist
- FAQ
- How long is the hanko workshop?
- Is this a private tour or shared experience?
- What happens after the workshop ends?
- Where do I meet the guide or shop?
- Is the workshop available all day?
- What is included in the price?
- What is not included?
- Can I choose materials and colors?
- Do I need red ink to use the hanko?
- What’s the cancellation policy?
Key highlights you’ll care about
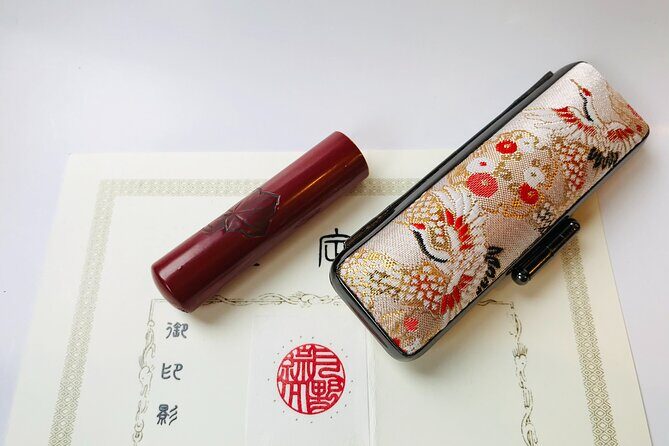
- History + practical design: you learn what hanko represents and how different styles work before you choose yours
- Katakana-focused personalization: you design a seal using katakana type and a font style suited for official seals
- Choose the look: standard choices include the seal material/color options, plus upgrades like horn or wood for extra fees
- Craftsmanship you can see: rough carving may use an engraving machine, but the final touches are done by hand
- Take it home: you get an engraved seal plus a pouch, with pickup in the afternoon or shipping if requested
Why make a hanko in Kamakura, not just buy one?
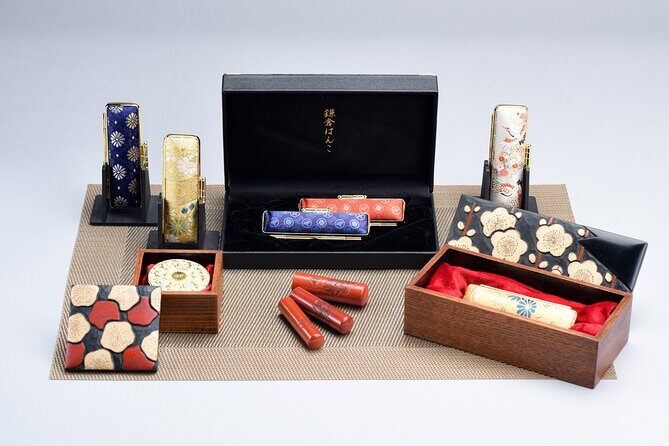
Kamakura is a great place to do this because it’s easy to reach and easy to pair with the rest of your day. But the bigger reason is the experience itself: you’re not buying a generic stamp. You’re learning the cultural weight of the seal and then creating something that’s treated like a personal identity object in Japan.
A good souvenir is nice. A useful souvenir is better. With a hanko name seal, you can stamp with your own identity mark, and you’ll probably start noticing how often people use seals once you’ve learned the basics in your session. It’s a small act, but it makes the craft feel real.
You can also read our reviews of more tours and experiences in Kamakura.

Meeting Tsukino at Kamakurahanko: location and first steps
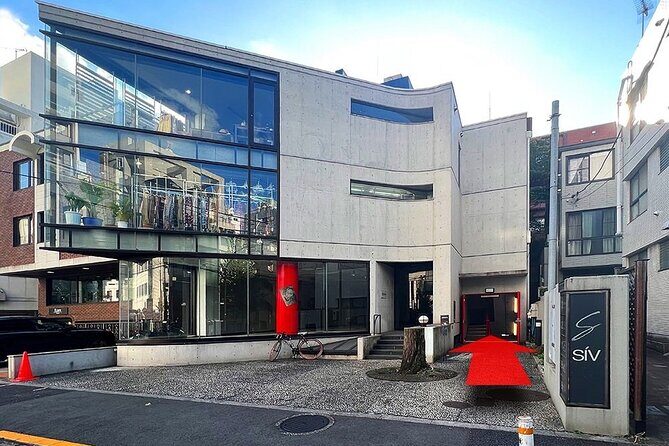
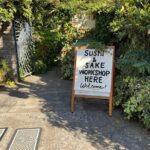
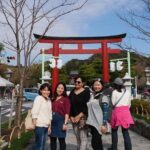
Your meeting point is the Kamakura seal shop, Souvenir shop 5-6 Onarimachi, Kamakura, Kanagawa 248-0012. It’s close to public transportation, and people have walked there from Kamakura Station in just a few minutes.
Bring the mental checklist: you’ll want to arrive punctually because the workshop needs preparation. This is a private activity, so it’s just your group (no mixing in with strangers), which is exactly what you want for something this personal.
You’ll also get a mobile ticket, and confirmation comes at booking. In other words, you should be able to show up with phone access and get started without drama.
Inside the 45-minute workshop: history, writing your name, then design
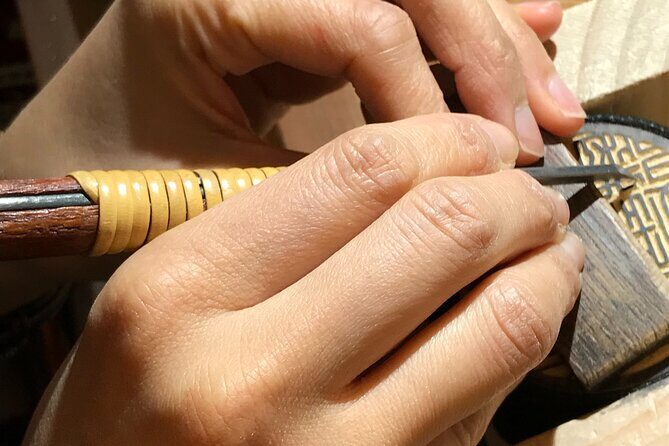
The workshop itself is about 45 minutes, and it’s built like a clean sequence: background, then your choices, then the custom plan for your finished seal.
First, you learn the history and culture of Japanese name seals. That part matters because hanko isn’t only decoration. The workshop frames hanko as a representative of your identity, and it also covers the different styles of hanko so you understand what you’re selecting later.
Next comes the practical part: figuring out how to write your name in Japanese. Your seal design uses katakana, and you’ll work with guidance to match characters that fit your name and reflect your personality. You’ll also pick a katakana type and a font style—there’s even a recommendation to use a font suitable for official seals.
Then you move to the “make it yours” choices:
- You select the type of seal (katakana) and a font.
- You pick the material/color for the seal body (standard options include acrylic color selection, while horn/wood are available as upgrades for extra fee).
- You choose a case style and color (the case is sold separately, so this is where upgrades can happen).
If you like crafts where you make decisions instead of just watching, this section is the heart of the whole thing.
Choosing materials and cases: what’s included vs what costs extra
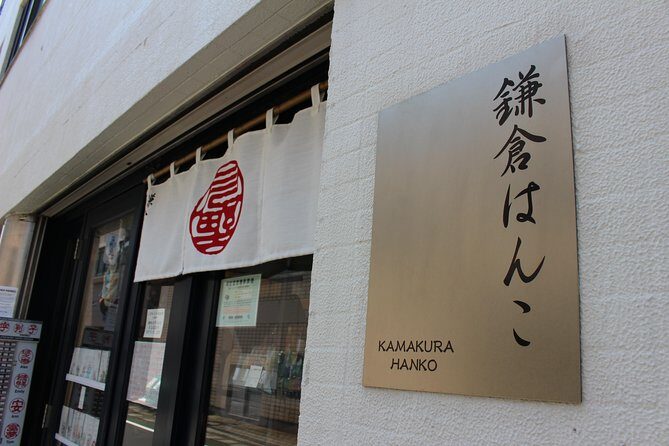
This is where it pays to go in with clear expectations. The included parts are:
- A HANKO seal (Japanese boxwood)
- Engraving fee for katakana
- An original pouch for your hanko
Not included are the add-ons that many people assume are part of the set:
- Shipping (only if you request shipping instead of picking up)
- Upgrade material fees (horn, wood, gemstone)
- Character or typeface upgrades
- The HANKO case
- Red ink
Also, the workshop text describes material selection in terms of acrylic color for the seal, with horn and wood as paid upgrades. Meanwhile, the included option explicitly lists Japanese boxwood for the seal. The practical takeaway for you: during your design step, expect to discuss which base you’re getting and whether the “upgraded” look is worth the extra cost. Don’t be shy about asking what changes with each material option.
If you want a simple, classic souvenir that still feels authentic, stick with what’s included. If you want the seal to look more dramatic, upgrades like horn, wood, or gemstone can be tempting—but they also turn this from a single purchase into a small shopping decision.
How the engraving really gets done (machine rough carve, hand finish)
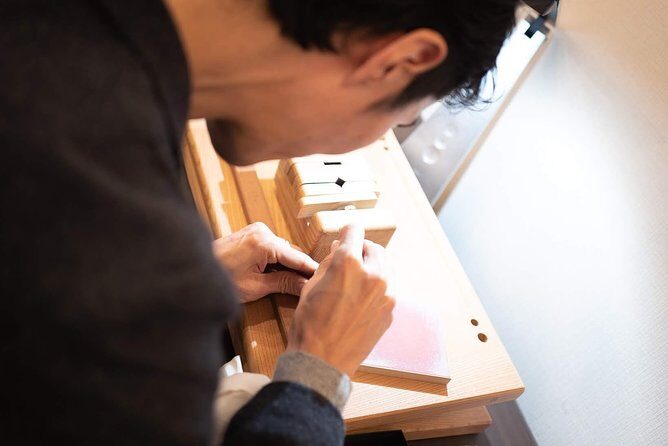
The final product doesn’t happen instantly. Your workshop ends with a plan for your custom seal, and the seal is then engraved using a process that combines tech and tradition.
Here’s the useful part: initial rough carving can be done with an engraving machine, then the final touches are finished by hand by skilled craftsmen. That mix is smart. It speeds up the bulk work while still letting hands do the finishing that makes the seal look clean and intentional.
This is also why the workshop can focus on design and choices rather than turning into a long “watch and wait” session. You’ll leave knowing you picked your style, and you’ll return later for the finished seal.
Your seal after the workshop: afternoon pickup or shipping
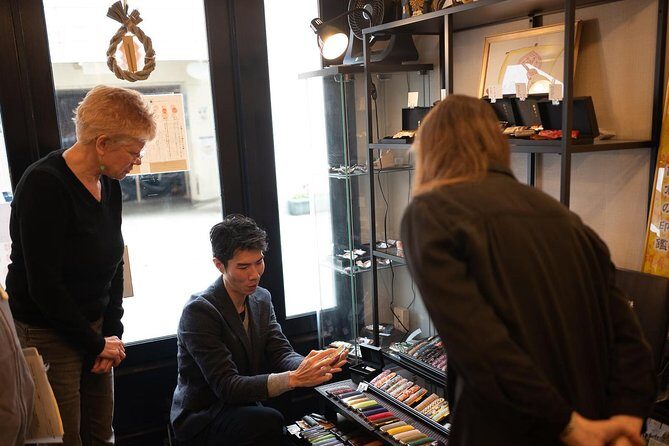
Your pick-up time is flexible in the afternoon of the same day. That’s convenient because you can build the rest of your day around pickup, instead of babysitting a tight schedule.
If you prefer not to hold onto your seal right away, shipping is available—but only if you request it instead of picking it up. Some people have reported mailing options that arrive quickly, and others have picked up their seals after a short wait. The clean advice: decide when you want to stop thinking about this, then choose pickup or shipping based on your own pacing.
Either way, you’ll receive your engraved hanko and the pouch. If you want a case for storage and presentation, remember that the case is sold separately.
The practical value of the $131.65 price tag
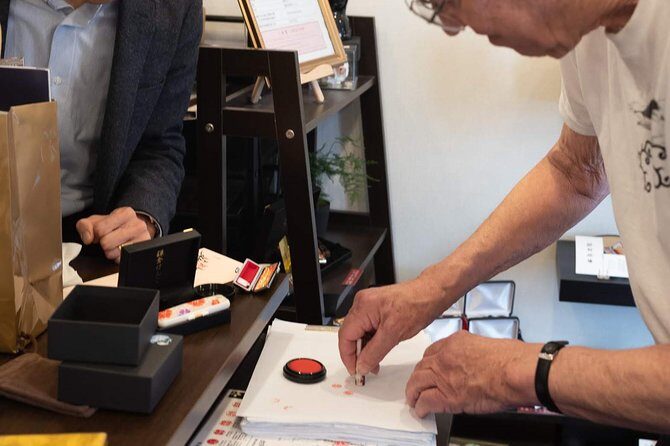
At $131.65 per person, this isn’t a cheap craft class. But it’s also not just a demo with a take-home bookmark. What you’re paying for is:
- A custom engraved seal tied to your name
- Time with a craftsman explaining history, styles, and materials
- Design help so you can choose katakana style and font correctly
- A finished souvenir you can use later (not a generic keepsake)
What keeps the value honest is the add-on structure. If you select only the included options, you’re mostly paying for the core product and instruction. If you upgrade materials, add a case, or request shipping, the final number climbs—but that’s typical for workshops where the finished object is the point.
One more value note: the workshop is a private experience. Even when the session is only around 45 minutes, having one set of attention for your group can make the learning feel smoother, especially when you’re dealing with Japanese character choices.
Who should book this, and who might skip it?
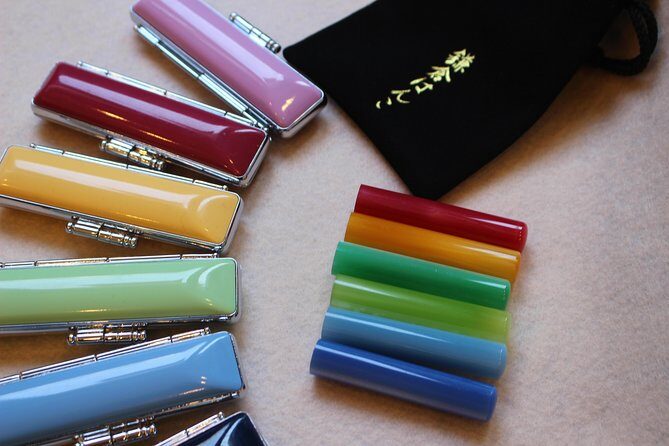
This works best for you if:
- You want a personal, cultural souvenir tied to your identity
- You like crafts where design decisions matter
- You want to learn the meaning and styles, not just make a thing
- You’re okay with a morning schedule, then pickup later in the afternoon
It might be less ideal if:
- You want a quick stop that doesn’t require planning your morning
- You’re strict about budget and don’t want any chance of add-on fees for materials, cases, or red ink
- You’re only looking for a mass-market souvenir without character choices
Language-wise, the owner has been described as communicating well in English, which helps a lot when you’re selecting fonts and characters. Still, I’d recommend writing your name clearly (and bringing a phone note with your spelling) so your design choices go smoothly.
Should you book? My decision checklist
Book it if you want a souvenir that feels like art and identity. The combination of history lessons, guided name writing in Japanese katakana, and an actual engraved hanko you can take home makes this one of those experiences that doesn’t fade after the photos.
If you’re on the fence, here’s the fast checklist:
- You can do a morning start and come back in the afternoon for pickup
- You’re okay making at least a few design choices (font, style, material options)
- You understand that a case and red ink are not included
- You’re interested in craftsmanship, not just a quick shopping stop
If those check out, you’ll likely end up happy you didn’t settle for a store-bought stamp.
FAQ
How long is the hanko workshop?
It runs about 45 minutes (approx.).
Is this a private tour or shared experience?
It’s private. Only your group participates.
What happens after the workshop ends?
Your seal is engraved after your design choices, and you pick up your finished hanko in the afternoon of the experience day. You can also request shipping instead.
Where do I meet the guide or shop?
Meet at the Kamakura seal shop Souvenir shop 5-6 Onarimachi, Kamakura, Kanagawa 248-0012, Japan.
Is the workshop available all day?
No. The event is only available in the morning, while pickup can be anytime in the afternoon.
What is included in the price?
Included are the HANKO seal (Japanese boxwood), the katakana engraving fee, and an original pouch.
What is not included?
Not included are shipping (only if requested), upgrade material fees, character/typeface upgrades, the hanko case, and red ink.
Can I choose materials and colors?
Yes. You choose your seal style and font, and you also select material/color options during the design step. Upgrades like horn, wood, and gemstone cost extra.
Do I need red ink to use the hanko?
Red ink is not included, so you may need to buy or bring ink separately if you want to stamp right away.
What’s the cancellation policy?
You can cancel for a full refund if you cancel up to 24 hours in advance of the experience start time. Less than 24 hours before start time isn’t refunded.