REVIEW · KYOTO
Kyoto: Fushimi Inari Shrine Private Photoshoot
Book on GetYourGuide →Operated by PhoenixJP合同会社 · Bookable on GetYourGuide
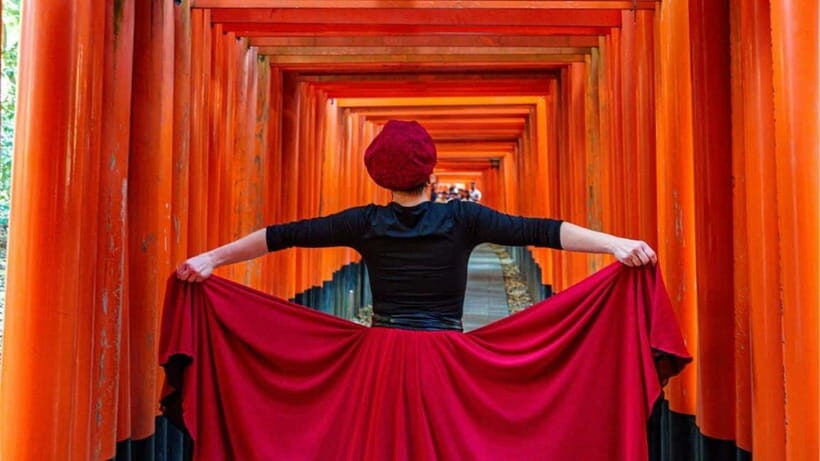
A corridor of torii turns into your personal photo studio. This private Kyoto shoot is built around Fushimi Inari Taisha and the thousands of vermillion gates, with a pro guiding your walk and angles. I love that you get both direction and speed through the most photogenic sections, and I also like the fast turnaround: 30 fully edited photos within 24 hours. The only real catch is that peak-season crowds can slow things down, so timing can be tight.
You’ll start at Senbon Torii (Portada de Mil Torii) and move through the key areas at a pace that can adjust to your preferences, from the main shrine approach to quieter torii trails. It’s private, and the photographer and guide handle the logistics so you’re not stuck juggling a camera while trying to admire the place.
You also leave with more than the edited set. Along with the edited photos, you receive the unedited standard-quality JPGs the same day, with downloads available for two weeks. If you’re hoping for raw files, that’s a paid add-on, and admission fees at ticketed sites (if any) are on you.
In This Review
- Key highlights you’ll care about
- Why Fushimi Inari’s Torii Gates Need a Photographer
- The flow of your shoot: Senbon Torii to hidden torii trails
- Stop-by-stop: what you’ll photograph and why each spot works
- Senbon Torii (Portada de Mil Torii): the signature tunnel effect
- Fushimi Inari Taisha main shrine entrance: formality and scale
- Senbon Torii branching and quieter torii trails: variety without leaving the area
- Yotsutsuji Intersection: a change in perspective
- Fox Guardian Statues: Kyoto’s charm detail
- Photo package that’s actually useful: 30 edited shots plus same-day JPGs
- Raw files cost extra
- Expect possible delays in peak season
- Pricing and value: what $109 gets you for a private Kyoto shoot
- Who this photoshoot suits best (and who should think twice)
- Language and guidance: what you can expect from Mina and Josh
- Practical stuff: what to wear and how to avoid a photo-ruining day
- Should you book this Fushimi Inari Taisha private photoshoot?
- FAQ
- How many edited photos do I receive?
- When will the edited photos be delivered?
- Do I get unedited photos too?
- Are raw files included?
- Is transportation included?
- Where do we meet for the photoshoot?
- Do I need to pay admission fees?
Key highlights you’ll care about
- Private 90 minutes to 7 hours so you can match the shoot to your energy and crowd level
- 30 fully edited, high-resolution JPGs delivered within 24 hours
- Same-day delivery of unedited JPGs, so you can share immediately
- Stops beyond the obvious gates, including Senbon Torii, main entrance areas, hidden torii trails, Yotsutsuji, and fox guardian spots
- Photographer guidance that matters: Mina and Josh were singled out for knowing the best shot locations
Why Fushimi Inari’s Torii Gates Need a Photographer
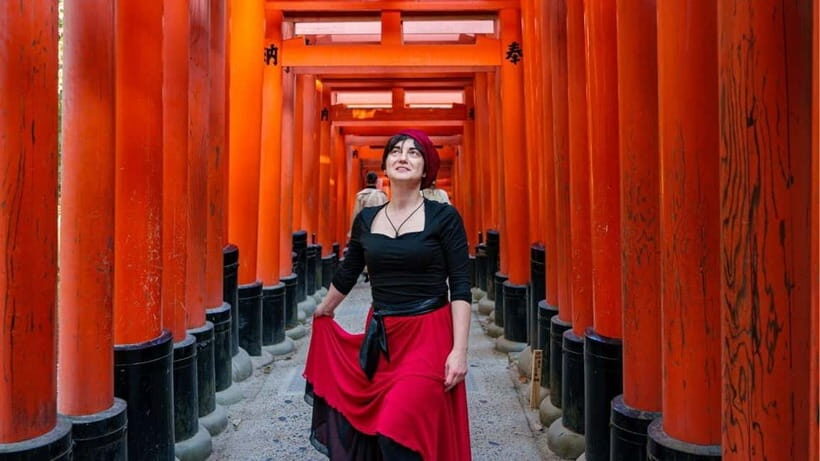
Fushimi Inari Taisha isn’t just famous. It’s busy, visual overload in the best way, and it rewards timing. You can absolutely wander it on your own with a phone, but getting photos that feel intentional takes more than pointing your camera toward the gates.
This is where the private format helps. A pro photographer knows how to frame depth down the corridor of torii, and more importantly, how to work with changing crowds. You’re not waiting around for the perfect moment while other people drift into your shot. You’re moving and shooting in a way that turns the maze of gates into a story.
Two things make it especially satisfying:
- The torii sequences give you built-in composition, so your photos look more cinematic than they would at a typical shrine stop.
- The photographer’s eye saves time, letting you hit the best angles without spending your session guessing where to stand.
One realistic consideration: even with private timing, peak season can add delays. Plan for a little flexibility, wear comfortable shoes, and think of the walk as part of the experience, not just the background.
You can also read our reviews of more private tours in Kyoto
The flow of your shoot: Senbon Torii to hidden torii trails
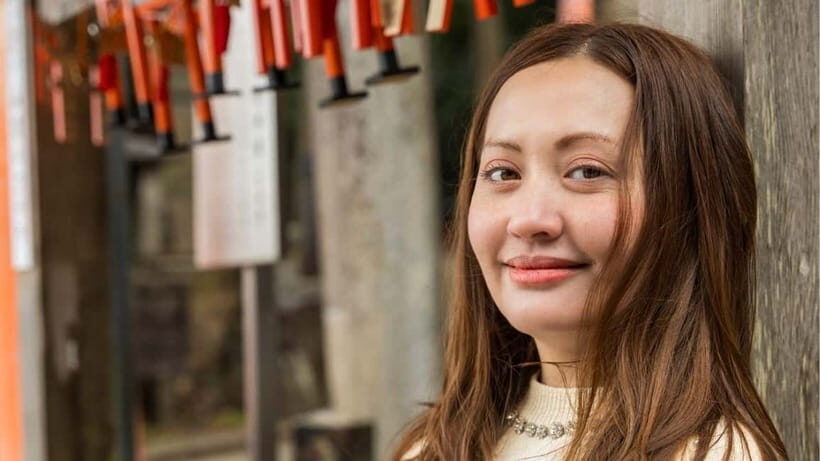
Your session is designed around a loop through the most photo-worthy parts of the Fushimi Inari area. You meet at the entrance of the sanctuary, then you begin where the gates really take over: Senbon Torii (Portada de Mil Torii).
From there, you spend time on the shrine route with several targeted stops. The goal is to hit a set of scenic points—typically within about 1.5 hours—while still having room to adjust. If you want more time on the classic gate tunnel, you can lean that way. If you want more texture and fewer people, you’ll be directed toward less obvious torii areas.
A key detail: the shoot length can run from 90 minutes up to 7 hours, depending on availability and what you’re aiming for. That flexibility matters. Short sessions work if you want a clean, iconic set fast. Longer sessions are better if you want multiple outfit looks, slower wandering, or extra time for angles that might require a pause when crowds surge.
The session includes time back around Senbon Torii (Portada de Mil Torii), so you’re not left feeling like you only saw one slice of the shrine grounds.
Stop-by-stop: what you’ll photograph and why each spot works
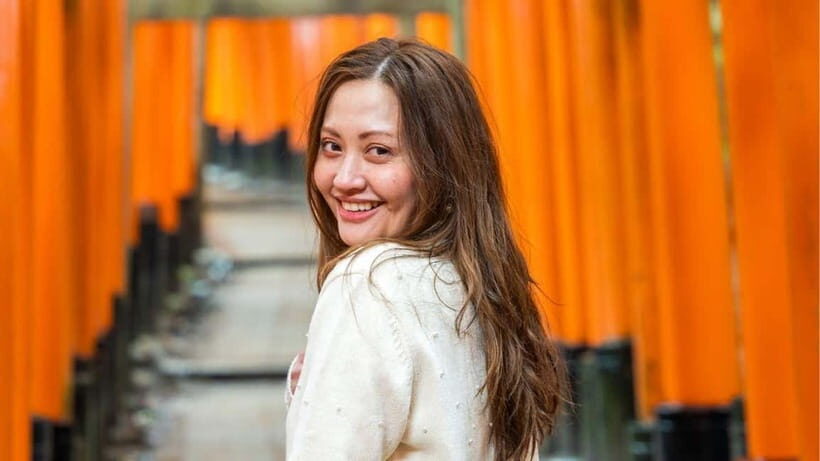
Even if you’ve seen Fushimi Inari photos online, the real value here is how your photographer turns each location into a specific shot plan. Here are the main areas you’ll work with, and what makes them worth your time.
Senbon Torii (Portada de Mil Torii): the signature tunnel effect
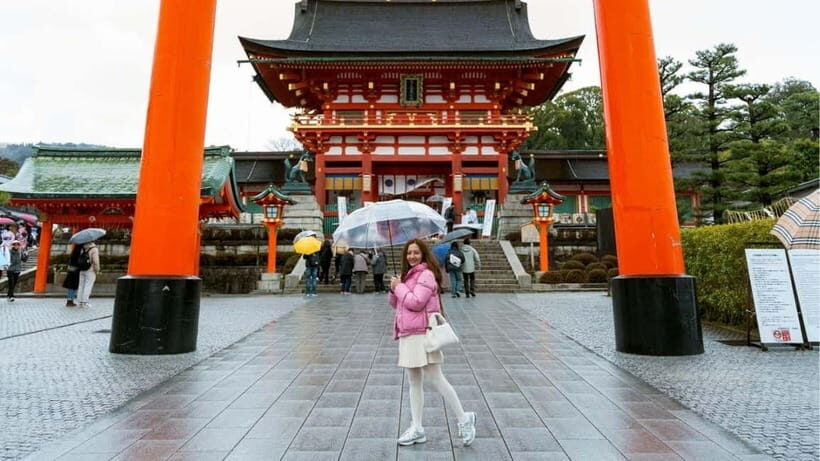
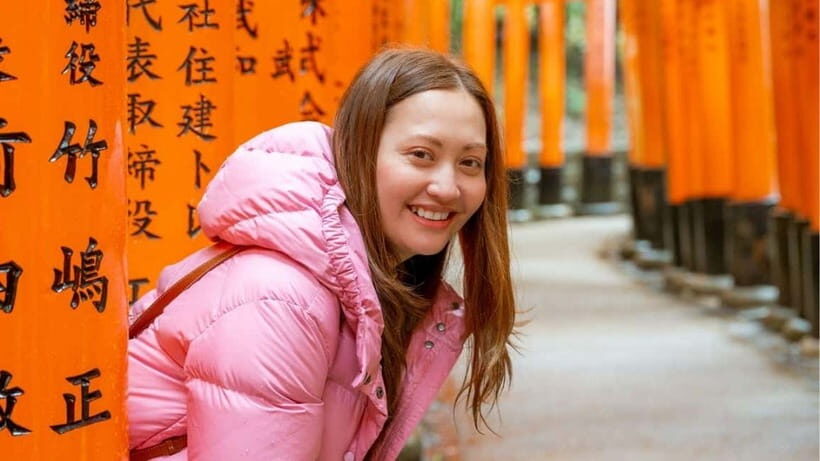
This is the headline. The thousands of vermillion torii gates create natural leading lines that pull the eye straight through the scene. With a photographer leading you, you’ll get that depth effect without constantly stepping on toes, adjusting the phone angle every five seconds, or losing your place in the flow.
Practical tip: wear something that contrasts with the red gates. Even if you think you look fine, the torii color is intense, and your outfit choice shows more on camera here than at quieter Kyoto spots.
Fushimi Inari Taisha main shrine entrance: formality and scale
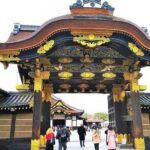
The main entrance gives you the shrine’s gravitas. It’s where symmetry and architecture help your photos feel more than just snapshots of a walkway. Expect time for a classic shrine approach shot plus variations that show your relationship to the space—standing close enough for details, then stepping back for broader context.
This stop is often where people go too fast on their own. You’ll get a more deliberate set here, which is exactly what you want from a private shoot.
You can also read our reviews of more photography tours in Kyoto

Senbon Torii branching and quieter torii trails: variety without leaving the area
One of the most useful parts of this experience is that it’s not only about walking the most obvious gate corridor. You’ll also head toward hidden torii trails, where the visuals shift from crowded tunnel to more intimate, winding passageways.
This matters because photo sets become more interesting when they don’t all look identical. The hidden trails add texture, shadows, and a different rhythm—so your edited photos feel like they belong to the same journey, not the same spot.
Yotsutsuji Intersection: a change in perspective
The Yotsutsuji Intersection gives you a chance to reposition and rethink your composition. Intersections in gate areas can create strong framing because they offer multiple lines and potential viewpoints. Your photographer can use that to produce shots that feel “designed,” not accidental.
If you’ve ever taken photos in Japan where every image looks like the same corridor, this is one place that breaks that pattern.
Fox Guardian Statues: Kyoto’s charm detail
The fox guardian statues are one of those elements that people love in person but forget to photograph properly. Here, you’ll have time to capture them as more than a background cameo—so your set feels distinctly Kyoto, not just vermillion gates.
The best shots often include a bit of context: you near the statue, or the statue aligned with the gates behind you. With guidance, you’ll get those small moments that make the final set feel thoughtful.
Photo package that’s actually useful: 30 edited shots plus same-day JPGs
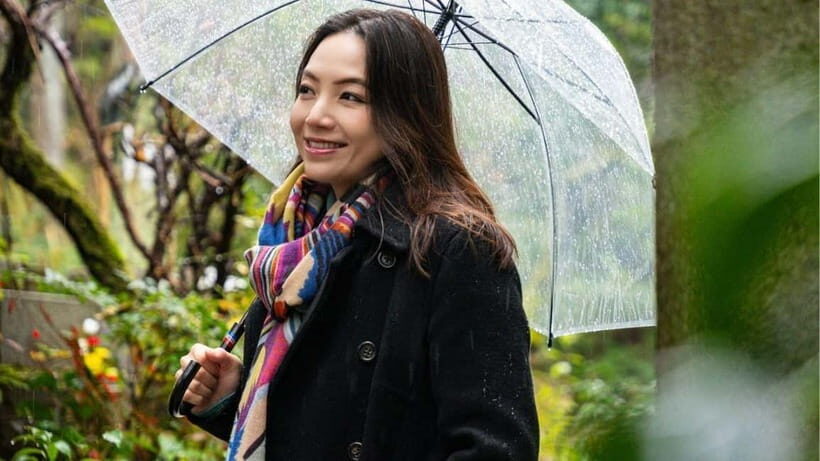
Let’s talk deliverables, because this is where value shows up.
You’ll receive:
- 30 professionally edited, high-quality JPG photographs delivered within 24 hours
- Standard-quality JPG images (about 200 per hour), provided as unedited photos for your personal use on the same day
- Download access for two weeks after the link is sent
That combo is a strong deal for two reasons. First, you get a polished “best of” set for posting and printing fast. Second, you still keep the extra frames from the shoot day, so you can choose additional favorites later without hunting for missing moments.
If you’re the type who always regrets not getting a second version, the unedited JPG bundle is your safety net.
Raw files cost extra
Raw files are not included. If you want them, there’s an extra fee mentioned as ¥10,000 per booking. That’s fair if you’re editing heavily, but most people don’t need raw to enjoy Kyoto memories.
Expect possible delays in peak season
The edited-photo promise is within 24 hours, but peak season can add delay. If your trip has a hard deadline—like a wedding slideshow the next morning—plan a little buffer.
Pricing and value: what $109 gets you for a private Kyoto shoot
The price is listed as $109 per group, up to 1. That framing matters: you’re paying for a private, guided photo session rather than sharing time with other people. For solo travelers, this can be great value because you’re not competing for attention or waiting for your turn.
Here’s the value logic I’d use when deciding:
- You’re paying for a pro to do the hardest part: choosing angles, guiding movement, and timing around crowds.
- You get 30 edited photos, plus a much larger set of unedited JPGs from the shoot hours.
- You get fast delivery, which makes the photos usable during your trip, not months later.
Your biggest “cost” isn’t money—it’s walking stamina. Fushimi Inari is a lot of steps, so the session is best if you’re comfortable moving at a steady pace.
Who this photoshoot suits best (and who should think twice)
This experience is ideal if you want photos that look like you planned the trip down to the angle. It’s also a great fit if you’re traveling solo, because getting good shrine photos without a friend holding your camera is hard.
It works especially well for:
- Solo travelers who want a full set of “I was there” images
- Couples who want more than one classic torii pose
- Anyone who appreciates guidance in crowded, high-demand spots
- People who want both edited highlights and extra frames from the shoot day
It might not be the best match if:
- You strongly dislike walking (the torii area is step-heavy)
- You only care about one or two quick photos
- Your schedule is ultra-fixed during peak crowds and you can’t tolerate small timing shifts
Language and guidance: what you can expect from Mina and Josh
The guide and photographer work in Arabic, Japanese, and English, which makes the experience smoother if you want to ask for specific looks or angles. You can also request different spots or adjust where you spend time, as long as it fits the flow of the session.
One small detail worth noting from past client feedback: the photographers Mina and Josh were praised specifically for knowing exactly where to go for strong shots. That’s a big deal at Fushimi Inari, where the “best” viewpoint changes depending on the crowd rhythm and where light hits.
If you like to be involved, you can bring ideas. If you don’t want to think at all, you’ll still get solid results because the photographer handles the planning.
Practical stuff: what to wear and how to avoid a photo-ruining day
You’ll be walking in shrine grounds where surfaces can be uneven and steps can add up fast. Bring:
- Comfortable shoes
- A hat
- Sunscreen
- Water
- A camera if you want, though the professional will handle much of the setup
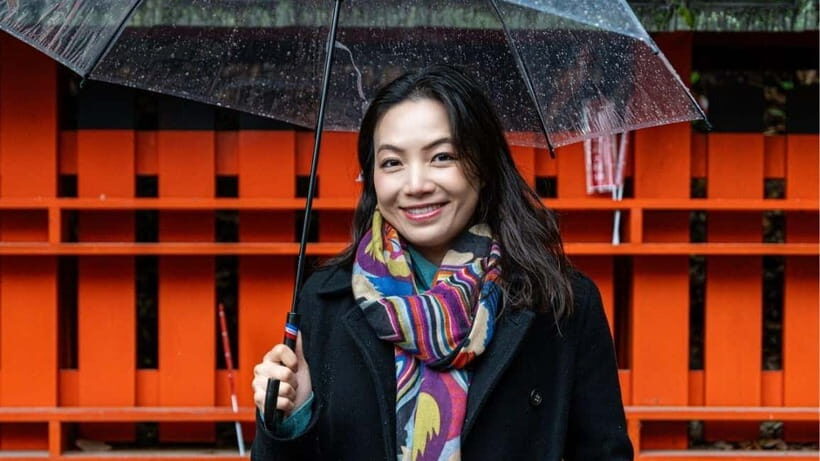
Think about your outfit like this: Fushimi Inari photos look best when your clothes don’t blend into the gates. Dark, neutral tones often work well against the red. But even bright outfits can look great if you want a stronger contrast.
Also, plan for sun and fatigue. Even in mild weather, you can get worn down from standing, walking, and waiting for the crowd flow to clear. The private format gives you control, but your feet still do the work.
Should you book this Fushimi Inari Taisha private photoshoot?
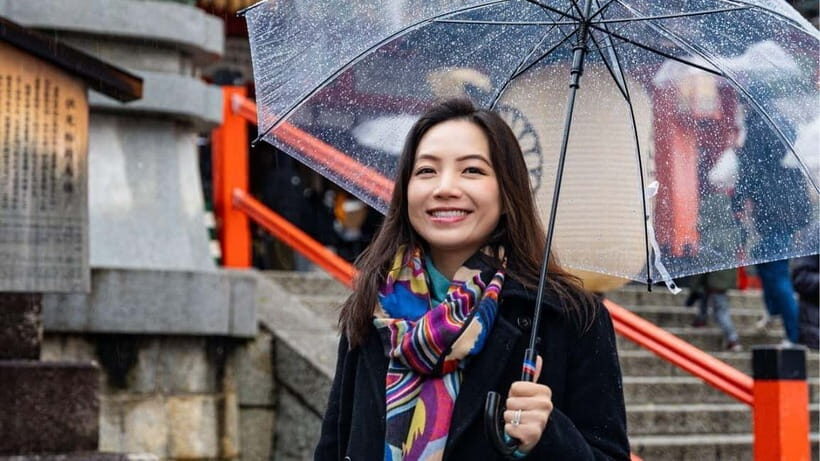
I’d book it if you want Kyoto memories that look like someone had a plan. The combination of private guidance, targeted stops (main entrance, Senbon Torii, hidden torii trails, Yotsutsuji, and fox guardian statues), and a delivery system that works fast makes this a strong choice.
Skip it if you only want a couple of snapshots and you’re comfortable taking your own photos through crowds. In that case, you’d get the same scenery without paying for direction and editing.
If you fall in the sweet spot—solo, couple, or friend group wanting high-quality photos without the stress—this is one of the more practical ways to turn a famous Kyoto walk into a real keepsake.
FAQ
How many edited photos do I receive?
You receive 30 professionally edited, high-quality JPG photos.
When will the edited photos be delivered?
Edited photos are aimed to be delivered within 24 hours, though delays can happen during busy seasons.
Do I get unedited photos too?
Yes. You receive unedited standard-quality JPG photos for personal use on the same day of the shoot.
Are raw files included?
No. Raw files are available for an extra ¥10,000 per booking.
Is transportation included?
No. Transportation is not included.
Where do we meet for the photoshoot?
The meeting point is at the entrance of the sanctuary.
Do I need to pay admission fees?
If there are paid-entry sites involved, admission fees are the client’s responsibility, including any admission fee for the photographer.