REVIEW · KYOTO
Natural Indigo Dyeing with Local Masters (Private Atelier)
Book on GetYourGuide →Operated by Chie · Bookable on GetYourGuide
Dyeing Kyoto blue beats any souvenir hunt. I love that it happens inside a real 300-year-old indigo studio, and I also love the use of sukumo fermented vats taught by the local team.
One thing to plan for: it’s a hands-on, take-the-stain-seriously workshop, so you’ll want casual clothes you don’t mind getting splashed.
You’ll get small-group help (max 6), which matters because indigo work needs close guidance. You’ll also end with indigo leaf tea plus stories and Q&A with a bilingual cultural host (including Chie and translation support from folks like Sakura). The main limitation is practical: you dye a small textile piece only, not large garments.
In This Review
- Quick hits before you go
- A real aizome workshop in Kyoto’s quiet western side
- The 15-minute welcome: history, tools, and working vats
- Dyeing workshop time: your cloth’s green-to-blue transformation
- Folding and binding: the furoshiki-style technique you can repeat
- Meeting the bilingual hosts: tea, stories, and real craft talk
- What you’ll dye: furoshiki basics and upgrade options on the day
- Studio reality: messy work tips that keep your clothes safe
- Price and value: why $95 feels fair for real dye time
- Who should book this Kyoto indigo class
- Should you book this Kyoto indigo workshop?
- FAQ
- How long is the natural indigo dyeing experience?
- What does the $95 price include?
- Can I upgrade to dye a scarf or other item?
- What items can I dye in the basic workshop?
- Is there English support during the workshop?
- Is shipping available for my dyed item?
Quick hits before you go
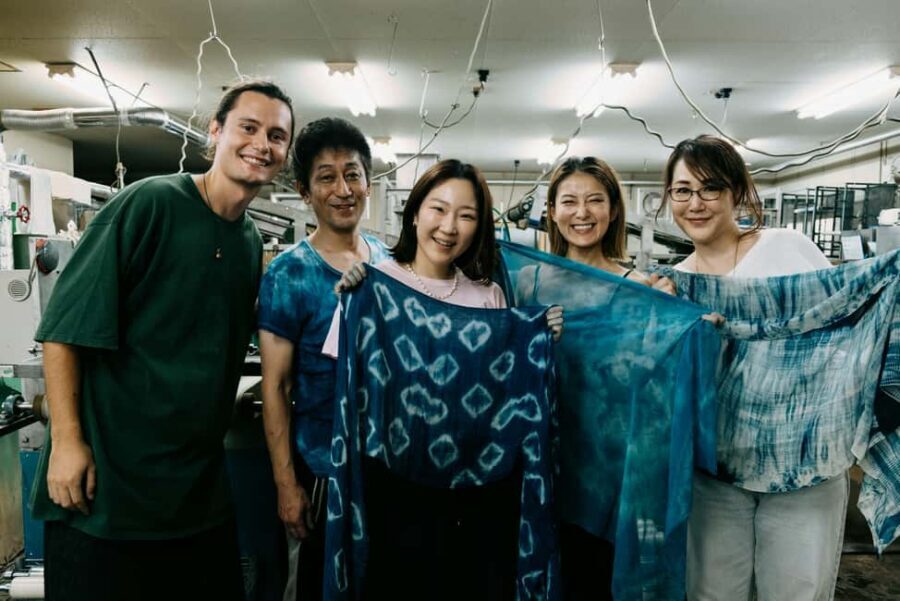
- 300-year-old working studio instead of a theme-room version of indigo
- Natural fermented indigo (sukumo) vats, with the color shift you can actually see
- Max 6 people, so you get real one-on-one folding and dipping coaching
- Bilingual cultural support in English and Japanese, with translation help noted by name (Sakura)
- A take-home piece + optional upgrades like cotton, silk, or wool scarf items on the day
A real aizome workshop in Kyoto’s quiet western side
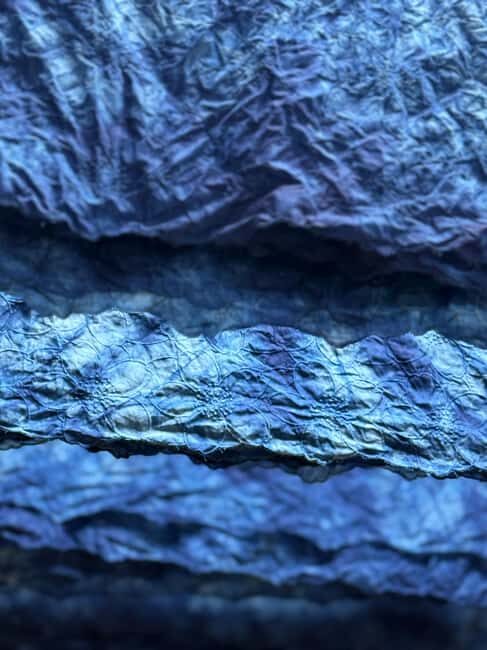
This is not the kind of craft class where you press buttons and get a postcard. The setting is an actual indigo dye studio that’s been operating for generations, tucked into Kyoto’s western district. That matters because the mood changes when you’re standing in a working space, not a display room.
The focus is aizome, natural indigo dyeing using fermented vats (sukumo). Indigo is famous for its “magic blue” reputation, but the point here is the patience behind it—how the process works, why it’s done this way, and how artisans aim for consistent results. You’re not just learning steps. You’re learning the logic of the craft.
You’ll also notice the tone of the place: calm, detailed, and built around the studio family that keeps the work going. From the staff names that come up during the experience—Chie as the cultural host, and translation support from Sakura in particular—you can tell it’s set up for visitors who want to understand what they’re seeing, not just mimic it.
You can also read our reviews of more private tours in Kyoto

The 15-minute welcome: history, tools, and working vats
Right away, you get a short studio tour (about 15 minutes). This is where the experience starts making sense. Indigo in Japan isn’t treated as a one-off color; it’s part of daily life, tradition, and craft identity. You’ll hear how indigo has been used over time and how fermented vats fit into that story.
Then you get to walk the tools and the studio atmosphere. The highlight for many people is seeing the sheer scale of indigo dyeing setups—huge vats used for dyeing kimono fabrics, not just small samples. Even if you only plan to dye one small item, you’ll come away with a clearer view of how industrial this craft can be, and why timing and consistency matter.
Practical note: you’re in a traditional studio space with wooden floorboards. Expect a real workshop environment with the kind of care that comes from working near liquids, dyes, and cotton textiles.
Dyeing workshop time: your cloth’s green-to-blue transformation
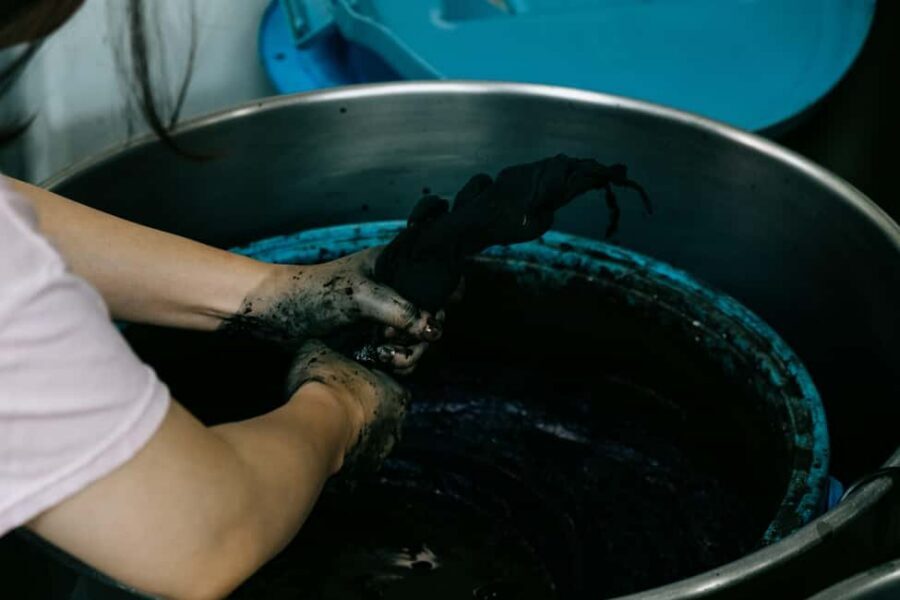
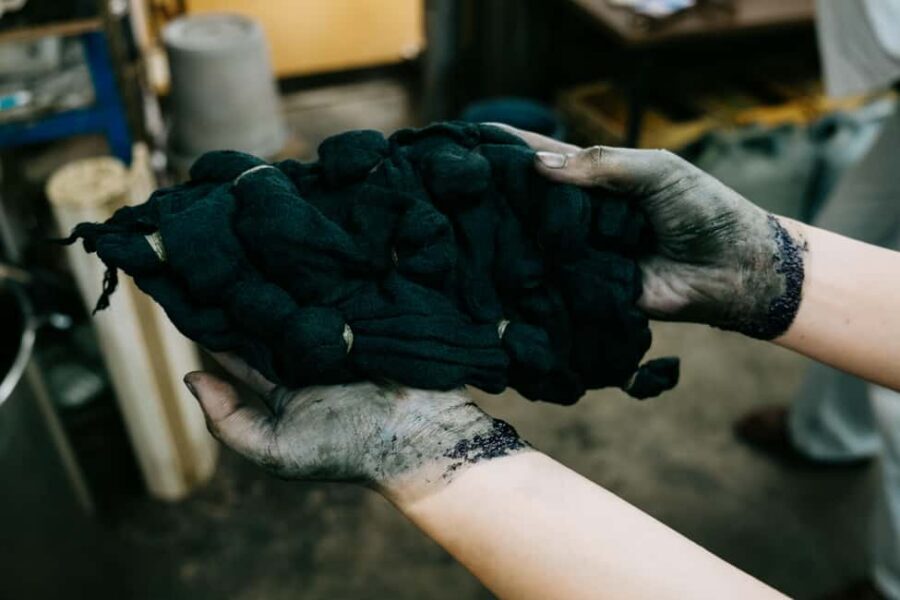
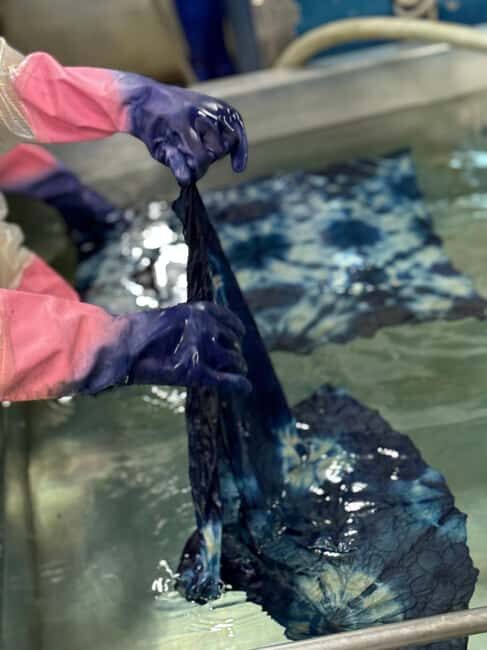
Your hands-on session runs about 60 minutes, and that’s where the fun really starts. You’ll dye one selected cotton textile piece using the natural fermented indigo vats. The step-by-step coaching is the key. You’ll fold or bind your cloth in the way the studio demonstrates, then dip it into the vat with guidance on how to handle the piece.
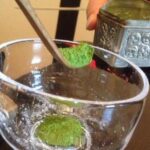
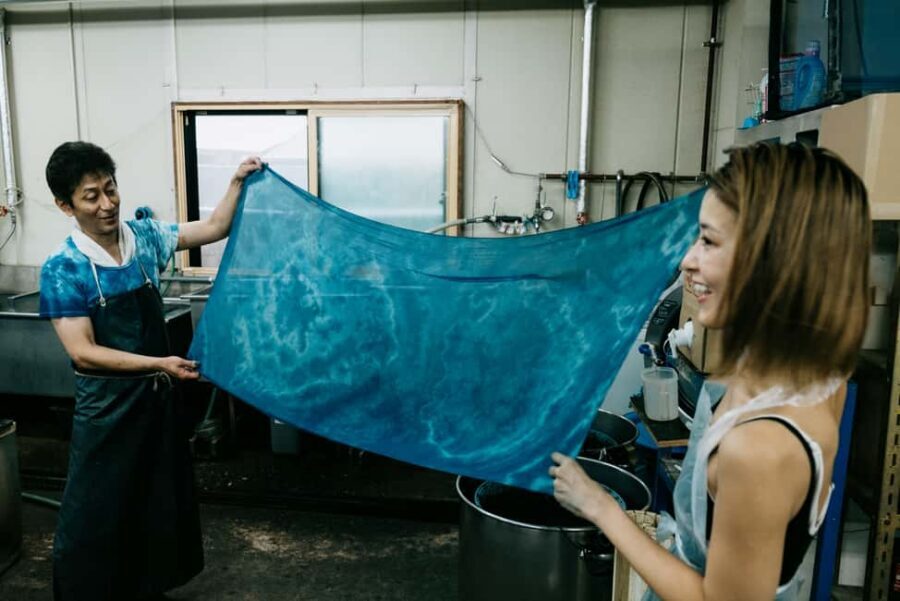
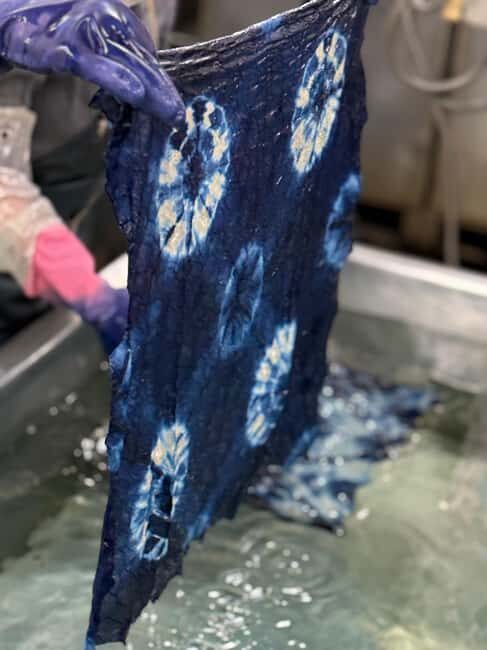
The part people remember most is the color shift. Before oxidation, indigo can look greener. After, it turns into the deeper blue you associate with classic Japanese indigo. Watching that change happens right in front of you, not after you leave, not in a video. It’s a small moment, but it’s the core payoff of natural indigo.
Since the workshop is limited to a small group, the staff can correct tiny technique issues quickly—where your folds sit, how the binding is placed, and how you move during dipping. It’s also why translation support matters. You’re more likely to get the “why” of each step, not just the “do this now” version.
Folding and binding: the furoshiki-style technique you can repeat
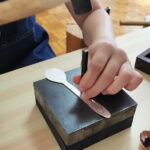
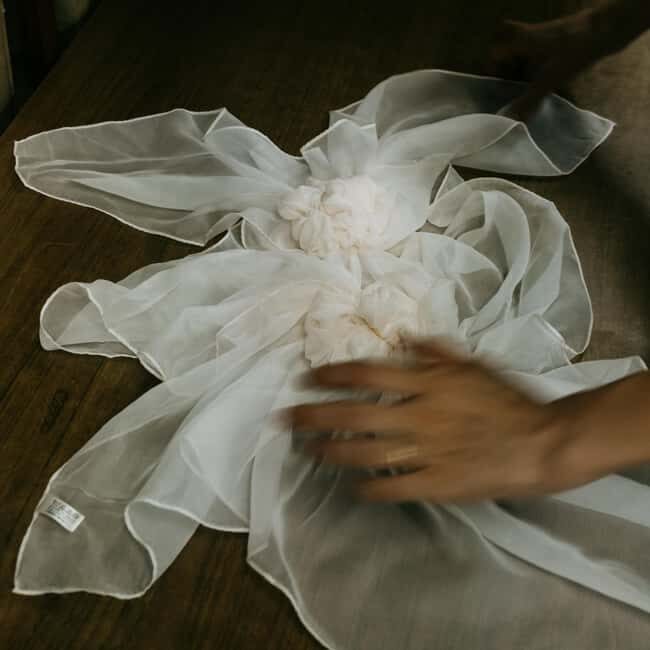
Even if you’ve never done any kind of dyeing before, the studio gives you structure. The workshop includes a folding demonstration of traditional furoshiki wrapping techniques, and that’s part of what makes the results look intentional rather than random.
This is where you’ll learn that indigo patterns come from resistance—areas covered or folded stay lighter, while exposed areas deepen. The binding method shapes the design. So your job isn’t artistic drawing. It’s controlled folding and careful handling.
Wear a mindset of patience here. The dyeing process rewards slow, deliberate moves. When you rush, your folds shift or the piece sits unevenly. When you follow the guidance, you get a cleaner, more satisfying result—and something you’ll actually want to keep.
And yes, you’ll be able to take photos of your finished creation. That’s not a gimmick. Seeing the final pattern in good light is the best way to understand what your folding decisions really did.
Meeting the bilingual hosts: tea, stories, and real craft talk
After the dyeing, there’s time to slow down. You’ll have indigo leaf tea as a closing reflection (about 15–20 minutes). The tea works as a reset button—your hands are done, the studio quiets down, and you can finally ask the questions that pop up once you see your own piece turn out.
This is also where cultural context becomes more than background. The bilingual cultural host role (including Chie) helps connect what you just did with why indigo has such symbolic weight in Japan. The staff also talk through what it takes to maintain fermented vats and keep results consistent—exactly the kind of detail you can’t get from mass-made indigo “souvenir” products.
In the translation support stories, Sakura gets specifically mentioned for clear interpretation. That matters for you because indigo dyeing has little technical terms and process steps. When translation is solid, you walk away with something useful, not vague impressions.


What you’ll dye: furoshiki basics and upgrade options on the day
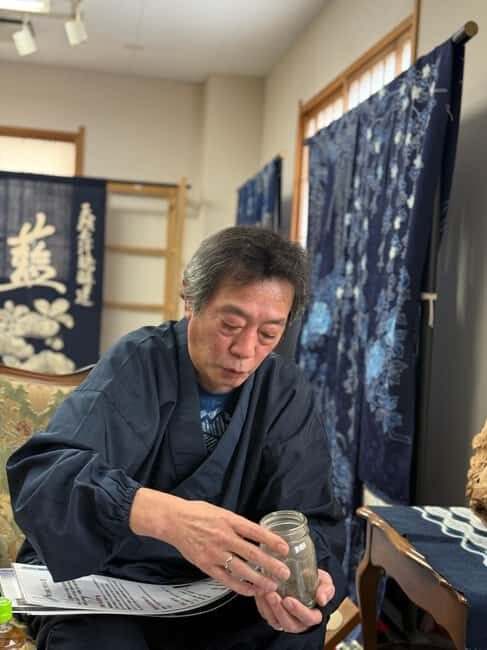
The basic workshop fee includes dyeing a small cotton textile piece. The materials list notes a cotton furoshiki cloth of about 45–50 cm, and the workshop description also says you can choose an included item such as a large handkerchief with cherry-blossom embroidery or a traditional tenugui. On the day, you’ll select your piece with staff guidance.
Want something more wearable? You can upgrade by paying additional fees onsite. Options listed include:
- Cotton scarf (lightweight and soft)
- Silk scarf (luxurious texture and deep tones)
- Wool stole (made from Mongolia’s finest quality wool)
One limitation to keep in mind: this experience is designed around a single small textile piece. It’s not built for large fabric or full garments. If you’re hoping to dye a big item, you’ll need another kind of class or a custom arrangement.
Still, for most people, this is a good tradeoff. Natural indigo is time-sensitive, and the studio keeps the workshop focused so each person can get real hands-on technique.
Studio reality: messy work tips that keep your clothes safe
Indigo dyeing is not for your best outfit. Even though you’ll be outfitted with protection, dye work is dye work.
You should expect the studio provides items like an apron, plus protective gear that helps prevent staining (reviews mention gloves and shoe covers). That said, you’ll still want to wear clothes you’re comfortable ruining. If you’re planning to also walk Kyoto afterward, wear something you can move through the city in without stress.
Also plan around the studio environment. It’s a traditional space with wooden floorboards, and wheelchair access is not available. Restroom access is available onsite, which helps with the practical flow.
If you’re sensitive about odors or mess, it helps to think of this class like a hands-on craft lab. Once you reframe it that way, the process feels straightforward instead of intimidating.
Price and value: why $95 feels fair for real dye time
At $95 per person for about two hours, this workshop isn’t cheap—but it also isn’t priced like a quick “DIY for tourists” stop. You’re paying for access to:
- A working, historical studio (not a reproduction set)
- Real natural fermented indigo vats (sukumo)
- Tools and materials for your dyeable item
- A small-group format (max 6), which drives real instruction time
- English-language support through a bilingual cultural host, with translation help noted by name (Sakura)
- Your take-home textile plus a small souvenir
A big part of the value is the pace. You get time for a studio tour, instruction, your hands-on dyeing, and a tea closing reflection. You’re not just getting one step. You’re getting context, process, and outcome.
The other value piece is the option to upgrade onsite. If you want a scarf or stole instead of a smaller piece, you can make that call after you’ve seen how the dye results look in the studio. Reviews suggest people often upgrade because the final product feels more special once they’ve watched the indigo process.
What you should budget for beyond the base price: upgrades if you choose them, and extra purchases if you want finished items from the shop/gallery. Shipping isn’t included; it’s available on request at extra cost if you need it.
Who should book this Kyoto indigo class
Book this if you care about craft done the slow way. If you like textiles, natural dyes, fermentation, or “how things are made,” this is a strong fit. Kids ages 8+ can participate, and the tone seems friendly for both families and adults.
You’ll also like it if you want a Kyoto experience that goes beyond temples and streets. The workshop offers a tangible connection to one of Japan’s oldest dye traditions. You get to see and touch the process, then take home something you made yourself.
You might skip it if:
- You want to dye something large or full-sized (this class is built around a small item)
- You want a fully accessible venue with wheelchair access (wheelchair access is not available)
- You’re not willing to wear clothes that can get dirty, even with protective gear
Should you book this Kyoto indigo workshop?
If you’re the kind of traveler who loves learning by doing, I think you’ll enjoy this one. The biggest reason to book is simple: you’re working in a real indigo studio with genuine fermented vats and close instruction in a small group. That combination makes the experience feel serious in the best way.
If you’re on the fence, use this quick checklist: Are you okay with dye work that can get messy? Do you want to dye one small cotton piece you’ll actually keep? Are you curious about the story behind natural indigo? If yes, book it.
FAQ
How long is the natural indigo dyeing experience?
The workshop lasts about 2 hours, including a studio tour (about 15 minutes), the dyeing session (about 60 minutes), and tea plus closing reflection (about 15–20 minutes).
What does the $95 price include?
The basic fee includes tools and materials, one dyeable cotton item (about a 45–50 cm cotton furoshiki cloth is noted), use of natural fermented indigo vats (sukumo), indigo leaf tea, a bilingual cultural host, and protective items like an apron during dyeing, plus a small takeaway souvenir.
Can I upgrade to dye a scarf or other item?
Yes. On the day, you can upgrade for additional fees to items such as a cotton scarf, silk scarf, or a wool stole.
What items can I dye in the basic workshop?
The workshop includes dyeing a provided cotton piece, and the experience description also mentions options like a large handkerchief with cherry-blossom embroidery or a traditional tenugui as included choices in the basic fee.
Is there English support during the workshop?
Yes. The workshop is guided with English support (alongside Japanese), and translation help is provided by the bilingual host and staff.
Is shipping available for my dyed item?
Shipping is not included, but a shipping service is available only upon request at an extra cost.
If you’d like, tell me what item you’re leaning toward (tenugui, handkerchief, or a scarf upgrade) and when you’re visiting Kyoto, and I’ll help you plan how to fit this into a day with less stress.