REVIEW · TOKYO
Tokyo: Private Manga Drawing Class with Professional Artist
Book on GetYourGuide →Operated by Shingo Travel., LLC · Bookable on GetYourGuide
Tokyo manga ink lesson with a pro artist turns your ideas into real pages. I love the small-group coaching (max six) and the hands-on screentone dot/line sheets work that brings depth fast. One heads-up: you’ll be using your hands for the full 150 minutes, so plan on comfy clothes and a little patience with wrist fatigue.
In this Honshu studio setup, you meet the instructor just outside Shindaita Station and learn side-by-side with Yumiko sensei, a published artist whose work appears in national magazines. English runs the class, with Japanese support available, and you can pick a difficulty level that matches how bold you feel that day.
In This Review
- Key things you’ll notice right away
- Meeting Yumiko sensei: Shindaita Station to a real manga studio
- The pro tool lesson: pens, ink, paper, and why your lines feel better
- Classic screentone the practical way: cut, apply, and make it look like manga
- Choose your difficulty: inking practice, character outline, or full character design
- The 150-minute flow: learn, practice, get corrected, finish strong
- What you take home: originals, practice pages, and a mini guide for buying tools in Tokyo
- Price and value: what $141 actually buys you in Tokyo
- Who should book this manga drawing class?
- Quick booking checklist (so day-of goes smoothly)
- Should you book it?
- FAQ
- What is the duration of the Tokyo manga drawing class?
- How much does it cost?
- Do I need prior drawing experience?
- What ages can participate?
- Is the class taught in English?
- What group size is it?
- What manga tools and materials are included?
- Can I choose what style or character to draw?
- Where do I meet for the class?
- Is the studio wheelchair accessible?
Key things you’ll notice right away
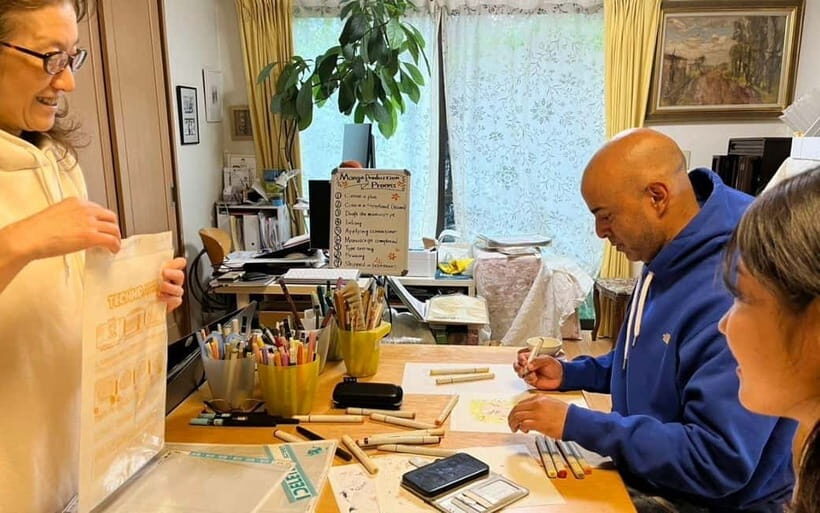
- Meet Yumiko sensei at Shindaita Station and step straight into a manga-studio workflow (not a classroom).
- Real pro tools, including classic G-pens, maru-pens, and brush pens, plus guidance on paper choices like Kent paper vs copy paper.
- Classic screentone methods, including cutting and applying dot/line sheets for texture and shading.
- Three difficulty tiers with printed guideline sheets, plus optional chibi/action pose/expression practice.
- Line-weight and control coaching (including rotating the page instead of fighting your wrist).
- Take-home originals and a mini handbook so your practice doesn’t end when you leave Tokyo.
Meeting Yumiko sensei: Shindaita Station to a real manga studio
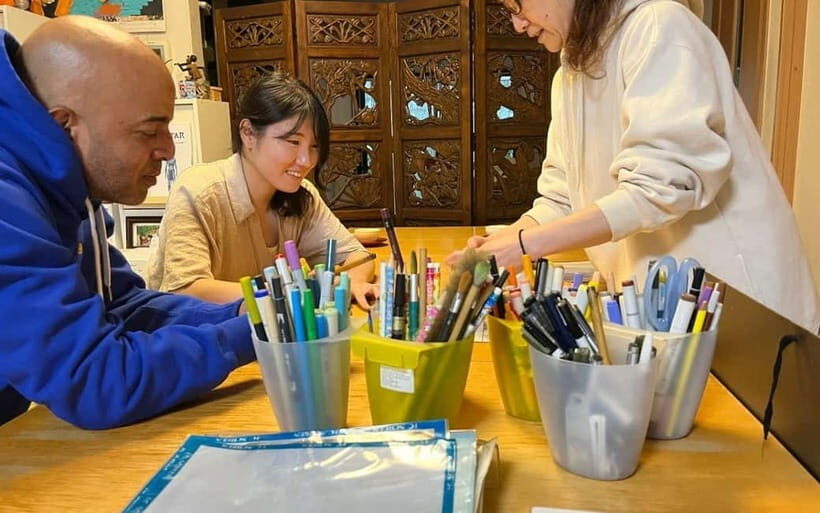
This starts in a very Tokyo way: you show up at a transit landmark, then walk a short distance into the work. Your meeting point is just outside the ticket gates of Shindaita Station on the Keio Inokashira Line. The station has a single exit, so navigation is refreshingly simple.
Once you’re in the studio, the vibe is practical. You’re not watching a demonstration from across the room. You’re setting up your tools, asking questions, and getting corrected early—before bad habits calcify. The group cap is six, which matters more than it sounds. With that size, the instructor can actually circle and notice what your hand is doing, how you’re holding the pen, and where your lines are gaining wobble.
This is also a good class if you’re traveling with someone who likes different styles of art. You can name the genres or characters you enjoy (shōnen, shōjo, seinen, etc.), and the lesson can steer toward what you care about. That personalization is part of the value here: you’re not just learning techniques in the abstract.
You can also read our reviews of more private tours in Tokyo



The pro tool lesson: pens, ink, paper, and why your lines feel better
You’ll spend real time learning how manga tools behave, not just what they’re called. The class includes hands-on use of classic G-pens, maru-pens, and brush pens. That matters because each one pushes you toward a different kind of line—thicker-tapered edges, smooth curves, or expressive variation.
One of the smartest parts is how they treat paper like it’s a tool, too. You’ll compare Kent paper versus less expensive copy paper, and you’ll learn why things like paper tooth and weight change your results. If you’ve ever drawn on whatever was available and wondered why the ink bled or the line looked fuzzy, this is where the mystery gets solved.
They also talk about workflow options you’ll see in modern manga creation. You might touch on the use of dip ink, alcohol markers, screentones, and even how digital tablets can fit alongside traditional steps. You’re not forced to go all-in on one method. The goal is to understand the pipeline—what goes first, what matters for clean edges, and what saves you time later.
You’ll also get instruction on common “manga pain points,” like:
- Smudging
- Line control
- Hand strain
- Perspective
That list is short, but it’s exactly the stuff that can make a drawing stall. You’ll get strategies to keep going, even when a line doesn’t land perfectly the first try.
Classic screentone the practical way: cut, apply, and make it look like manga
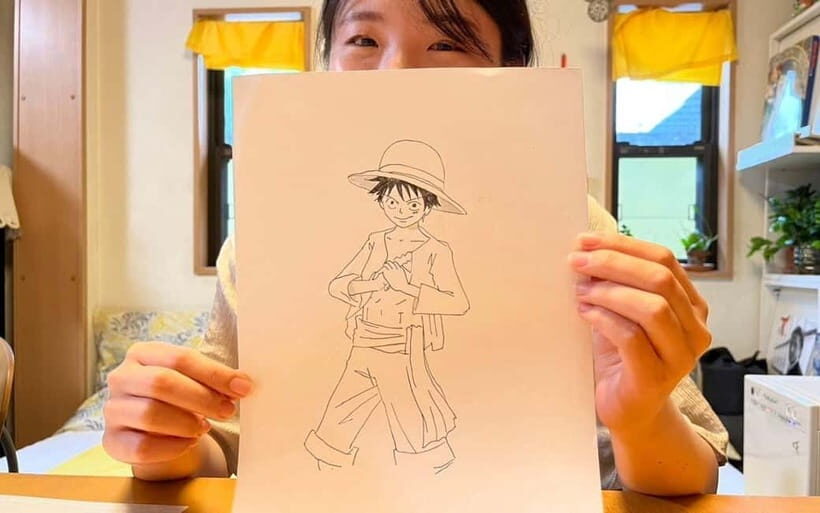
If you only remember one part of this class, make it screentone. The lesson uses classic dot/line sheets, and you learn how to cut and apply them for texture and depth. This is the difference between a drawing that looks like an outline and one that looks like it belongs on a manga page.
You’ll learn how to pick the halftone elements for shadows, backgrounds, or special effects like sparkle. Then you’ll work the physical steps: trimming edges and making the tone transitions look intentional, not pasted-on.
The class also teaches tools that are easy to overlook. You’ll use an art knife and a burnishing spoon for cleaner edge blending. If you’ve ever seen screentone that looks slightly lifted or misaligned, you already know why this matters. Those little edge habits are the difference between amateur and pro.
They also cover highlights and corrections so you can finish confidently. You’ll work with white-ink pens for shine, and correction fluid for mistakes. That last part matters for your stress level. You’re not expected to be perfect—you’re expected to finish well.
And yes, you’ll get feedback while you’re working, not after. That’s how your screentone placement improves quickly—based on direct marks to your page.
Choose your difficulty: inking practice, character outline, or full character design
The class is designed so beginners and more experienced artists can both feel productive. You pick from three difficulty levels, each with printed guideline sheets. The options can include:
- Inking practice
- Character outline
- Full character design
If you want a character that’s fun and manageable, you can ask for chibi style or use an action pose or expression sheet—great for kids and for adults who want quick results.
The key is that you’re not just copying a template. You’re building a character with structure. You’ll use basic shapes to lock in anatomy and proportions, including the heads-to-body ratio and overall balance. Then you’ll refine with line decisions: where to thicken for volume, where to taper for a cleaner silhouette.
You’ll also learn two specific skills that show up constantly in manga:
- Feathering for hair shine and soft transitions
- Speed lines for motion and energy
And here’s a small but powerful technique: instead of forcing your wrist to do impossible curves, you’ll learn to rotate the page. That one change can make your lines feel steadier almost immediately.
During the process, the instructor circles and corrects things like posture, hand angle, and your line path. If something needs adjustment, you’ll see it on your own page—so you can copy the fix, not just hear about it.
The 150-minute flow: learn, practice, get corrected, finish strong
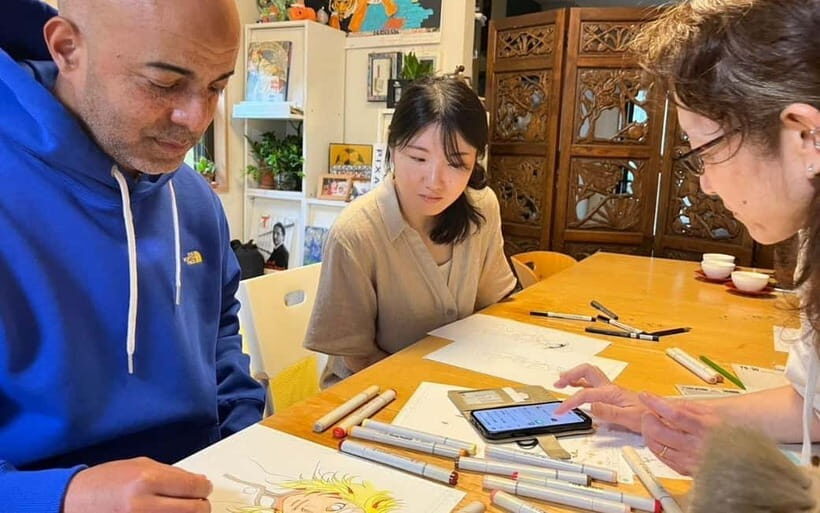
A lesson like this lives or dies by pacing. You get 150 minutes, and the structure is built to get you from blank page to completed artwork without turning it into a lecture.
Early on, you typically move through setup and tool orientation: what kind of pen to use, how ink behaves, and how paper affects line quality. Then you practice the fundamentals that support everything else—line weight, shape construction, and controlled inking.
After that, you pivot to the parts that look like manga: character decisions, screentone placement, and finishing touches. That’s also where you’ll apply highlights and corrections. By the end, you’re not just doing exercises—you’re producing finished work.
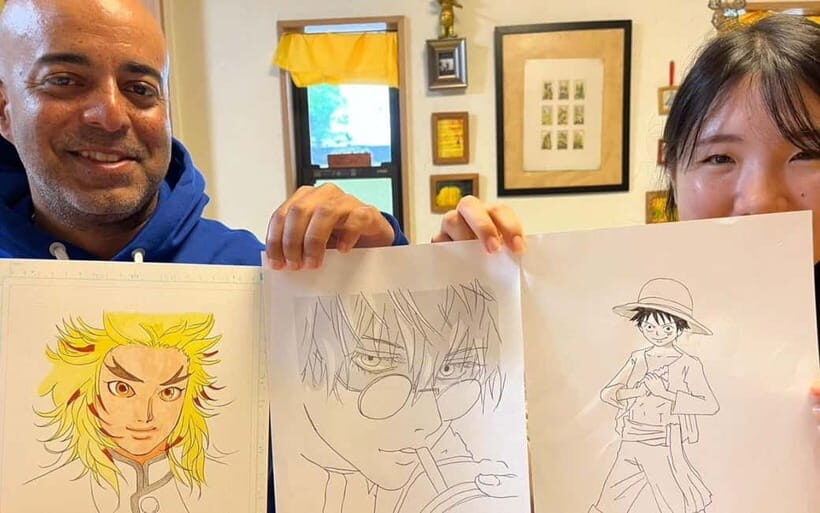
One of the standout elements is that you receive personalized feedback and a one-on-one critique. The instructor marks areas to improve and signs your finished piece. You’re also able to ask questions about continuing your training, and even about breaking into the manga industry through portfolio and publishing tips.
There’s also a fun social element you shouldn’t ignore: you can take photos with your instructor and your finished drawing. That’s handy if you’re building a keepsake or want an easy reference for what you did right.
A few more Tokyo tours and experiences worth a look




What you take home: originals, practice pages, and a mini guide for buying tools in Tokyo
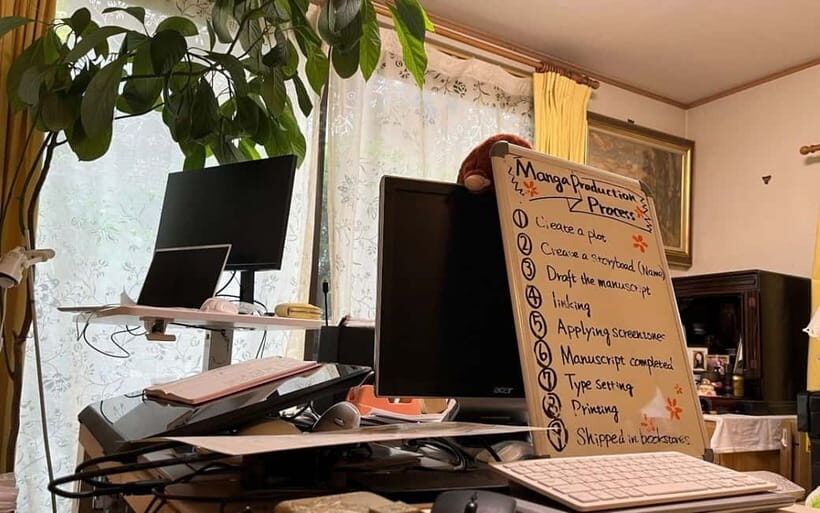
The best classes don’t stop when you wipe the ink off your hands. This one gives you a take-home pack so you can keep practicing after you leave the studio.
Included take-home items feature:
- Your original artwork
- A Portrait drawn by the manga artist
- Practice sheets from the session
- A mini handbook listing today’s tools and where to buy them in Tokyo
That mini handbook is quietly valuable. Tool hunting in Tokyo can be confusing if you don’t know what you’re looking for. Having a direct list helps you buy the right pens and screentone supplies instead of guessing.
If you’re worried about repeating the process at home, don’t be. The session is built around foundational techniques you can practice with the same tools. Even if you don’t replicate the exact same paper, you’ll understand why changes in tooth and weight affect your line.
And you’ll probably want to keep going with the genre you chose at the start. The class invites you to pick favorites, so your practice pieces feel like you, not like homework.
Price and value: what $141 actually buys you in Tokyo
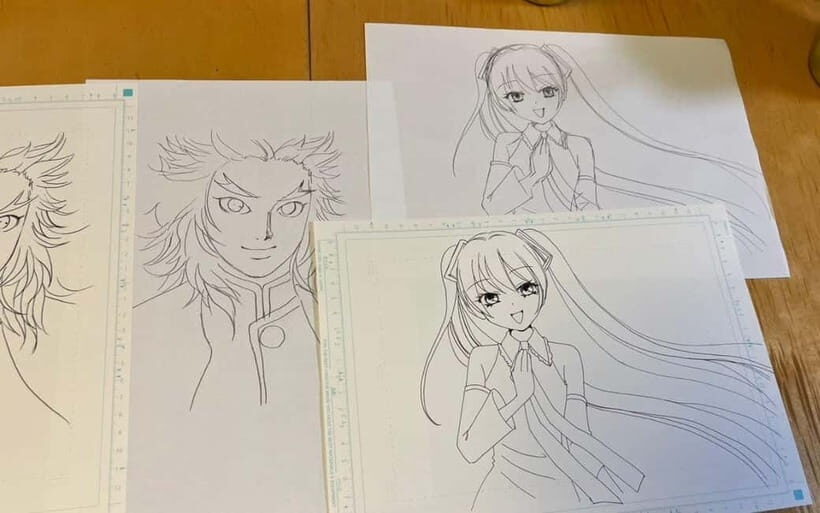
At $141 per person, this is not a cheap souvenir workshop. But it also isn’t overpriced when you look at what’s included.
You’re paying for:
- A professional, published artist instructor (Yumiko sensei)
- Pro-grade tools and materials used during the class
- Personalized critique in a group capped at six
- Screentone training, including cutting, burnishing, and finishing
- Take-home originals plus practice sheets
- A mini handbook with tool buying guidance in Tokyo
- English instruction, plus Japanese support available
In other words, you’re not paying for a generic activity where everyone leaves with the same worksheet. You’re paying for guided technical improvement and a finished piece you can keep.
The value gets even better if you’re the kind of person who will practice after you return home. If you’re the type who buys tools and never uses them, you’ll still have fun—but you might not feel the full payoff.
Who should book this manga drawing class?
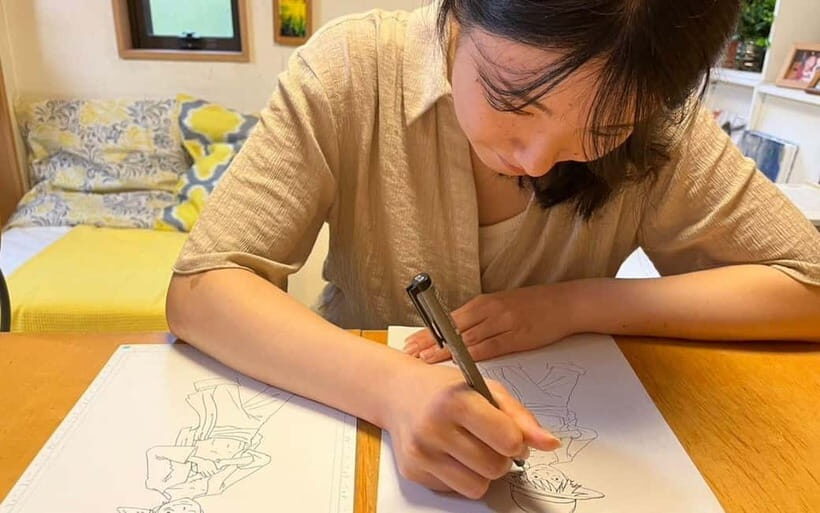
This fits best if you:
- Want hands-on instruction with real manga tools, not just tips
- Like the idea of learning screentone properly
- Enjoy manga enough that choosing shōnen/shōjo/seinen themes feels motivating
- Prefer small-group attention over a big tour crowd
- Want a structured way to improve line control, anatomy basics, and shading
It’s also a strong option for families with older kids. Children 6 and up can participate, and the session has English with Japanese support. It’s noted as wheelchair accessible, which is always worth checking in advance for comfort.
And if you already have a basic manga foundation, you’ll likely appreciate how this class can help you specialize. You can focus on the characters you want to draw and get guidance on the pro workflow steps that make your work look finished.
Quick booking checklist (so day-of goes smoothly)
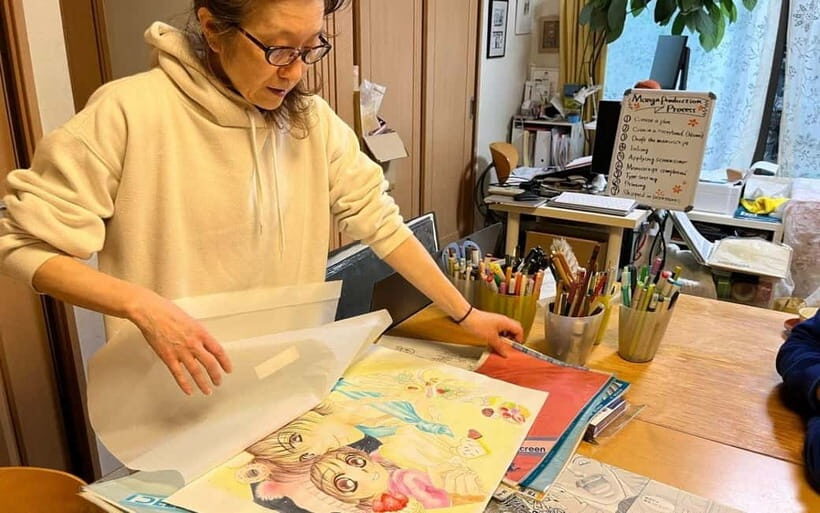
Wear something comfy. Your hand will work. You’ll be holding pens, cutting screentones, and shading for 150 minutes.
Bring:
- A camera (you’ll want photos of your finished work)
- Comfortable clothes
Transportation isn’t included, so plan your route to Shindaita Station and arrive a little early. Once you’re at the station, it’s a straightforward start since the exit is simple.
Should you book it?
Book it if you want a Tokyo experience that’s creative, structured, and genuinely technical. This class gives you the stuff that changes your drawings quickly: line-weight decisions, paper choice, screentone placement, and real feedback as you work. You’ll leave with finished artwork and a clear path to practice again later.
Skip it only if you’re looking for something purely casual with zero focus on tools or you’re not comfortable doing hands-on work for 150 minutes. If you can handle that, this is one of the more satisfying creative workshops you can do in Tokyo.
FAQ
What is the duration of the Tokyo manga drawing class?
The class runs for 150 minutes.
How much does it cost?
The price is $141 per person.
Do I need prior drawing experience?
No prior drawing experience is required.
What ages can participate?
Children 6 and up can participate. It is not suitable for children under 5.
Is the class taught in English?
Yes, the session language is English, with Japanese support available.
What group size is it?
It’s a private group with a maximum group size of six for personalized attention.
What manga tools and materials are included?
You’ll use manga drawing tools and materials during the class, including classic pens and screentones, and you take home your completed artwork and practice sheets.
Can I choose what style or character to draw?
Yes. You can choose from three difficulty levels and you can request styles like chibi, as well as action pose or expression sheets.
Where do I meet for the class?
Meet just outside the ticket gates of Shindaita Station (Keio Inokashira Line). The station has a single exit.
Is the studio wheelchair accessible?
Yes, it is wheelchair accessible.