REVIEW · KYOTO
Kyoto tour 12 hours Private Nagoya pick up available
Book on Viator →Operated by Miyuki Japan Travel: Stress-Free, Hassle-Free, Comfort Ride - Enjoy Japan · Bookable on Viator
A private car turns Kyoto into your schedule, not theirs. This 10 to 12 hour private Kyoto tour is built around less walking for less fatigue, plus a driver who can shift timing so you can see what matters most.
I like two big things right away. First, the Nagoya area pickup option saves you the stress of coordinating transit before you even reach Kyoto. Second, you get photography help (not a professional shoot, but hands-on guidance) along with onboard WiFi and bottled water to keep the day comfortable and easy.
One consideration: entry fees and lunch cost extra, and the driver is more of a helper/translator than a full-time guide who gives long history lectures.
In This Review
- Key Highlights You’ll Care About
- Private Kyoto Car Service From Nagoya: Why It Feels Different
- The Price Setup: What You’re Really Paying For
- Stop 1: Arashiyama and the Togetsukyo Bridge Time Window
- Stop 2: Kinkakuji (Golden Pavilion) Without the Time Panic
- Stop 3: Nishiki Market Shopping District for a Real Break
- Stop 4: Fushimi Inari-taisha and the Torii Pacing Choice
- Stop 5: Kiyomizu-dera UNESCO Views and Otowa Waterfall Time
- Stop 6: Higashiyama Ward Time and Hōkan-ji
- How Flexibility Works When You’re With a Private Driver
- What’s Included vs What You’ll Pay Separately
- Photo Assistance That Actually Helps (Without Promising Magic)
- Comfort and Timing: What 10–12 Hours Feels Like in Practice
- Who This Tour Suits Best
- Should You Book This Private Kyoto Tour?
- FAQ
- How many people are in a group for this Kyoto tour?
- Where is pickup available?
- What is the total duration of the tour?
- Which languages are supported by the driver?
- Are entry fees included for temples?
- Can I cancel and get a full refund?
Key Highlights You’ll Care About
- Nagoya pickup available: you start the day with less scrambling and fewer transfers
- Choose your stop timing: you decide how long you stay at Arashiyama, Kinkakuji, and the rest
- Temple entrances not included (not all of them): plan for Kinkakuji’s fee
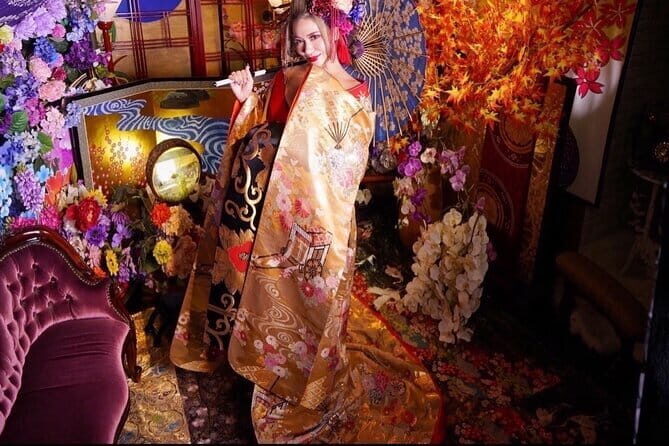
- Photography assistance included: helpful support for framing and logistics, not pro-level shoots
- Private group for up to 6: easier pacing and fewer crowd-pressure moments
- Onboard comfort basics: air-conditioned vehicle, WiFi, bottled water
Private Kyoto Car Service From Nagoya: Why It Feels Different
Kyoto can be a test of endurance. Not because the sights are bad, but because the routes are tiring, trains and buses can get packed, and you often lose time just getting from one famous stop to the next. This tour’s main value is simple: you ride between sites in an air-conditioned private vehicle and you get dropped off and picked up as close as possible to where you want to go.
That matters for real-world sightseeing. When you’re not squeezing onto transit, you can spend more of your energy on walking the temple grounds, browsing markets, and finding a good viewing spot at a shrine. It also means your group can move as one unit. If your pace is slower, you don’t feel like you’re holding up a big coach tour.
You also get onboard practical extras: WiFi on board and bottled water. Those small comforts sound minor until you’re standing outside a famous shrine for a bit and your phone needs a charge or you just want to cool off between stops.
You can also read our reviews of more private tours in Kyoto
The Price Setup: What You’re Really Paying For
This tour costs $1,172.75 per group for up to 6 people. That pricing is per group, not per person, which changes the math fast if you have a small family or a group of friends who want their own car. If you split the total across 4 to 6 people, it can feel like you’re paying for convenience plus time.
The tradeoff is that some costs are separate. The tour includes gas, parking, and patrol fees, plus the vehicle and driver services, but it does not include every admission fee. For example, Kinkakuji Temple admission is ¥500 per person. Lunch isn’t included either, so you’ll budget roughly ¥1,000 to ¥3,000 depending on what you pick.
I’d call this a value choice if you care about pacing and comfort more than you care about minimizing the ticket price. If you’re happy with crowded trains and you’re fine managing your own timing between sites, you can build a cheaper day independently. But if you want a smoother flow and a driver who can help you manage the day, this is the kind of setup that feels worth it.
Stop 1: Arashiyama and the Togetsukyo Bridge Time Window
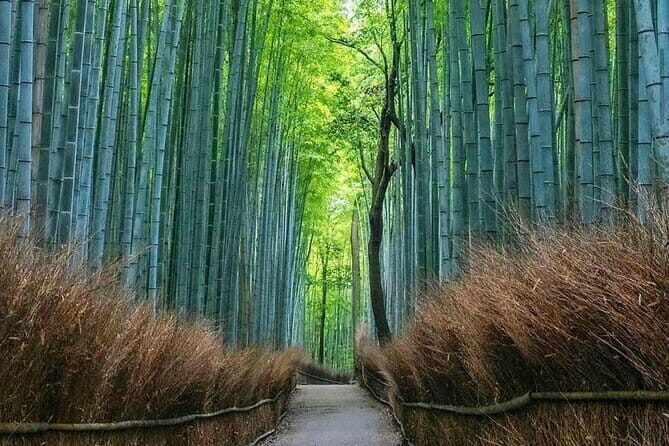
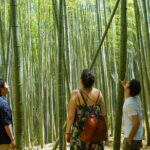
Arashiyama is one of Kyoto’s “go early or suffer” areas, but you’re not stuck with a strict stop time here. You get about 2 hours, and the tour is designed so you can decide how long you want to linger.
A highlight at the start is the Togetsukyo Bridge, with its classic wooden bridge look. Even if you just take your time here, you’ll probably understand why people build whole days around Arashiyama. The area is visual and photo-friendly, and the ability to control your minutes helps. You can grab a spot, snack, take photos, and then move on without the pressure of a coach group counting minutes down.
What can be a drawback? Arashiyama can still be busy depending on the day and time you arrive, and you’ll be walking around the bridge approaches and nearby lanes. The tour helps you avoid extra transit walking, but you still need comfortable shoes for this neighborhood.
Tip that works well: if you want photos without stress, spend a few minutes early in your window simply scouting where the light and angles look best, then come back for the longer photo session. You’re not rushed, which makes that strategy easier.
Stop 2: Kinkakuji (Golden Pavilion) Without the Time Panic
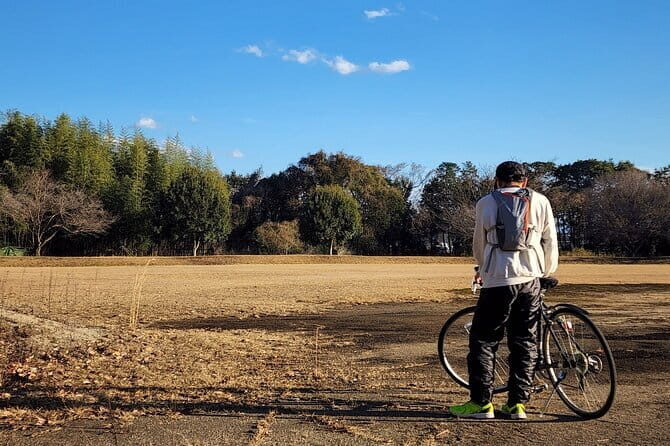
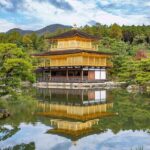
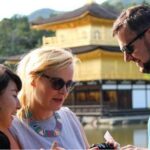
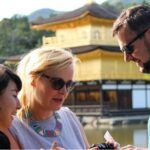
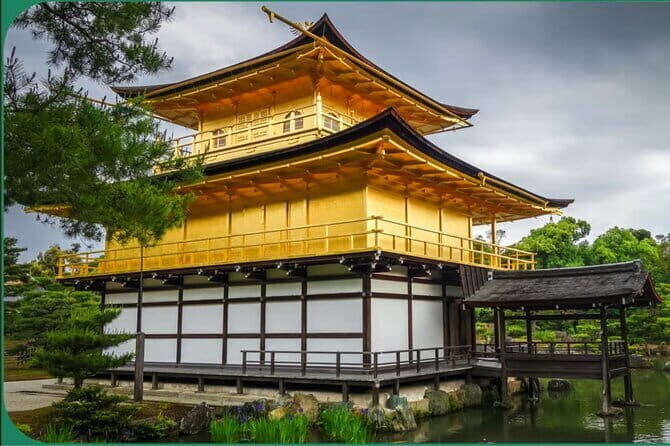
Kinkakuji Temple is famous for a reason. You’ll see the iconic Golden Pavilion, and the stop lasts about 1 hour. That’s a tight window, but it’s also realistic. You can take in the views, walk your preferred loop, and still be ready to move.
Since entry is not included (¥500 per person), treat that as part of your planning. If you’re budgeting tightly, this fee is still manageable, but it’s one of the few fixed costs you should expect in the day.
Here’s the practical upside of a private format: you can slow down if you want. The tour notes that you decide how long you stay, so if the pavilion draws you in, you can spend more time at the places you care about most rather than racing through everything.
Possible consideration: with only about an hour, you’ll want to prioritize. If you try to do everything quickly, you may end up with less time to enjoy the best angles or the quieter corners. If your group loves temples, you might ask for a slightly longer pause here, then tighten another stop later.
Stop 3: Nishiki Market Shopping District for a Real Break
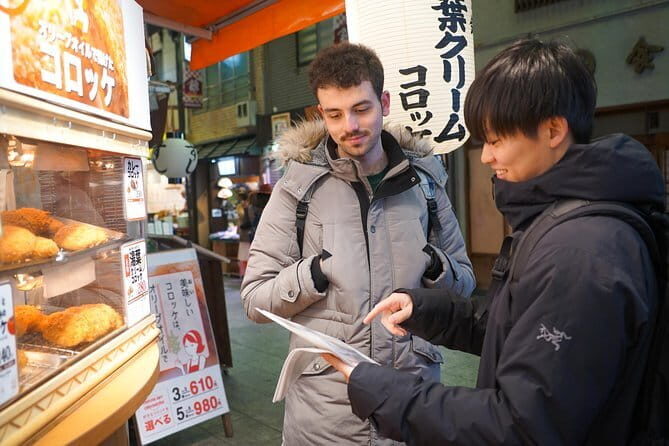
After temples and shrines, Nishiki Market gives you something different: food aromas, small shops, and that “Kyoto everyday life” feeling. You get about 2 hours here, and the idea is that you can shop and snack at your own pace.
The tour treats this like a flexible segment, which is exactly what you want at a market. People tend to have different plans: some want quick bites, some want souvenirs, and some want just to wander and pick up small gifts. Two hours is enough to do one focused thing and still have time to browse randomly.
A drawback to keep in mind: markets can be crowded, and you’ll be walking through lanes with other visitors. The tour’s private vehicle doesn’t change that, but it does help you arrive and depart without juggling transit tickets in the middle of the action.
A smart approach: decide in advance what your group wants from Nishiki. If you’re chasing specific items, you’ll move faster. If you just want snacks and gifts, set a mini budget and treat it like a fun sampler.

Stop 4: Fushimi Inari-taisha and the Torii Pacing Choice
Then comes one of the most iconic Kyoto scenes: Fushimi Inari-taisha Shrine. You’ll have about 2 hours, and you’ll see the famous thousands of red torii gates.
This stop is where flexible timing really helps. Many people feel compelled to climb far into the hillside, while others want the best viewing points without going all the way up. The tour’s setup lets you choose how long you spend, so your group can match effort level to interest.
Since the shrine admission is listed as free for this tour, you can focus your budget elsewhere. But the real factor is how you handle walking and photos. If you want the classic torii-lined angles with less pressure, you’ll want to move early in your window and avoid getting stuck in the busiest clusters for too long.
Possible consideration: Inari gets busy, and if your group has mixed energy levels, you might split time between “lookers” and “walkers.” A private format makes that easier than group tours, but you’ll still want to set a meeting point strategy so nobody gets separated in the crowd.
Stop 5: Kiyomizu-dera UNESCO Views and Otowa Waterfall Time
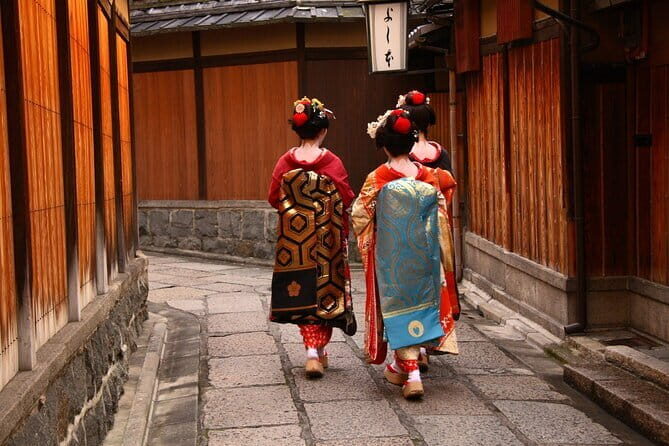
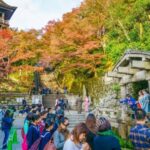
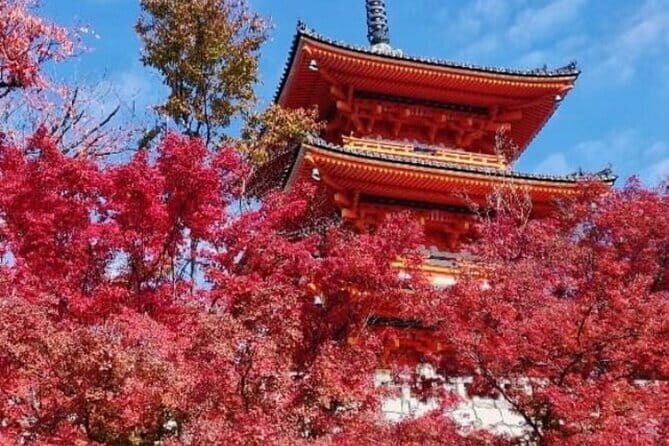
At Kiyomizu-dera, you’ll spend about 1 hour. This is a UNESCO World Heritage site, and it’s famous for its large wooden stage with views over the city and the experience around Otowa Waterfalls.
What makes this stop work in a private format is that Kiyomizu can feel like a lot at once. With a timed visit that’s still not frantic, you can take it in without feeling like you have to rush from photo spot to photo spot.
Because entry is listed as free within this tour segment, you can plan around your time instead of paying multiple small admissions. Still, keep your expectations realistic: you’ll likely encounter crowds and need to work with the flow of people through the main areas.
Practical tip for enjoying it more: if you’re going for photos, aim for one main photo angle plus a second “walk-around” set. Trying to take every shot from the exact same spot can waste time. The tour’s photo assistance can help with basic positioning and logistics, even if it’s not a professional photographer setup.
Stop 6: Higashiyama Ward Time and Hōkan-ji
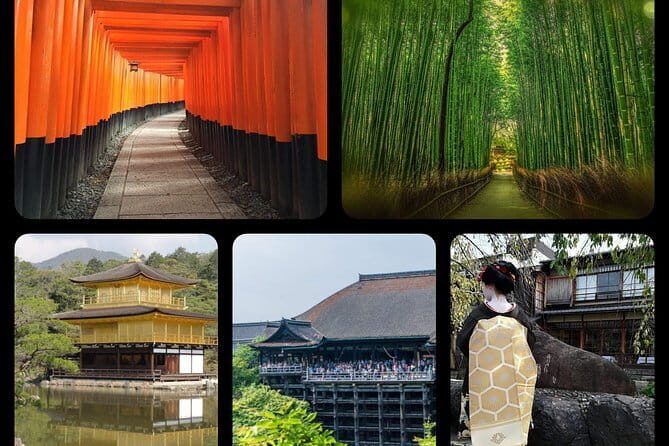
After Kiyomizu, the itinerary shifts into Higashiyama Ward, with the remaining time used for travel and a 2-hour slot at sights in that area (including Hōkan-ji).
This is the segment that often makes or breaks the day, because it’s less “one famous thing” and more “you get to roam the old Kyoto vibe.” Higashiyama is where side streets can matter, and the ability to adjust how long you want to stay helps you avoid feeling rushed out of neighborhoods that feel special.
You might find Hōkan-ji rewarding if you like temples that aren’t only about a single postcard landmark. It’s the kind of stop that can feel quieter and more local depending on timing.
The main drawback: because this is the “remaining hours” portion, it can feel different from a set stop. Some days you may get less time for wandering than you hope. The good news is that the tour is flexible, so if your group wants more street wandering in the area, you can usually adjust within the overall day.
How Flexibility Works When You’re With a Private Driver
This tour is built around the idea that you don’t need a fixed schedule. The itinerary is described as flexible and customizable, and you can skip or add destinations. You can also request a tailored approach for photo spots in Kyoto so your route focuses on what you actually want to capture.
That flexibility becomes especially valuable when your group has different styles. One person might want more time at shrines; another might prefer market browsing. Instead of arguing or splitting up, you can adjust the time allocation for each stop during the day.
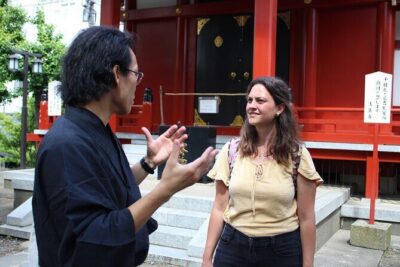
There’s also a practical human element here. In the experiences described for this service, the driver Yuki stands out for being flexible and responsive to changes. He also tended not to dominate the conversation, but he answered questions when they came up. That’s a good fit if you like guided support without being talked at.
Just know the boundary: while the driver speaks English/Tagalog/Nihongo, you’re not paying for a full, lecture-style guide. The tour includes guiding and translation help, plus photography assistance, but it’s not positioned as deep history commentary at every location.
What’s Included vs What You’ll Pay Separately
Here’s the clean way to budget:
Included:
- Air-conditioned private vehicle
- Pickup available (including Nagoya area pickup)
- WiFi on board
- Bottled water
- English/Tagalog/Nihongo speaking driver
- Photography assistance
- Gas, parking, and patrol fees
Not included:
- Lunch (estimated ¥1,000 to ¥3,000)
- Entry fees, including Kinkakuji Temple ¥500 per person
- Any personal spending on snacks, shopping, and extras
This split matters because it changes how you plan your day. If you’re counting every yen, you’ll want to remember that Kinkakuji is a set fee and lunch will vary. If you’re more of a “I’ll figure it out when I’m there” person, the included vehicle comfort makes that easier since you aren’t stuck navigating your way mid-day.
Photo Assistance That Actually Helps (Without Promising Magic)
The tour includes photography assistance, and that detail is worth taking seriously. It’s not described as a professional photo session, so don’t expect studio-level results. But having someone help you with practical photo logistics can make a difference: where to stand, how to time your shots with foot traffic, and how to manage small gaps between stops.
In a place like Kyoto, the best photos are often about timing and positioning as much as about the view itself. A driver who can help you set up quickly means less wasted time. It also means you can spend your own attention on composing and choosing angles, rather than worrying about where to go next.
Comfort and Timing: What 10–12 Hours Feels Like in Practice
The experience runs roughly 10 to 12 hours. The itinerary notes that the remaining time can cover travel from pickup to drop-off, and you also get defined time at each major stop.
A private format can feel smoother than packed group days, but it’s still a full day. You’ll want to treat it as a marathon with breaks, not a leisurely stroll. Nishiki gives you a built-in pause, and you can snack and browse there. Arashiyama also gives you open time that can work as a decompression break.
If your group tends to move slowly, the flexible stop timing is a big plus. If your group moves fast, you can use that same flexibility to extend the places you care about most and keep the day feeling efficient without feeling like a race.
Who This Tour Suits Best
This tour is a strong fit if you:
- Want a private Kyoto day with less transit stress
- Have a group of up to 6 and want to keep costs sensible
- Prefer choosing your own time at major sights
- Care about comfort: air-conditioned car, WiFi, and bottled water
- Want support with photography logistics without hiring a separate pro
It’s less ideal if you:
- Are determined to spend as little as possible and don’t mind crowds and transit transfers
- Want a deep, lecture-style history guide all day long
- Don’t want to handle any extra costs beyond the tour price, since lunch and some entry fees are separate
Should You Book This Private Kyoto Tour?
I’d book it if your priority is a smoother day with Nagoya pickup, private vehicle comfort, and the freedom to control how long you stay at each place. The route covers big hitters like Arashiyama, Kinkakuji, Nishiki Market, Fushimi Inari-taisha, and Kiyomizu-dera, and the Higashiyama segment helps you finish with some Kyoto neighborhood flavor.
If you’re cost-focused and love public transit adventures, you can probably build a cheaper DIY day. But if you’d rather spend your time sightseeing instead of planning every train hop, this private setup is exactly the kind of convenience that makes Kyoto feel easier.
FAQ
How many people are in a group for this Kyoto tour?
This is a private tour for your group, with pricing listed per group for up to 6 people.
Where is pickup available?
The tour offers pickup, including Nagoya area pickup available.
What is the total duration of the tour?
The tour duration is listed as approximately 10 to 12 hours.
Which languages are supported by the driver?
The driver provides English/Tagalog/Nihongo speaking support.
Are entry fees included for temples?
No. Entry fees are listed as not included. For example, Kinkakuji Temple is ¥500 per person. Lunch is also not included.
Can I cancel and get a full refund?
Yes. There is free cancellation, and you can cancel up to 24 hours in advance for a full refund.