REVIEW · TOKYO
Tokyo: Manga Drawing Workshop Guided by Pro Manga Artist
Book on GetYourGuide →Operated by Manga Do · Bookable on GetYourGuide
Manga feels doable in two hours. This Shibuya workshop gives you the real step-by-step rhythm behind manga, from first ideas to ink, screen tones, and speech bubbles, guided by a pro and supported by an interpreter. You’re basically borrowing the workflow of working manga artists, in a small studio setup.
I love two things most: you don’t need previous drawing skills, and you walk away with a finished manga panel you can keep. The pro artist leads the technique, and the interpreter keeps the technical bits and feedback clear.
One consideration: the meeting building can be hard to spot, since the TR Building is black and fairly thin. Give yourself extra time around Shibuya traffic and signage, especially if the area is crowded or disrupted.
In This Review
- Key Things You’ll Remember
- Why This Shibuya Workshop Feels Like Real Mangaka Work
- Finding the Studio: TR Building on Shibuya 3-chome
- The 150 Minutes: From Rough Sketch to Screen Tones
- 1) Getting your panel idea locked in
- 2) Rough sketching and layout
- 3) Drafting and refining
- 4) Inking
- 5) Solid blacks
- 6) Screen tones
- 7) Speech bubbles (the story part)
- What You’ll Actually Create (And Why Beginners Still Leave Happy)
- Translation and Pacing: Small Group Help That Makes Questions Easy
- Materials, What’s Included, and What to Bring
- Price and Value: Is $129 Fair for a Pro-Led Panel?
- Who Should Book This Workshop (And Who Might Skip It)
- Quick Decision: Should You Book It?
- FAQ
- How long is the Tokyo manga drawing workshop?
- How much does it cost?
- Where is the meeting point?
- Is pickup included?
- Are food and drinks included?
- Do I need previous drawing skills?
- What languages are available?
- What’s included in the price?
- How big is the group?
- Is the workshop wheelchair accessible?
Key Things You’ll Remember
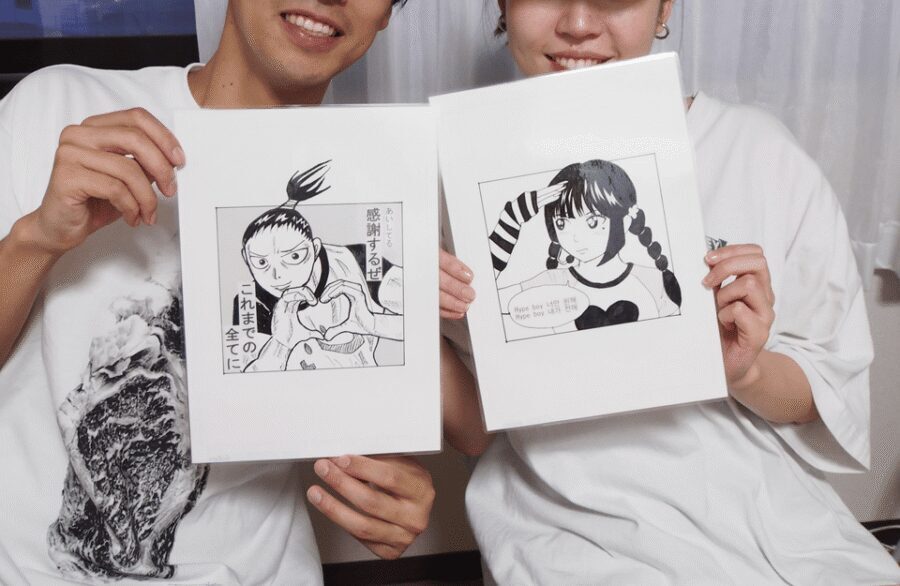
- A working manga workflow: ideation, rough sketching, drafting, inking, solid blacks, screen tones, and speech bubbles
- Small group (max 8): more hands-on attention than big group demos
- Interpreter support (English/Japanese): feedback lands fast, even with beginner questions
- Screen tones practice: the effects that make manga look manga, not just drawings
- You take it home laminated: a souvenir you can actually frame or display
- Reference-based creation: you’ll often choose from prompts or use your own idea or reference image
Why This Shibuya Workshop Feels Like Real Mangaka Work
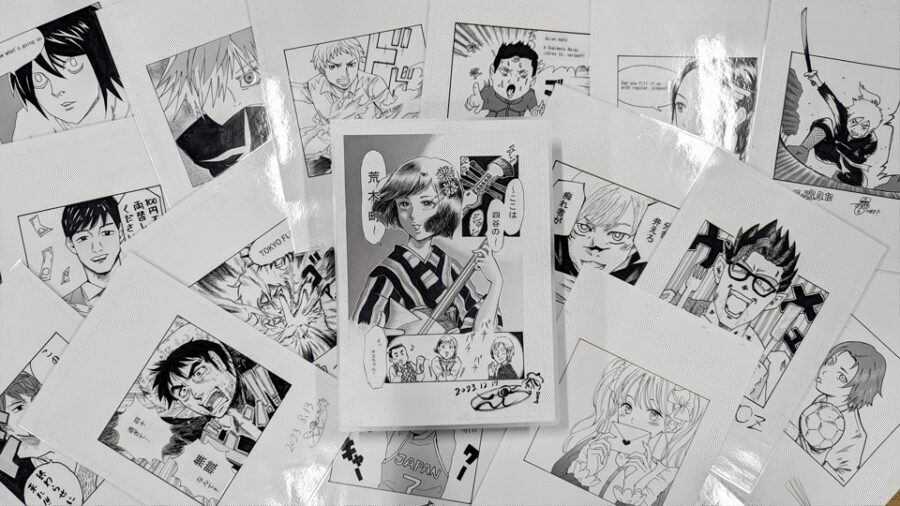
If your Tokyo trip includes manga or anime, this workshop hits a satisfying sweet spot: you’re not just watching art happen. You’re building a manga panel in the same order pros use, and you feel how each step supports the next one.
The core idea is traditional technique with real structure. You’ll start with ideation (choosing what you’re making and how it will read on the page), move into rough sketching, then drafting so the panel looks right before the heavy stuff begins. After that, you ink, add solid blacks, bring in screen tones for depth and shading, and finish with speech bubbles so it actually feels like a scene from a story.
That step-by-step sequence matters more than people expect. Plenty of activities stop at drawing. This one is about the full manga look—especially the part most beginners think is impossible: getting the tones and contrast to look clean.
In sessions described in past classes, the instructors are true working artists. You might meet artists such as Shige Mathumori, Rokkaku-sensei, Kousei-sensei, or Kamaya Katsuki, supported by interpreters like Machi or Madoka. Even if you’re brand new, the teaching style is built around making the workflow doable in one sitting.
You can also read our reviews of more guided tours in Tokyo

Finding the Studio: TR Building on Shibuya 3-chome
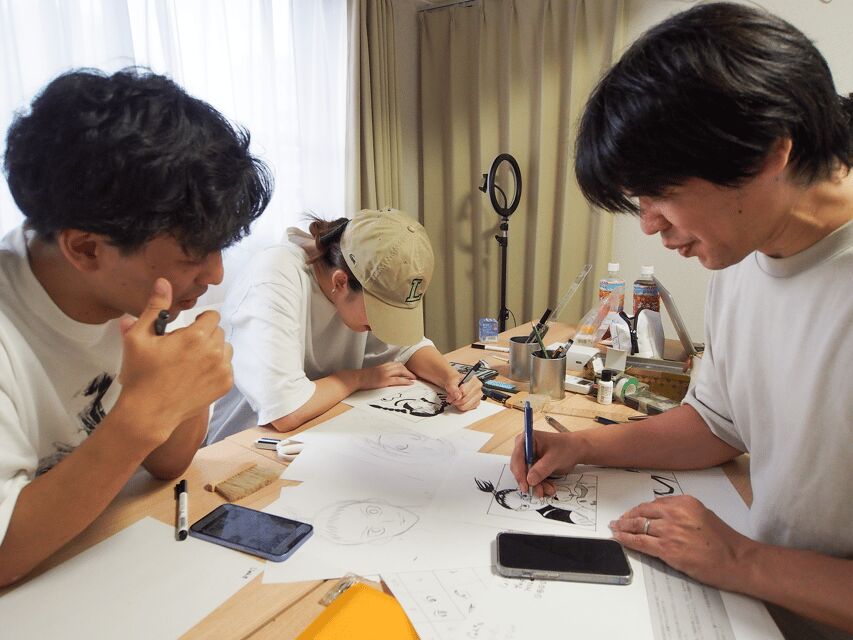
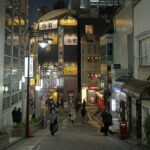
The meeting point is 6F, Shibuya 3-chome TR Building, 3-8-11 Shibuya, Shibuya-ku, Tokyo. The building is black and relatively thin, which means it can be easy to miss if you’re arriving fast or relying on memory.
My practical advice: plan to arrive a bit early, not right on the dot. Shibuya is active, and one past participant noted confusion caused by a political rally near Shibuya Crossing. You can’t control local events, but you can control your buffer time.
Once you’re there, you’re going upstairs to the studio on the 6th floor. Because this is a workshop with a set start time, being a few minutes early helps you get settled and start on time rather than rushing while everyone else is already drawing.
The 150 Minutes: From Rough Sketch to Screen Tones
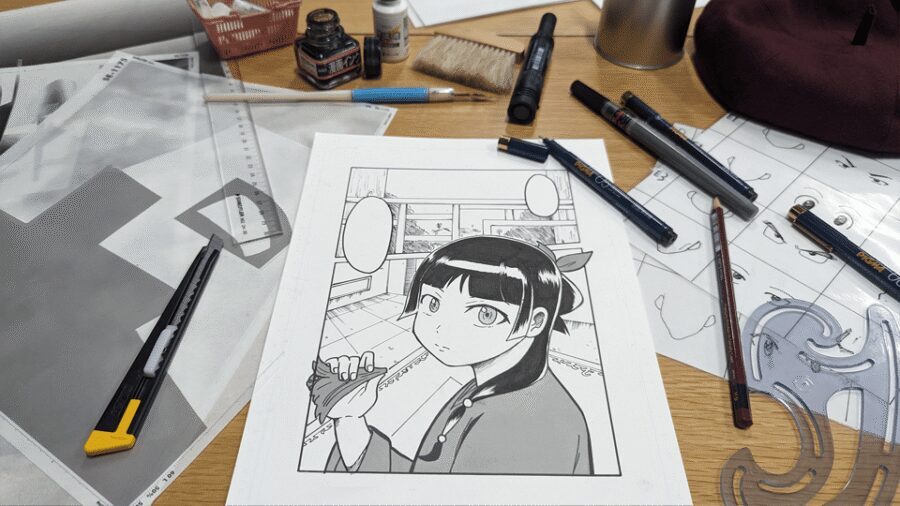
This experience runs 150 minutes, and the way the time is handled is one reason it works for beginners. The instructors don’t just hand you a tool and hope you figure it out. They guide you through each stage so you’re not stuck wondering what to do next.
Here’s how the session typically feels, in the order you’ll experience it:
1) Getting your panel idea locked in
You’ll begin with choosing what to draw. Some sessions let you pick from a set of prompts; others let you bring your own character idea or reference. In past classes, people described choosing a character concept, pose, or using their own image for inspiration.
This stage is about clarity. You’re deciding what your panel needs to communicate: expression, gesture, and what the scene is trying to say.
2) Rough sketching and layout
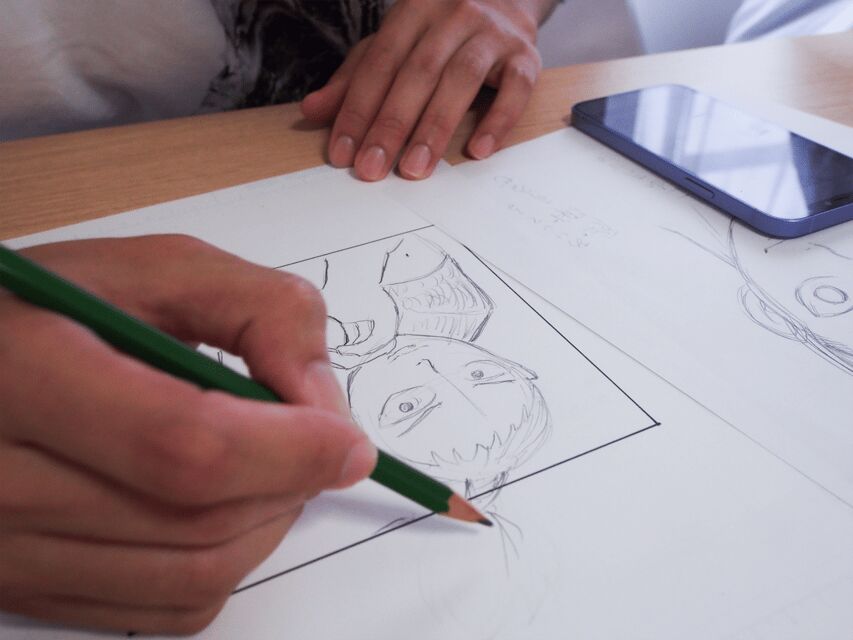
Next comes the rough sketch. Even if your drawing skills are limited, the structure reduces the pressure. The instructor helps with the layout and makes sure your lines are positioned for a readable manga panel.
Many participants described the sensei preparing an initial outline, then working together on the details with pencil.
A few more Tokyo tours and experiences worth a look




3) Drafting and refining
Then you refine the drawing. This is where the panel starts looking like it belongs on a manga page, not just on paper.
If you’re worried about proportions or line quality, this is the supportive moment. You’re building step-by-step with feedback, not trying to invent everything at once.
4) Inking
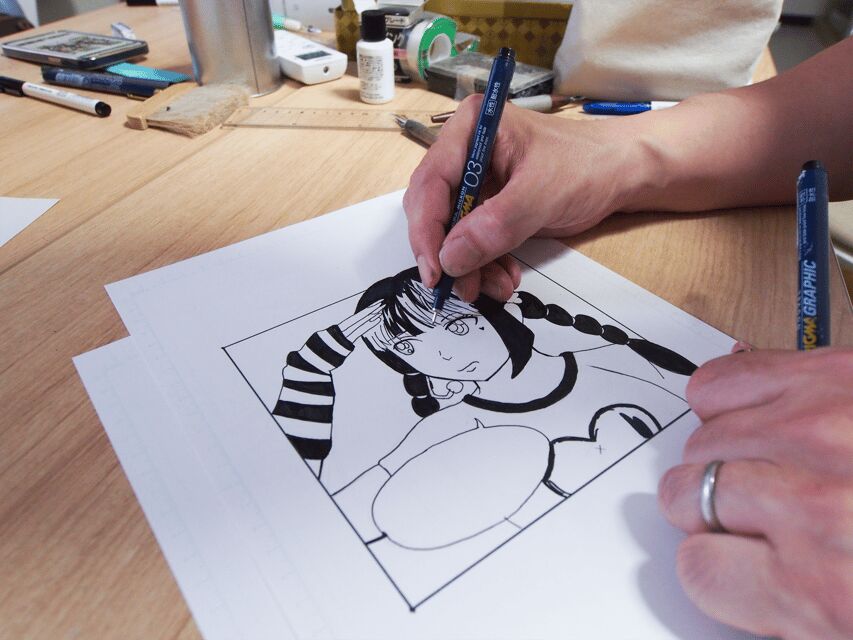
Inking is the moment the art stops feeling like a sketch. The workshop uses traditional inking tools and methods, and the instructor guides you so the final lines look sharp and intentional.
If you’ve never inked before, don’t panic. You’re not expected to be a practiced calligrapher. The guidance is designed to help you land a clean finish.
5) Solid blacks
Manga needs contrast. The solid blacks step is what gives your panel that punchy, graphic look. You’re learning how blacks function in manga design—where the eye should go and how the image feels more dramatic.
This step often feels like a confidence boost, because the page transforms fast.
6) Screen tones
Screen tones are the technique that makes manga shading and texture look like manga. Past participants specifically called out screen tones as a highlight, and a few mentioned learning how to cut and apply them.
One useful tip from the kind of instruction described in past sessions: screen tones are easier when you treat them as controlled shapes and plan where they go before committing. The instructor and interpreter help keep you on track.
7) Speech bubbles (the story part)
Finally, you add speech bubbles. This is where your panel turns into a scene. Even if you’re drawing something simple, speech bubbles give it character and rhythm.
What You’ll Actually Create (And Why Beginners Still Leave Happy)
There’s a difference between making a drawing and making a manga panel that reads correctly. This workshop is focused on the second one.
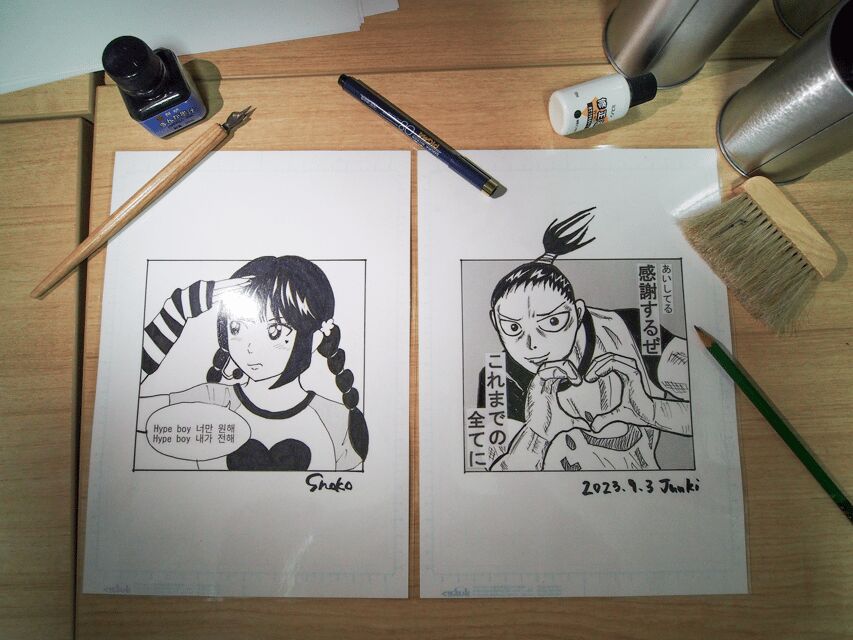
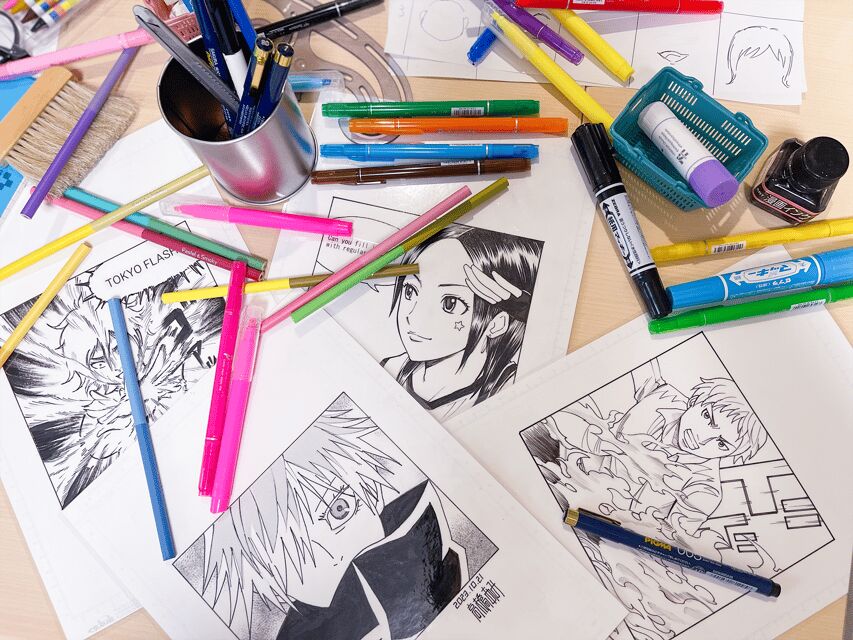
Most people end up with a finished panel they can take home. Multiple past participants described the art being laminated, which is a big practical advantage for souvenirs. Laminated artwork survives travel better, and it’s easier to handle and show off.
What you create depends on how you start:
- You may choose from provided prompt options.
- You may use your own reference or idea.
- The instructor may help set the rough structure, then you develop it through pencil refinements and inks.
This is where I’ll add a balanced note. One participant felt the activity leaned more toward the instructor translating a reference into manga style, with participants tracing or adding finishing effects, rather than providing a fully independent, open-ended “how to draw anything from scratch” class. If you want maximum freedom to invent every line on your own, you might find the structure limiting. Still, the upside is that beginners are guided to a successful outcome.
If your goal is: I want to create a manga-style keep-sake in Tokyo with a pro, you’re in the right place.
Translation and Pacing: Small Group Help That Makes Questions Easy
This is a small group experience with a cap of 8 participants, which changes everything. In a big class, you get a demo. In a smaller setup, you can ask what you’re stuck on and get feedback in time to apply it.
The workshop also includes an interpreter (English/Japanese). Past participants repeatedly praised the interpreter for making explanations clear and for helping maintain a comfortable pace, especially when learning manga tools like screen tones.
If you’re non-Japanese speaking, you’ll still get the important parts: what the technique is trying to do, why a step matters, and how to fix common beginner problems mid-process. That’s not a small deal when the activity is technical.
There’s also a pacing pattern you can plan for. One participant noted the class starts a little slowly, but the result is worth it. My take: trust the structure. Early steps feel slow because they’re laying the foundation for a clean ink and tone finish.
Materials, What’s Included, and What to Bring
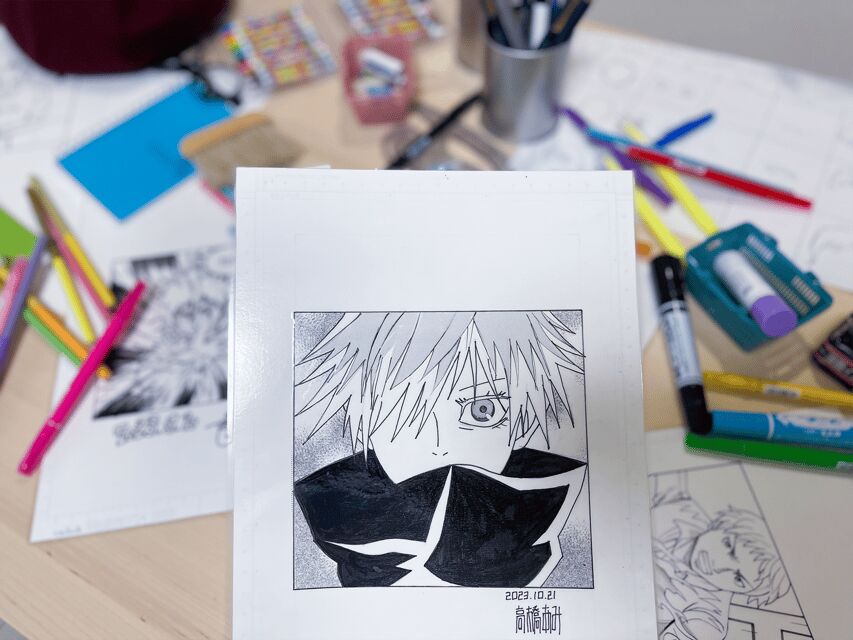
Good news: all materials are provided. The included items are:
- Professional manga artist instructor
- Interpreter
- Manga drawing materials
That takes away a lot of travel friction. You don’t need to hunt down pens or paper in advance.
What’s not included: food and drinks and pickup. So plan a meal before or after. Also plan your own route to Shibuya.
Because you’re drawing and inking, wear clothes that handle arm motion and small messes. The workshop is hands-on, and you’ll be using traditional art tools. If you tend to get ink or tone on your hands, consider bringing a small towel or wet wipes, even though it’s not listed.
Price and Value: Is $129 Fair for a Pro-Led Panel?
At $129 per person for 150 minutes, this is not a cheap add-on. But for what’s included, the value makes sense.
Here’s what you’re paying for:
- A pro manga artist instructor with 20+ years of experience using traditional techniques
- An interpreter to keep feedback accurate and questions answered
- All materials supplied
- A guided workflow that leads to a finished panel you take home (often described as laminated)
In practical terms, the biggest value isn’t the art lesson alone. It’s the time with someone who can look at your drawing and correct it at the exact point where beginners usually stall out—like getting the blacks in the right places or getting screen tones to apply cleanly.
Also, the small group size matters for value. You’re less likely to sit and wait while someone else gets attention.
If you’re the kind of person who’s happy buying one memorable, hands-on souvenir experience in Tokyo, this is the type that delivers because it results in something you can display back home.
Who Should Book This Workshop (And Who Might Skip It)
This workshop fits best if you want a hands-on Tokyo activity tied to manga culture, and you like the idea of learning real technique rather than only taking photos.
You’ll likely love it if you:
- Are a manga or anime fan, including One Piece or Naruto style fans
- Want a new skill you can remember and use later
- Enjoy structured instruction and direct feedback
- Want a souvenir that looks legit on a wall (often laminated)
You might think twice if you:
- Expect a totally freeform, advanced art class where you design everything independently from start to finish
- Want a long lecture or theory session rather than making a finished panel
If you’re traveling as a couple or with family, it can also work well. Past sessions included adult learners, kids, and mixed ages, with instructors and interpreters keeping the experience supportive.
Quick Decision: Should You Book It?
Yes, you should book it if you want a Tokyo memory you can hold. A pro-led panel workshop is one of the most practical “I was there” souvenirs you can buy, and the setup is built for beginners to finish something they’re proud of.
If you’re unsure, use this rule of thumb: if you’d enjoy leaving with a manga panel instead of just a photo, book it. If you need a completely self-directed art class, you may want to compare with other drawing experiences.
FAQ
How long is the Tokyo manga drawing workshop?
It lasts 150 minutes.
How much does it cost?
The price is $129 per person.
Where is the meeting point?
Meet at 6F, Shibuya 3-chome TR Building, 3-8-11 Shibuya, Shibuya-ku, Tokyo. The building is black and relatively thin.
Is pickup included?
No, pickup is not included.
Are food and drinks included?
No, food and drinks are not included.
Do I need previous drawing skills?
No. The experience is designed for people with no previous skills required, and you’ll get guidance step by step.
What languages are available?
The workshop offers English and Japanese.
What’s included in the price?
You get a professional manga artist instructor, an interpreter, and manga drawing materials.
How big is the group?
It’s a small group limited to 8 participants.
Is the workshop wheelchair accessible?
Yes, it is listed as wheelchair accessible.